Subpod Compost Bin + Worm Farm Review
We ventured into the world of composting with compost worms in May 2021. It’s been two years of testing the pros and cons of the Subpod Compost System amidst changing seasons, a growing family, critters, etc. After endless requests, I’m happy to report I finally have a full review ready to share!
Let’s back up a little bit. Our first foray into composting was shortly after we built our house in 2017. We bought a Compost Tumbler and kept it in our garden. The ease of tossing scraps into the tumbler and giving it a spin was a breeze. We never had any trouble with animals trying to get in, and it wasn’t smelly at all. A Compost Tumbler primarily works through heat exchange. Therefore, when it’s the middle of summer and your black tumbler is baking in the sunshine, it works SO WELL. Winter time? Not at all. It was a nice place to start, but we needed something bigger (I cook a lot!), and that could work for us in Indiana all year round.
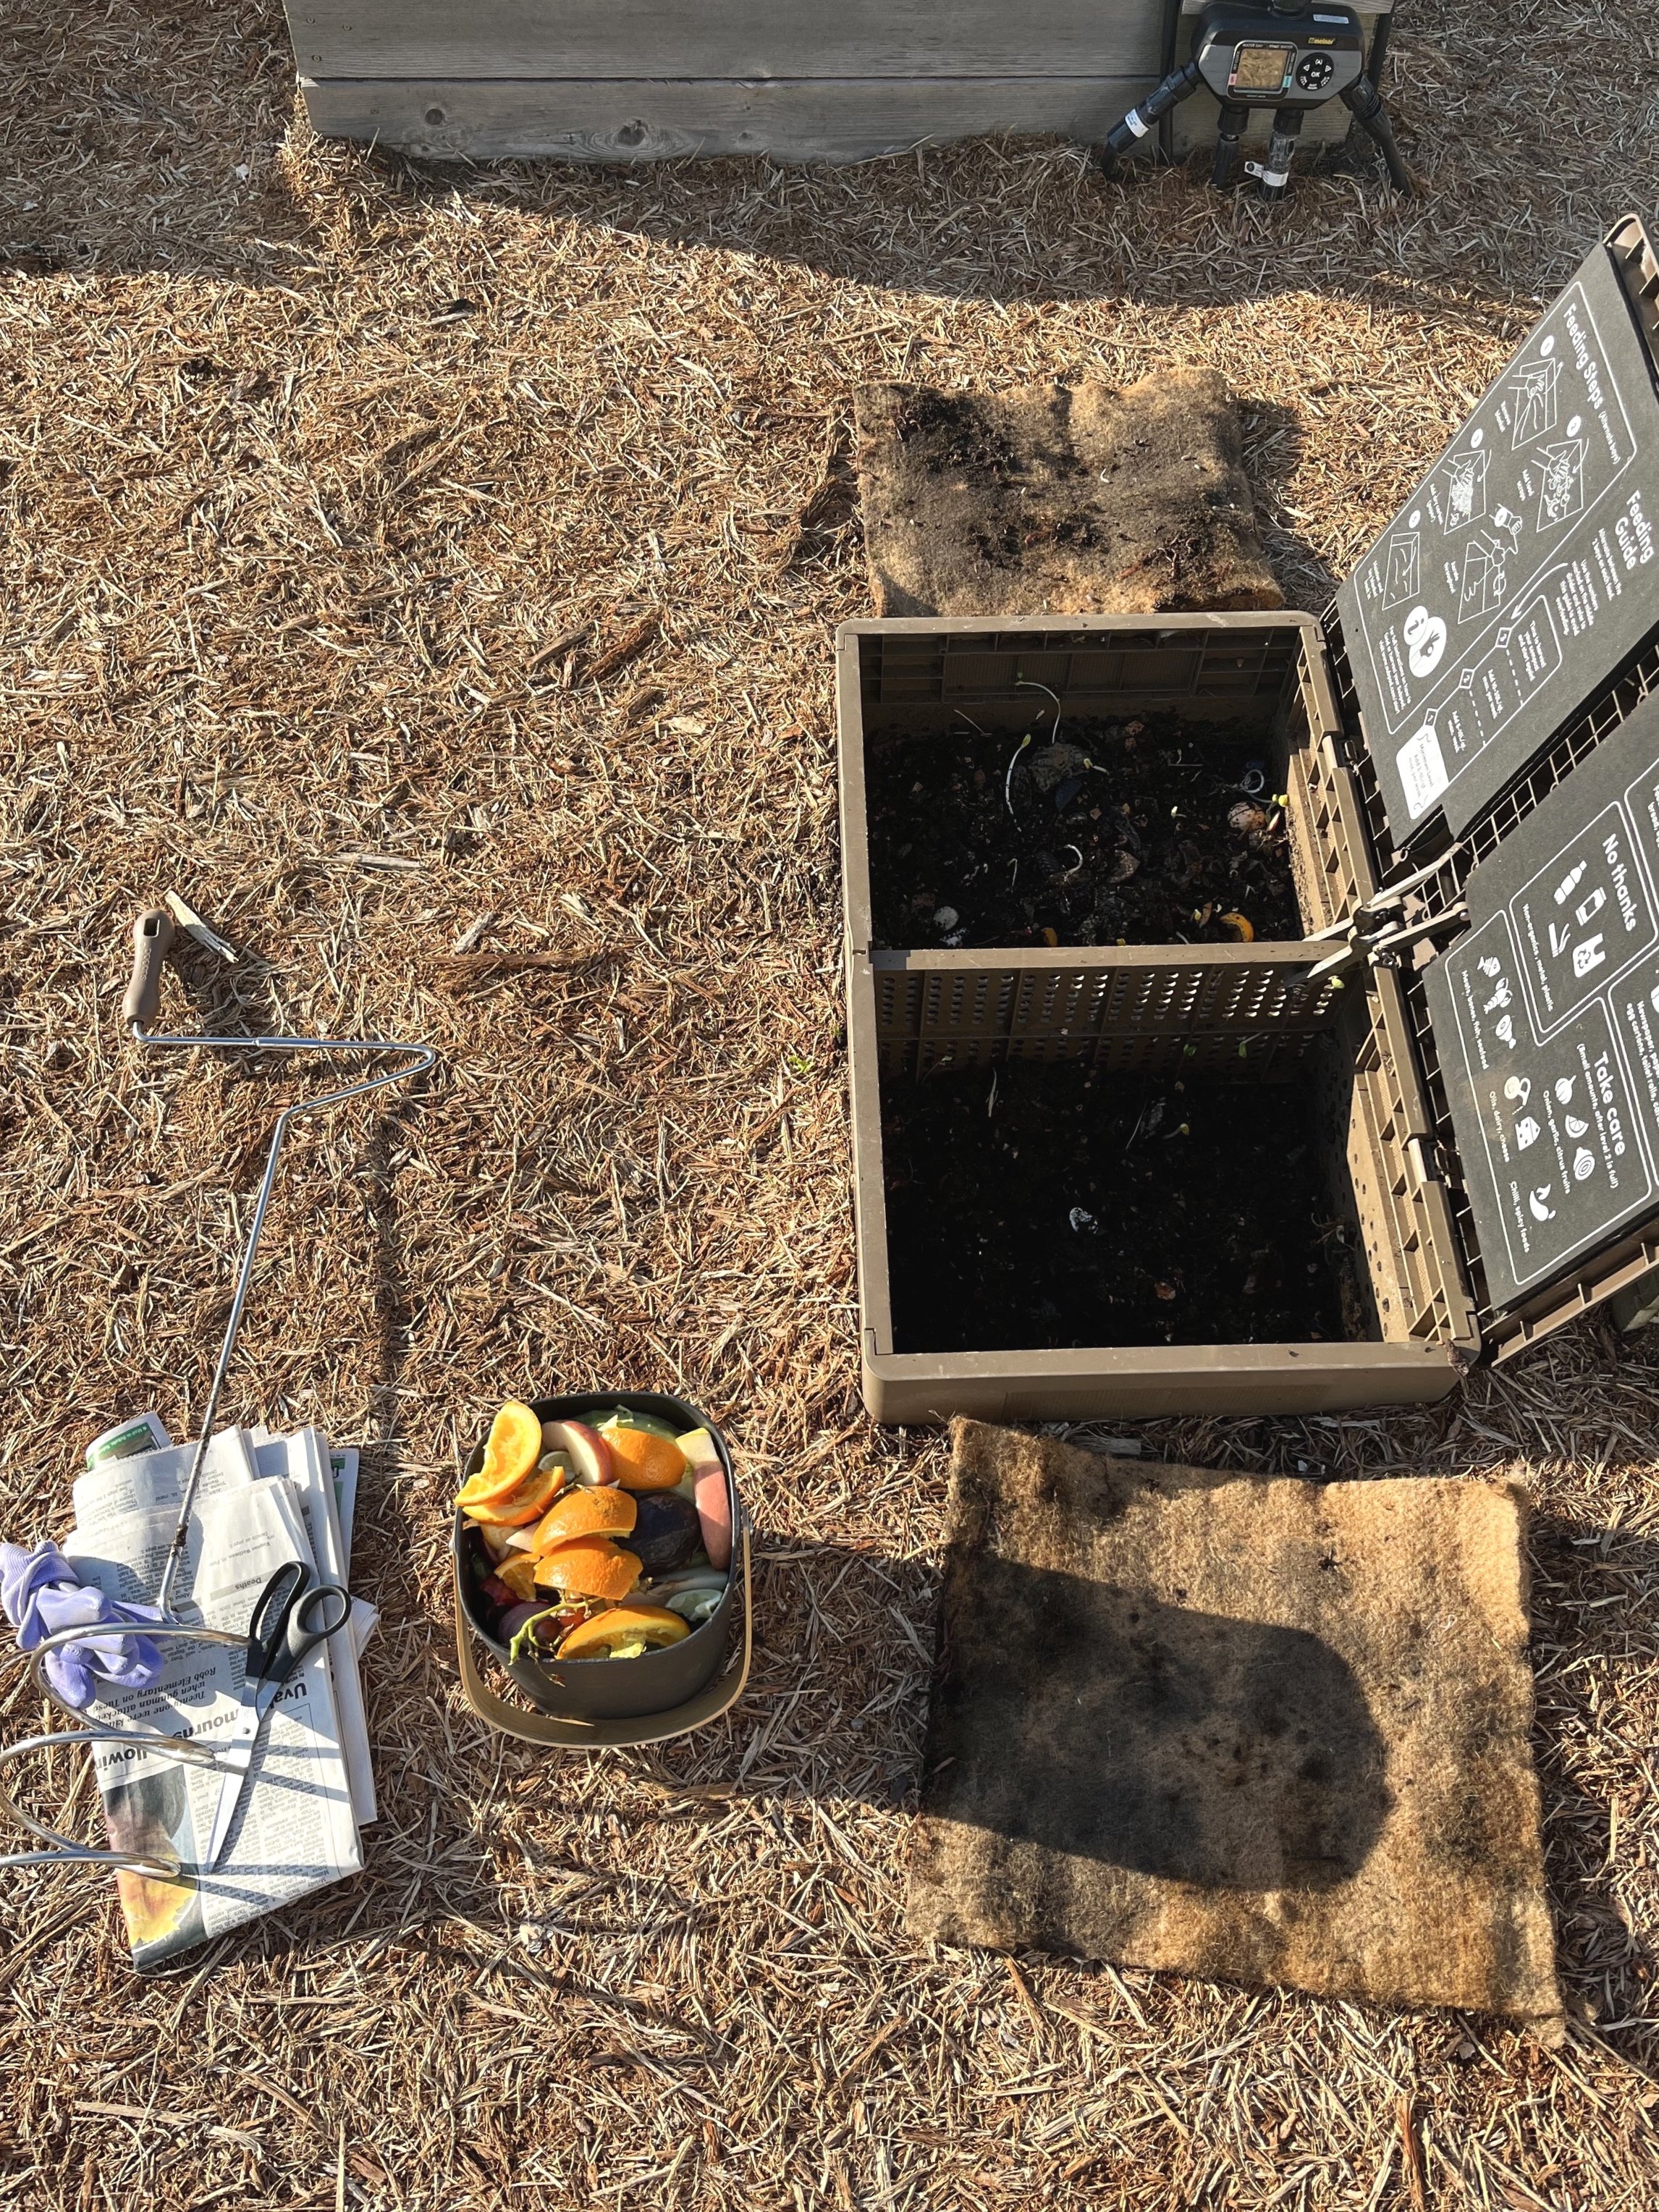
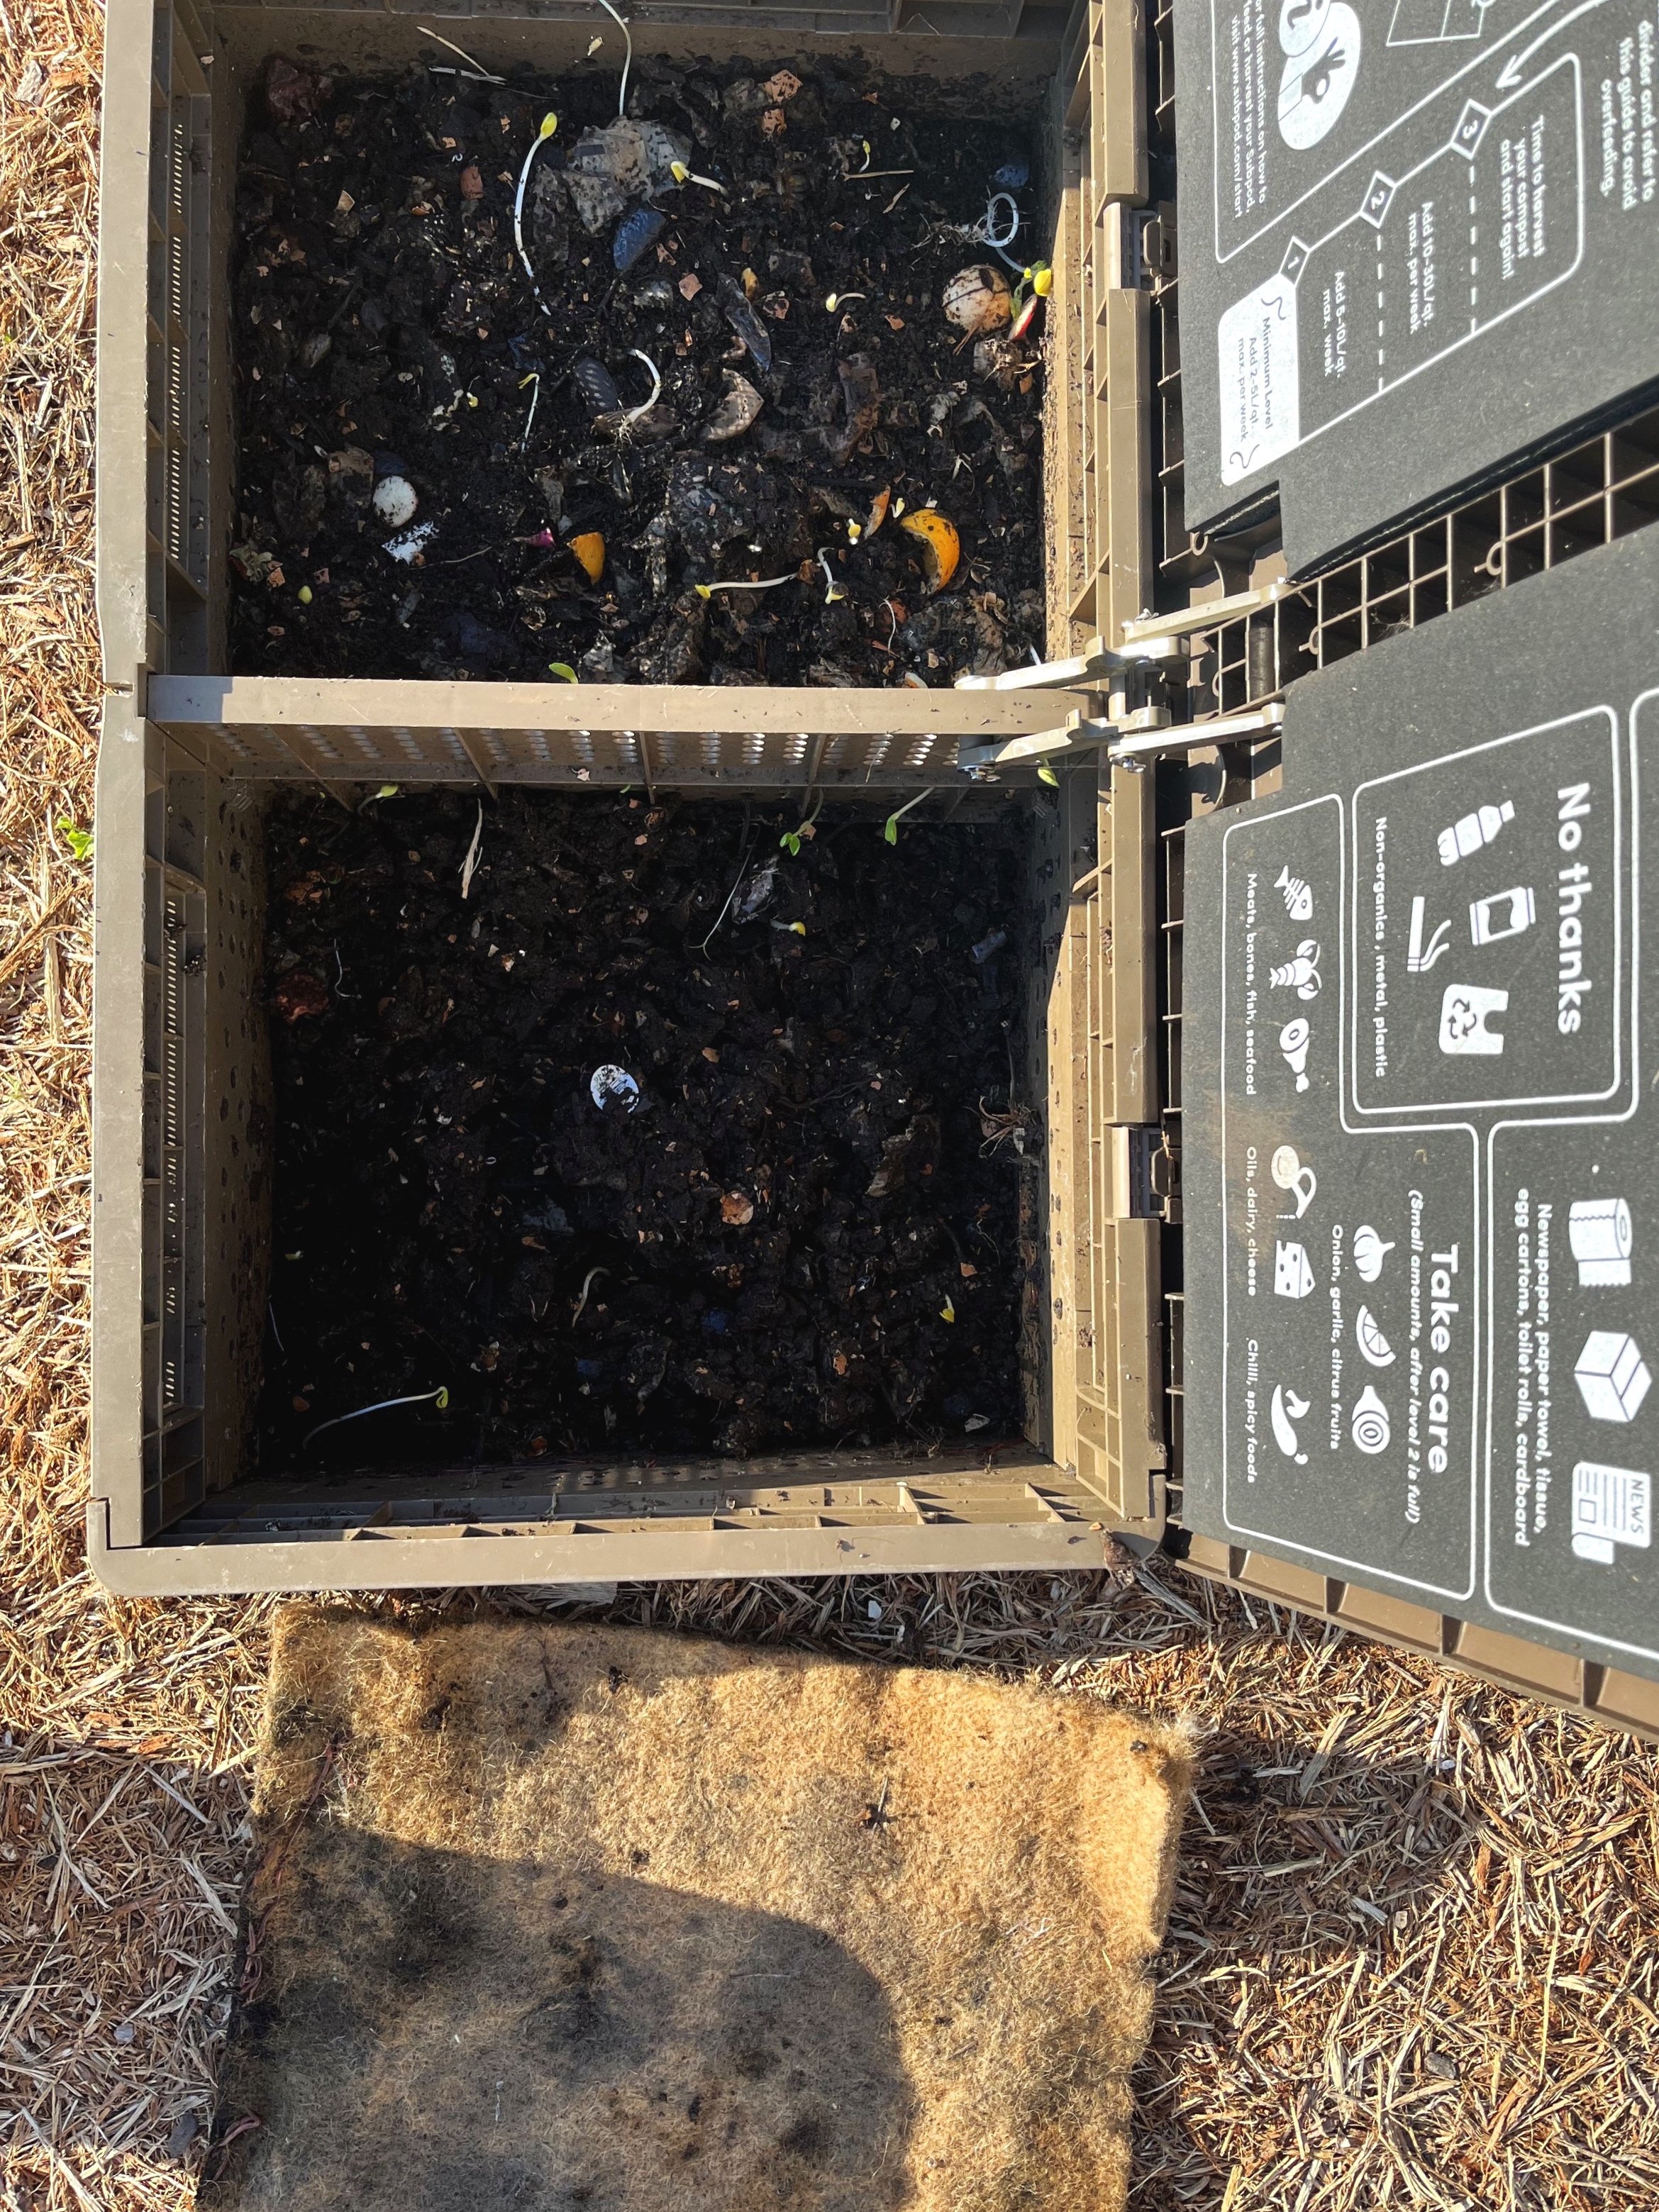
A Subpod Compost System seemed like the next best solution. Subpod is an in-ground compost system and worm farm. It utilizes vermicomposting - aka, it uses worms to break down food waste efficiently. Compost worms (not earthworms - yes, they are different!) and microbes live inside Subpod and turn food scrapes and carbon (paper, leaves, clippings, etc.) into compost.
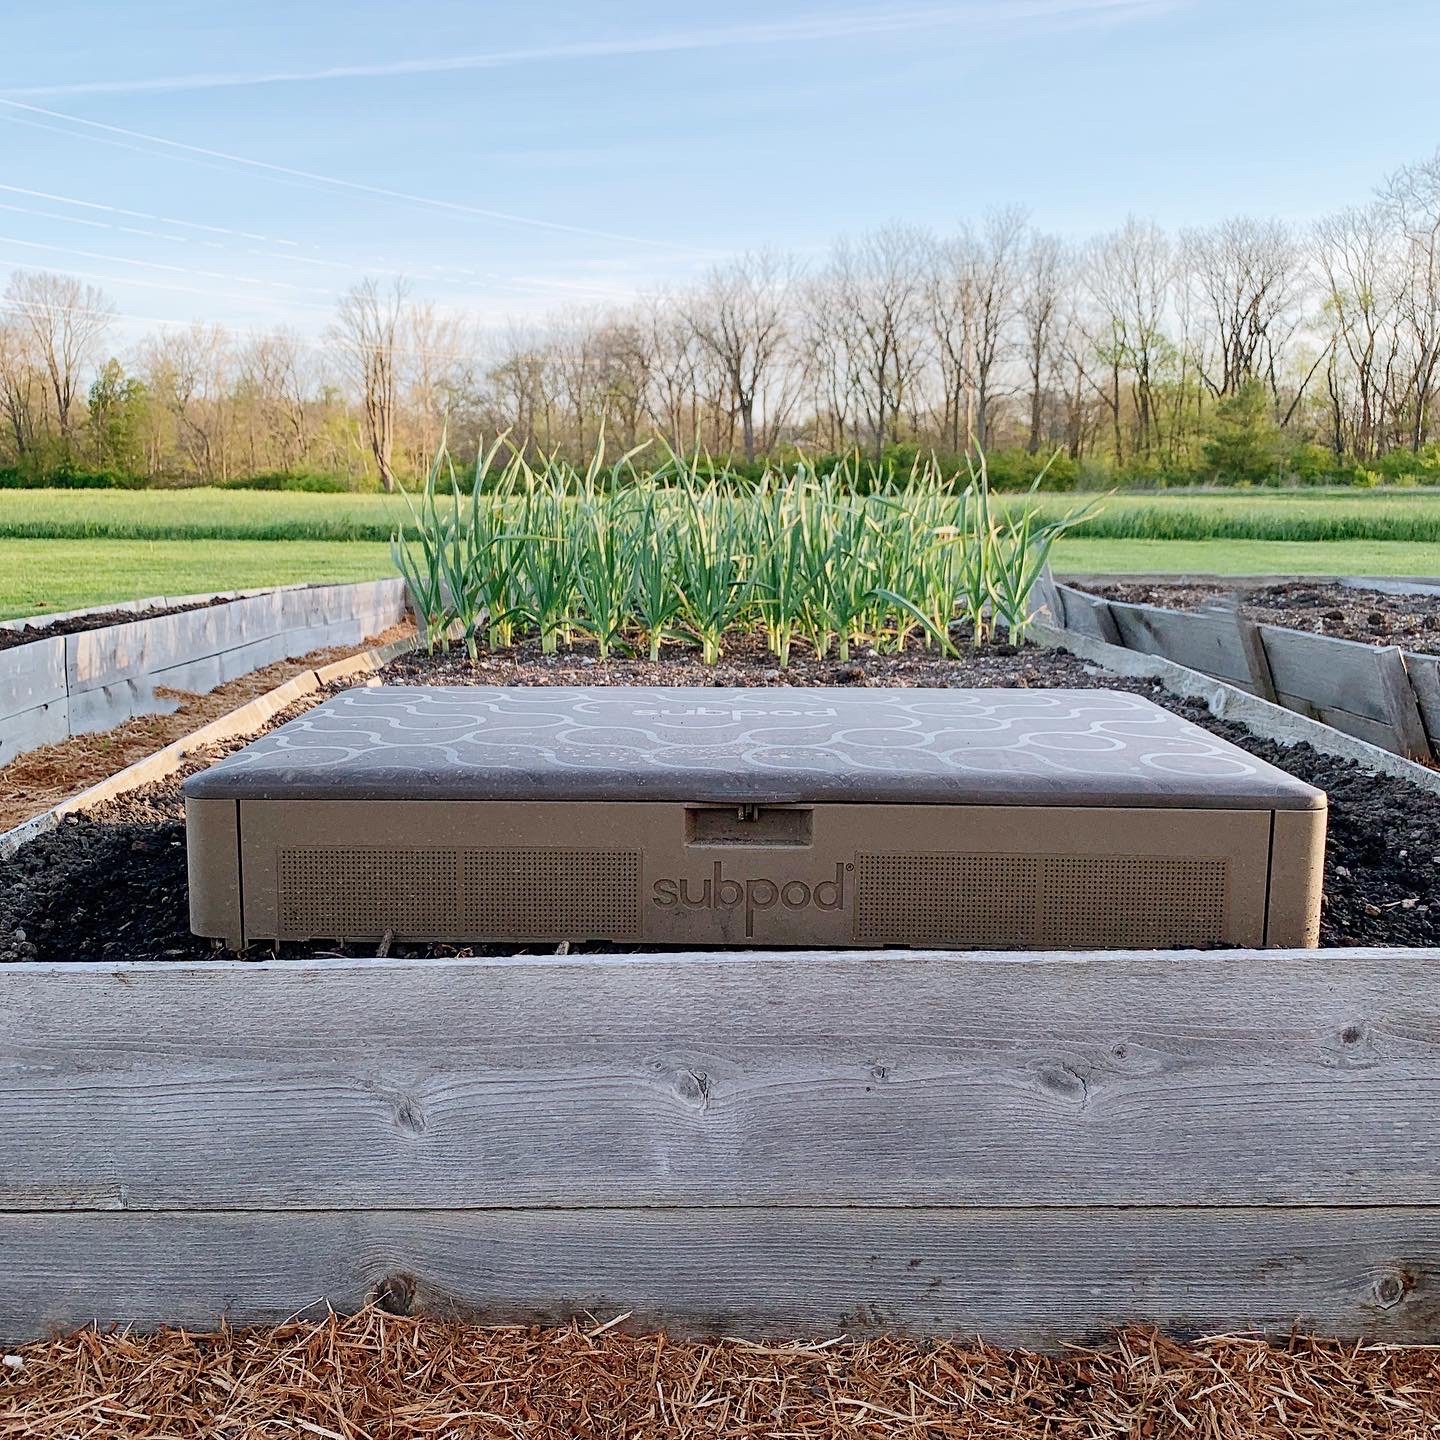
The Subpod bin has holes throughout that allow the compost worms to come and go as they please. As scraps are added to the bin, they come and feed. When they’re done, they have the ability to leave the bin to nurture and aerate the garden soil. As a result, you’re not only creating nutrient rich compost within Subpod, but the worms are working double duty aerating and nourishing the existing soil in your garden. Neat, right?!

Photo Source: Subpod
A single system claimed to be able to churn through 30lbs (30 POUNDS!) of food waste a week, so it definitely sounded like a “big” enough solution for us, and we had the space to put a system in our garden, so we went for it. We actually got two (2) Subpods. We wanted to test putting a Subpod in one of our raised garden beds as well as one in the ground.
It’s been two years of testing both throughout summer, spring, autumn and winter here in Indiana. These compost bins have seen it all, and we’ve gathered some thoughts to share.

P R O S
EFFICIENT. Subpod claims a single compost bin + worm farm can churn through 30 POUNDS of scraps in a week. I haven’t actually tested this by weight, but I will admit it does significantly better than any other compost system we’ve tried in the past, especially in the summer and fall. When the worms are happy and thriving, they eat about anything (Subpod even allows meat and dairy; a big no-no in any other compost system) and do so efficiently.
SMALL. The in-ground units are incredibly small given the amount of work they do throughout the year. You can fit this in a garden bed or in the ground without needing much of a yard at all. They even sell a Mini Unit and a Balcony Garden Planter that could be used if you don’t have a yard at all!
EFFECTIVE. Yes, you really do get to harvest compost regularly. It works! I’m amazed time and time again. Once the unit is officially up and running optimally (usually within a few months), the worms can really churn through scraps and rich compost can be spread regularly throughout the garden.
CRITTER FREE. An open compost pile or bin is well known for being a critter haven, especially if not maintained regularly. Subpod is great because it is almost completely underground with holes big enough to allow for proper air flow yet small enough to keep out any common pest. The lid also comes with a locking ring that even the most cunning animals wouldn’t be able to crack. We’ve never had any critter incidents while using Subpod.
NO SMELL. Depending what you’re throwing in your compost pile, how often you’re turning it, the amount of carbon added, etc., some people report it being smelly. We haven’t found that to be the case with Subpod. The key to healthy compost is air, and with a unique 360-degree ventilation system, your compost gets plenty of that.
C O N S
COST. Getting Subpod setup initially is much more expensive than just creating a compost pile in your yard or utilizing a small compost tumbler. You will have to buy the unit itself, composting worms, and maybe even some coconut coir or other filler as needed. At the time this blog post went live, the standard compost bin + worm farm is $220. I would actually highly recommend going for the Bundle which includes the aerator, and that total is $236. You will also need to buy worms. Subpod is now selling them and it will run you about $58.
WINTER. Subpod can work year round, but it takes effort and planning if you live in a place with cold and snowy winters. Subpod shared this blog post back in February 2021, and it’s what we followed to figure out the best solution for our Subpod. If you choose to add a heat source, that takes time and money to get setup. If you don’t, it’s likely your worms won’t survive the winter (and you obviously won’t be able to compost in the winter either), and you’ll need to repurchase worms each spring.
PLASTIC. The entire Subpod bin is made out of plastic. That’s not a problem, necessarily, but we have found the lid hinges and lid stay mechanism to break over time. I’ve reached out to Subpod and they have provided replacements free of charge. The replacements have seemed more sturdy than our originals (I think the upgraded design is standard on new units), but even the replacements have broken with time. We have really strong winds where we live which has proven to wreak havoc on the Subpod lid. If you also have strong winds, I’d recommend utilizing the lid locking ring to ensure the lid doesn’t fly back and break off.
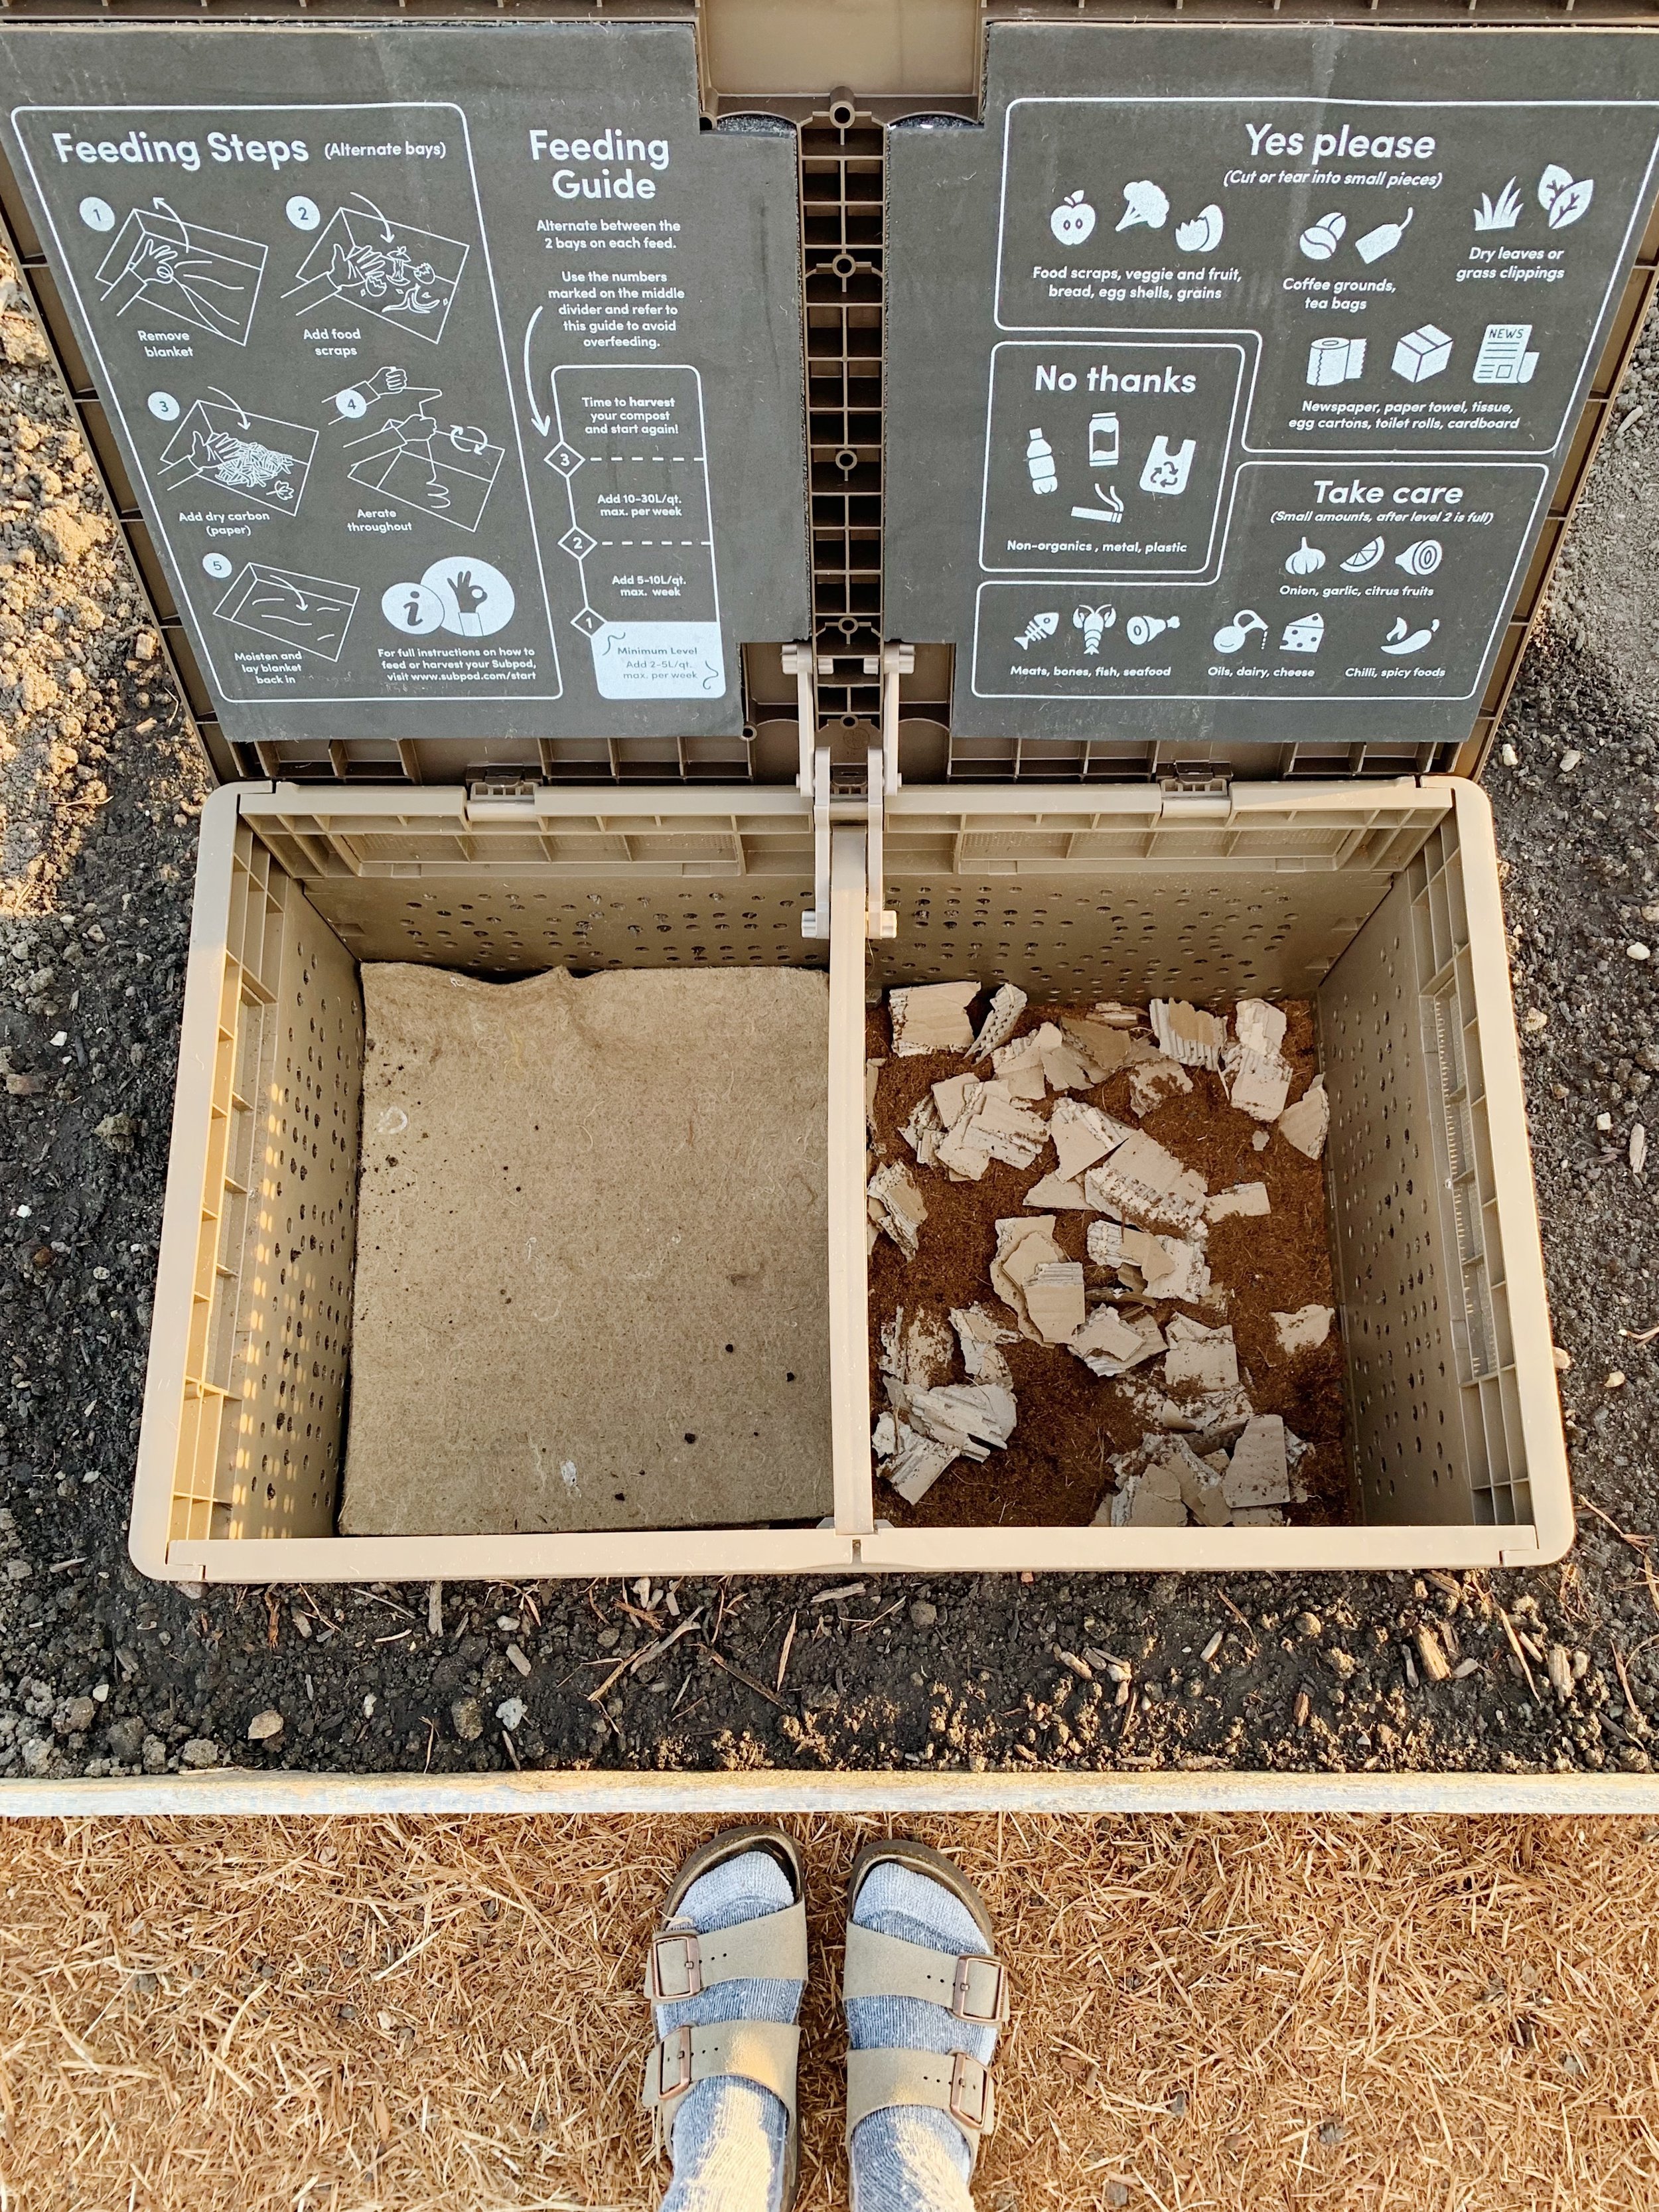
CARBON. After two years of use, we’ve found the best way to keep our compost bins happy is by keeping a high amount of carbon in the system at all times. The worms will eat the food scraps (green material), but they also need carbon (brown material). This could come in a lot of forms, but we typically use newspaper. My parents still get a daily newspaper, so they always keep them and bring a huge stack to our house when they visit. I often wonder what we would use if not for my parents newspaper, because we go through A LOT of it. Just something to keep in mind.

Would you recommend a Subpod Compost Bin + Worm Farm?
Yes. We’ve been extremely pleased with our Subpod bins over the last two years. They have worked extremely well and have held up to all four seasons here in Indiana. They’ve also been awesome teachers for our girls to learn all about compost - food scraps, carbon, compost worms, soil, and gardening.
As I noted above, we have two (2) Subpod bins. We installed one (1) in an existing raised garden bed and one (1) in the ground. I definitely don’t think two is necessary for the average household, but we wanted to be able to test both installation options. Here are a few thoughts on each setup:
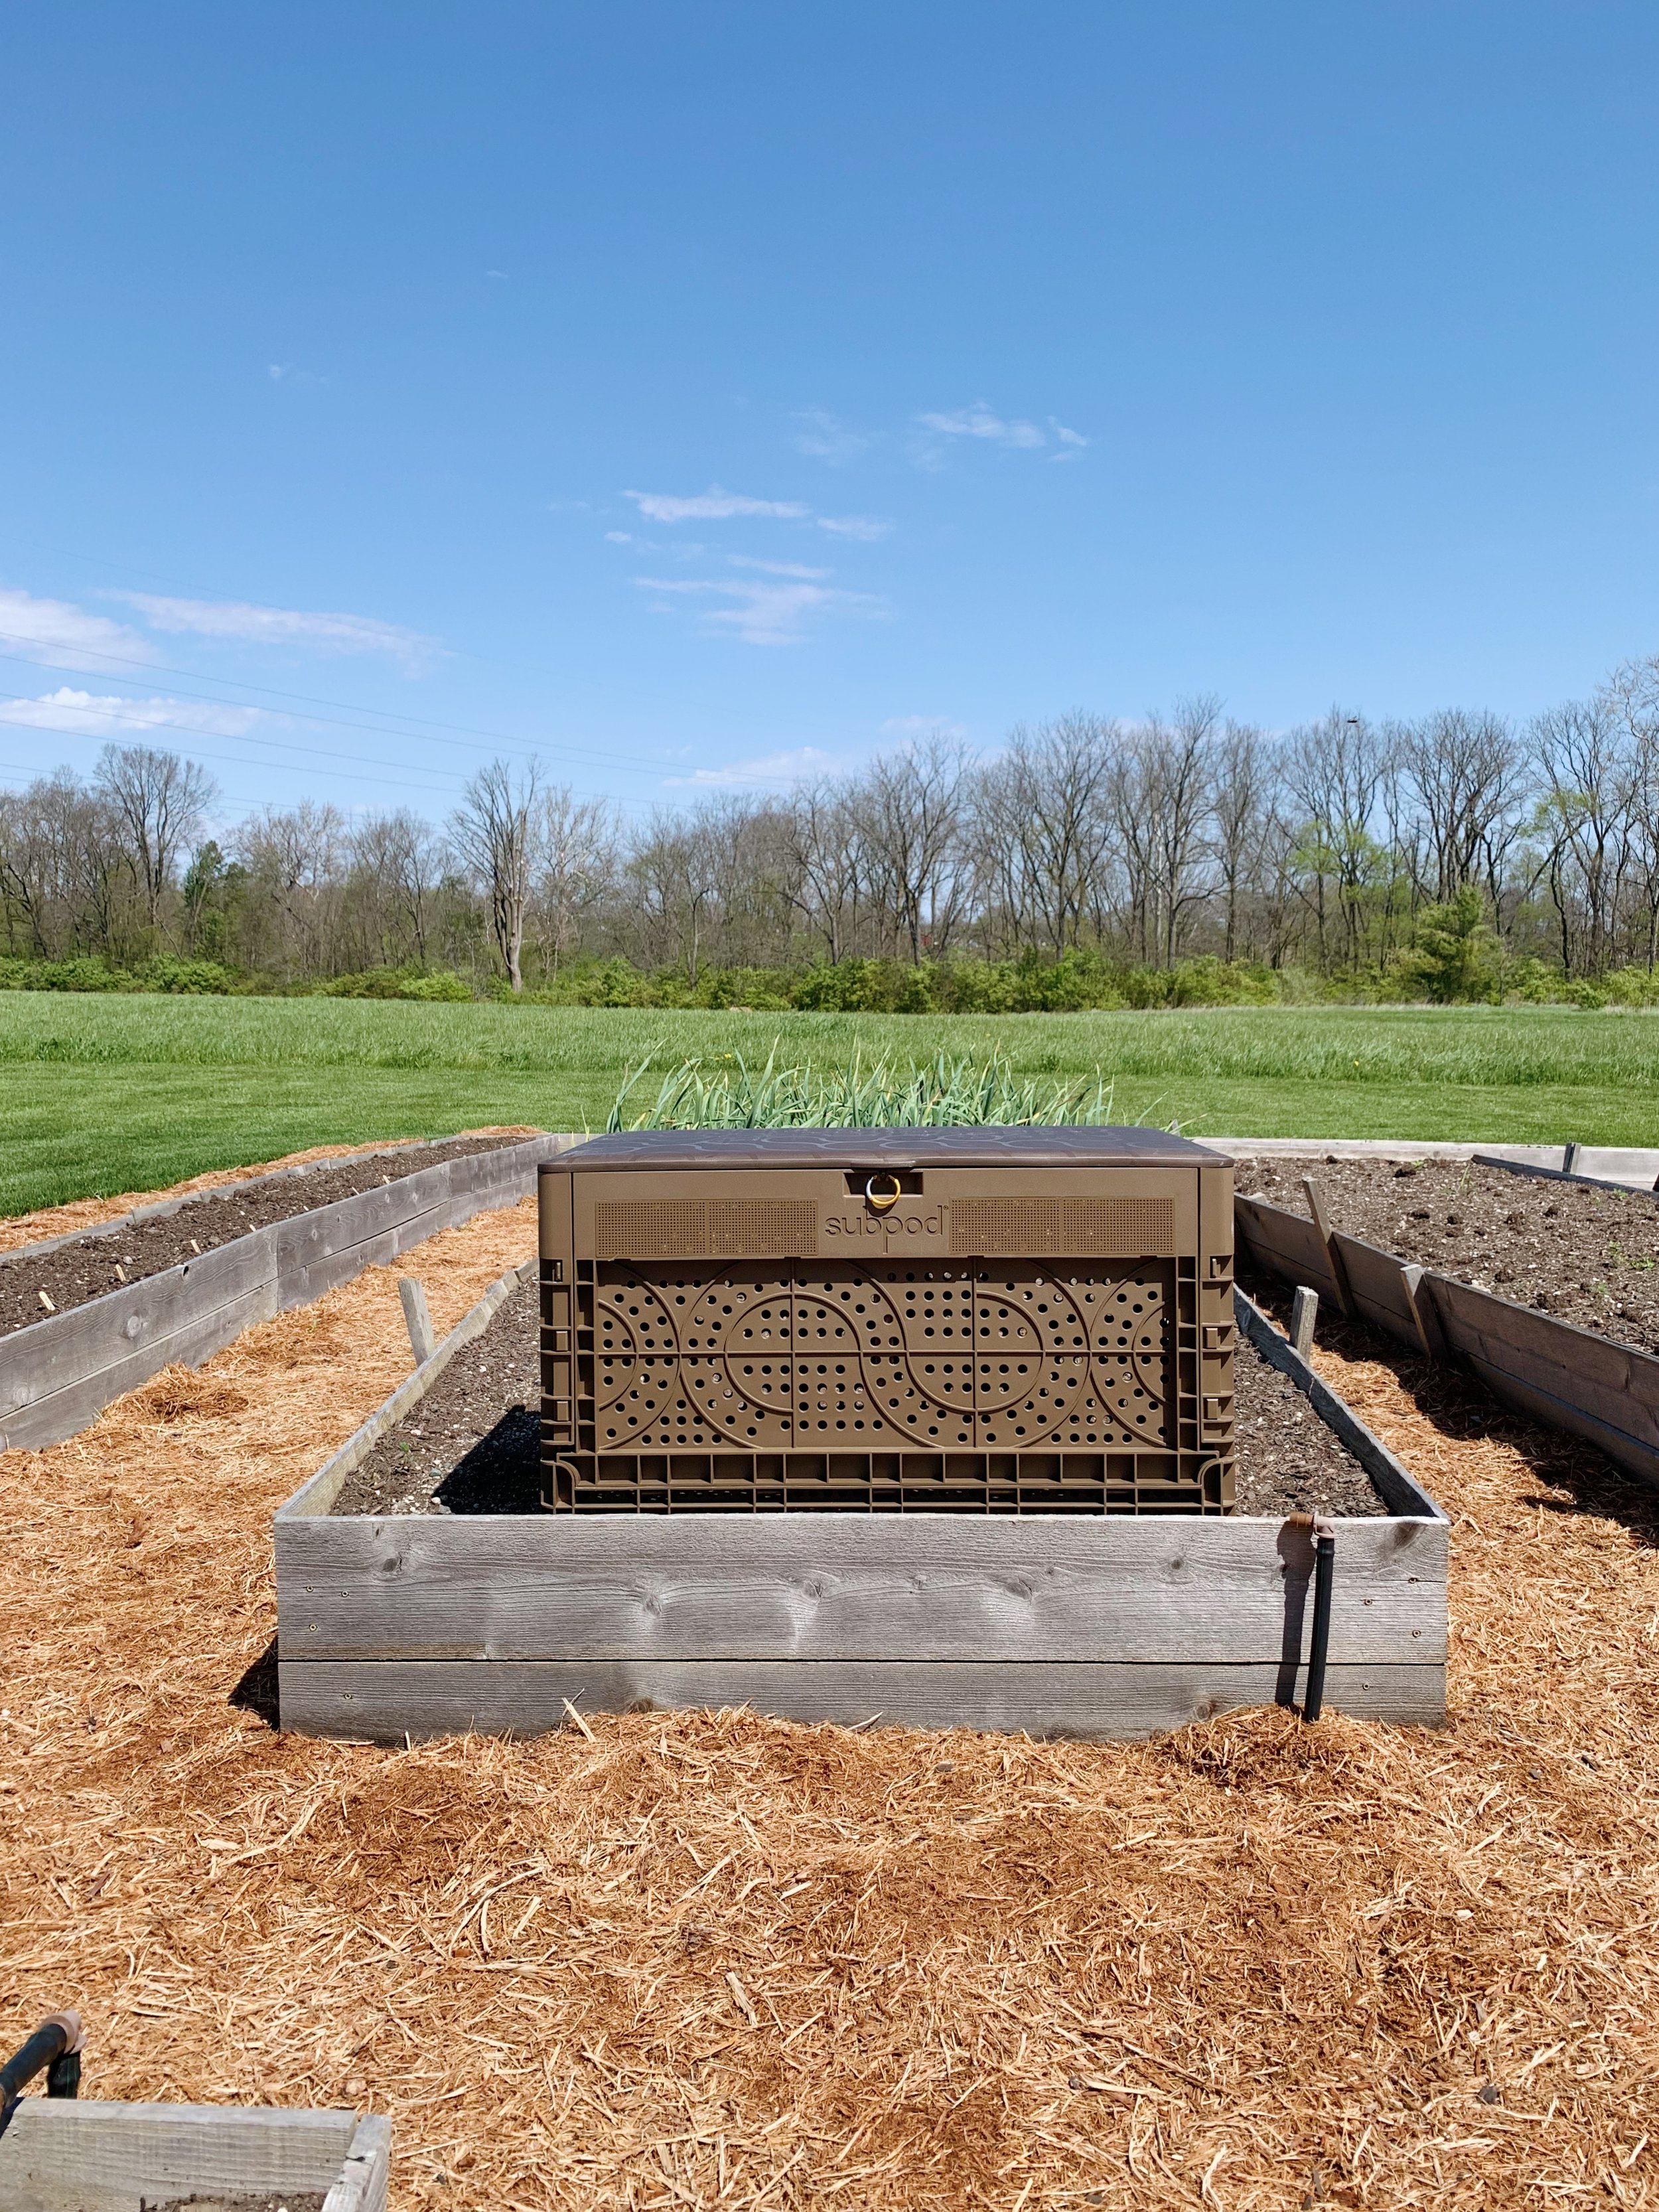
Subpod installed in a raised garden bed:
The ability for the worms to leave the bin and nourish + aerate the garden soil is amazing. We’ve definitely seen improved soil and plant health from the garden bed that has the Subpod installed.
The raised height is nice if you want to sit on Subpod as well as on your back when adding scraps, aerating, removing compost, etc.
Initial installation of the Subpod unit is quite a bit easier in a raised garden bed because the soil is likely not compacted. You’ll just need to make sure your bed is deep enough to accommodate the entire bin.
Subpod installed in the ground:
The biggest upside to an in-ground Subpod is the even temperature year round. The unit stays much more consistent, regardless of ambient air temperature - both in summer and winter. Our in-ground bin is much more efficient in the winter than our raised garden bin. If you have extremely cold winters, I’d definitely recommend an in-ground unit.
The girls like the in-ground bin because it’s right at their height for sitting on top while we’re working in the garden or for peering at the worms when we add scraps and aerate.
Initial installation is more work because you’re going to have to dig a pretty good sized hole. If you have compact soil with lots of clay like us, it’s a workout.
Harvesting compost looks like me on my hands and knees crawling all over the ground. It isn’t hard, but it may not be preferred. ha!

f a q
Upkeep? What do you have to do to maintain it? How many times/week do you tend to it?
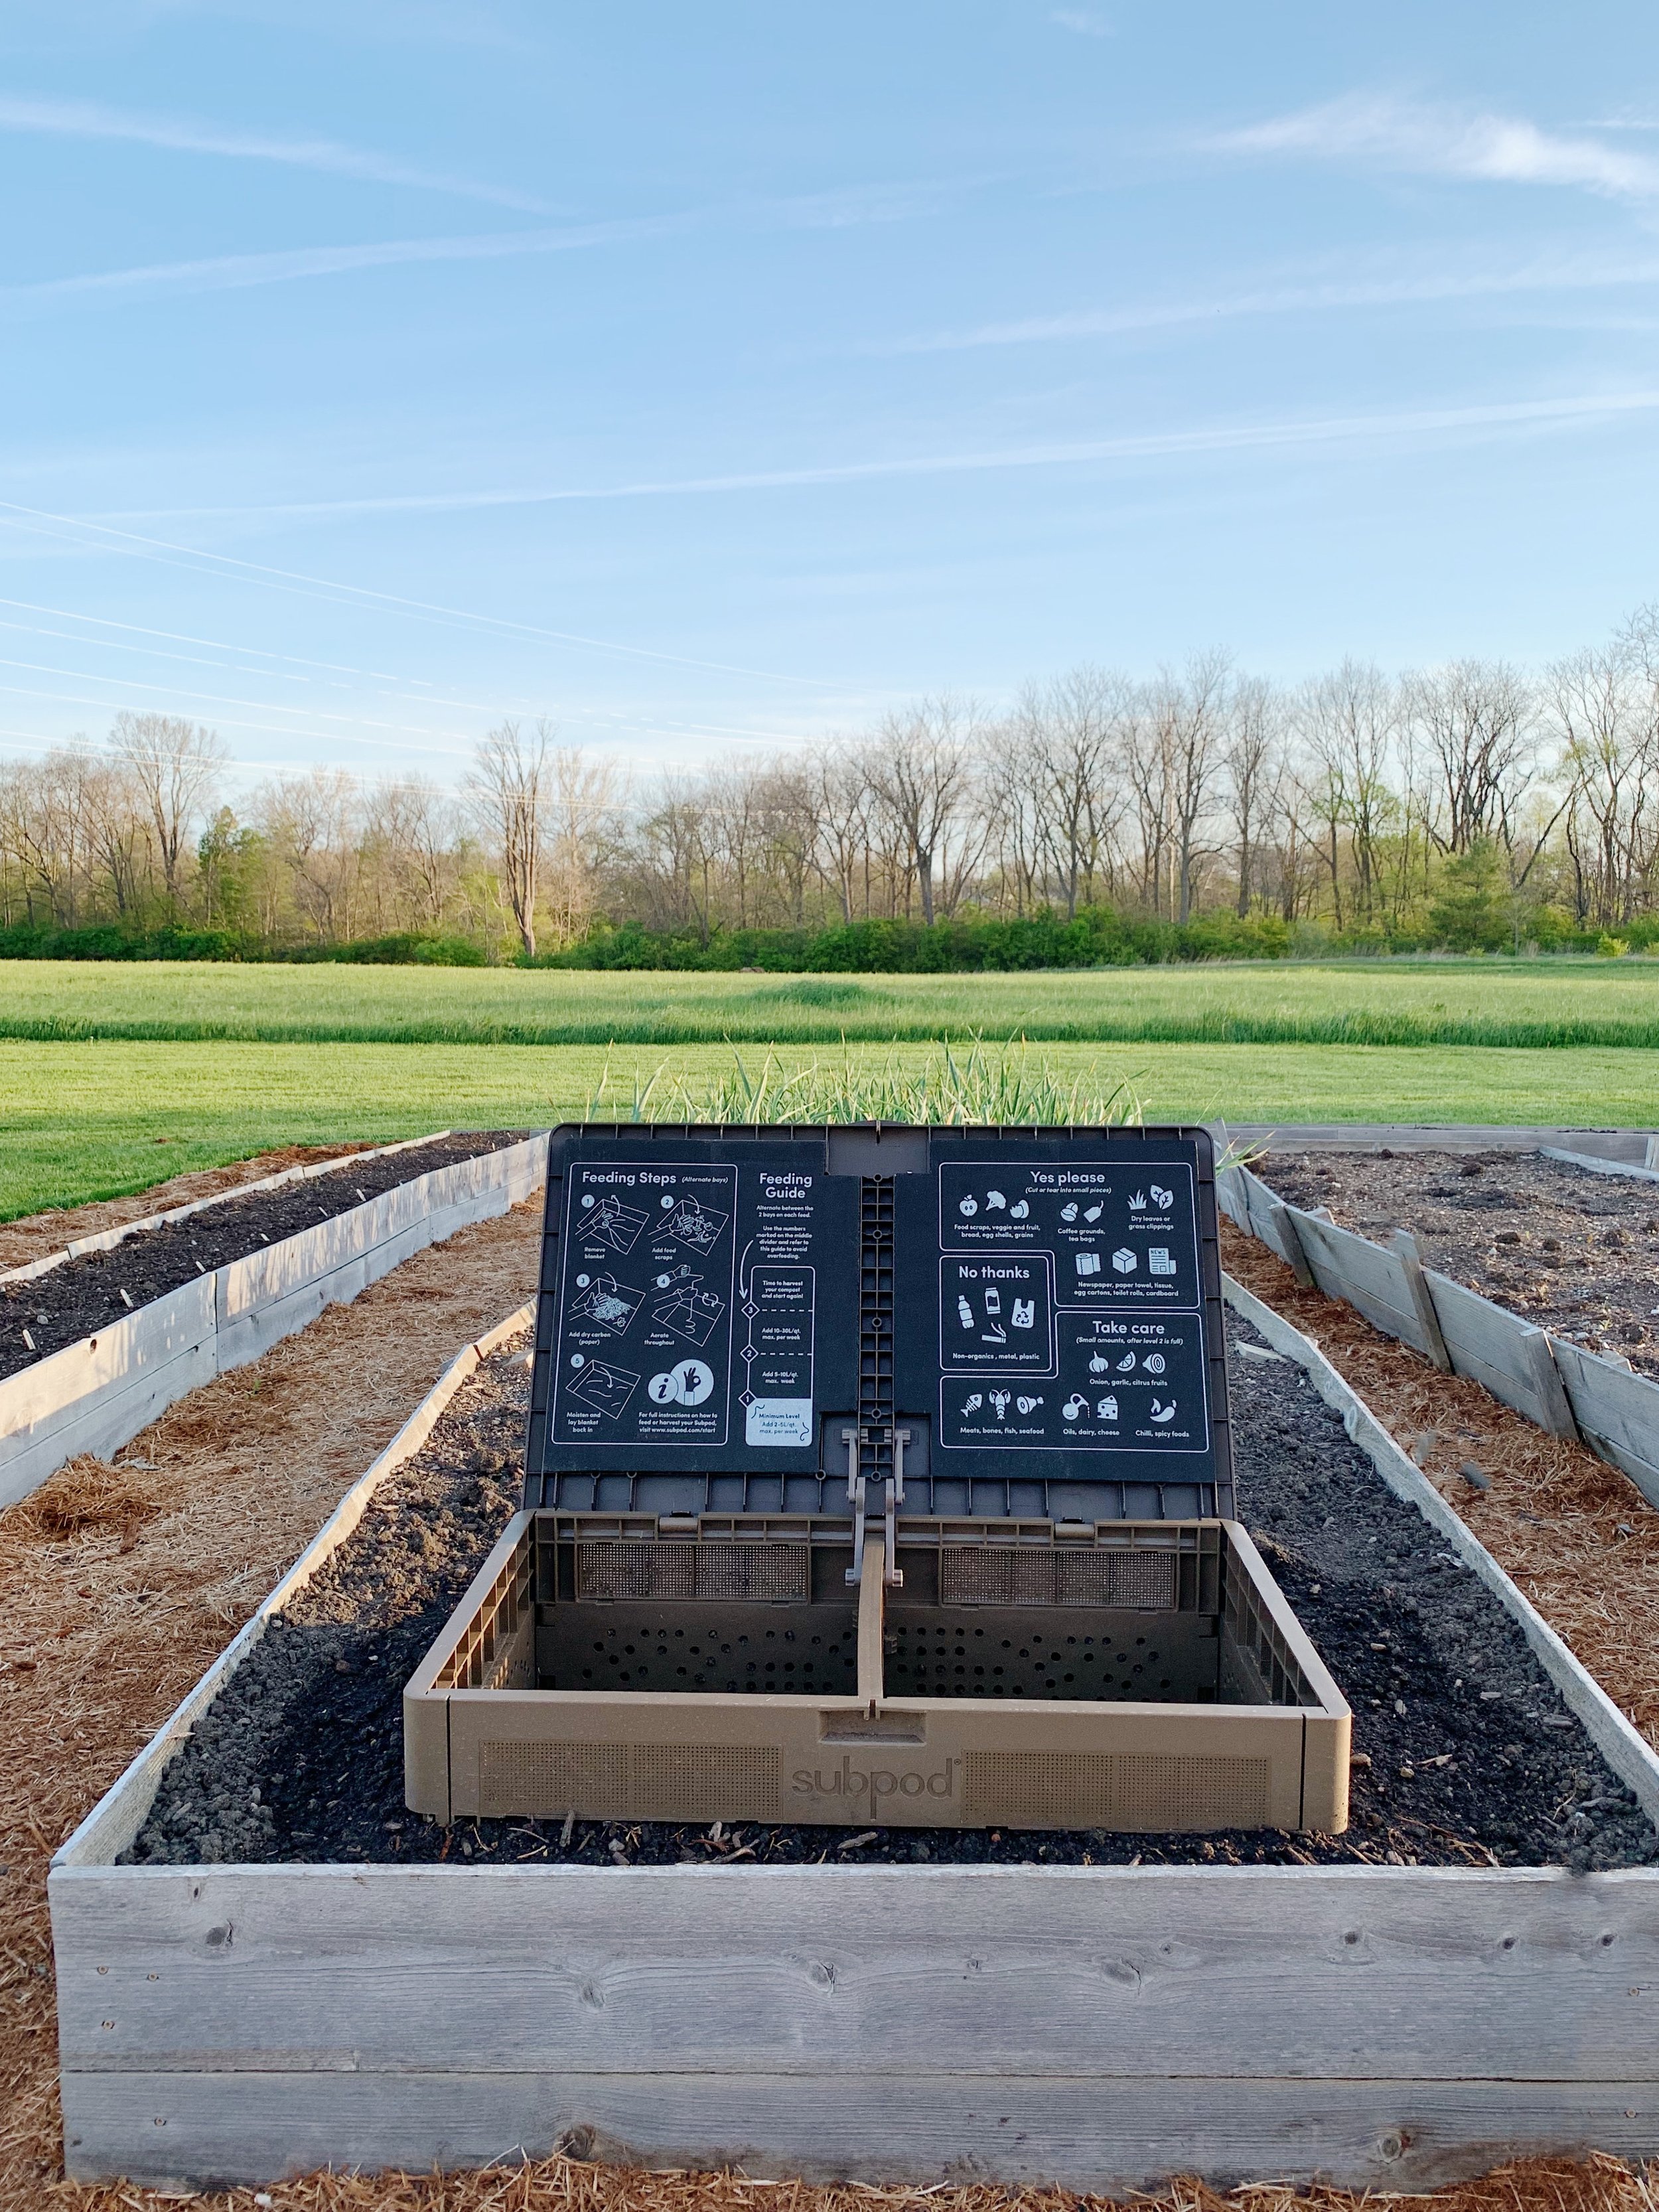
I cook a lot, so we have a lot of food scraps in our family. I dump our indoor compost bin into Subpod just about every single day. I usually add a handful of carbon whenever I add food scraps and aerate as I do. I may not aerate every time, but I usually do so 2-3x/week. All of this can be done in as little as five minutes a day.
Once it’s time to harvest the compost, that takes a bit more time - maybe 15-20 minutes. It really depends how much you’re removing and where you’re taking it.
Can you still use Subpod in the winter?
The most asked question! Short answer, yes. Long answer, it takes some effort depending where you live. If you live in a warm climate year round, you don’t need to do anything special to keep Subpod going. If you have cold and snowy winters like us, you have some options:
Subpod shared this blog post back in February 2021, and it’s what we followed to figure out the best solution for our Subpod. We ended up investing in the “Ultimate Winter Solution”. We bought the recommended heated seedling mats for both units and a thermostat to regulate the temperature. We’ve used the setup for two years now, and it has held up well AND has kept our worms alive. We are able to compost all year round with this solution, although the worms are not as efficient in the winter. I just make sure to have both sides of the Subpod bin nearly empty at the end of fall to ensure I have plenty of space to toss our winter scraps.
Also, as I noted above, if you have extremely cold winters, I would recommend installing Subpod in the ground as opposed to a raised bed. The in-ground unit keeps a much more even temperature year round and our worms have been much happier throughout winter in that unit.
Does it attract animals?
An open compost pile or bin is well known for being a critter haven, especially if not maintained regularly. Subpod is great because it is almost completely underground with holes big enough to allow for proper air flow yet small enough to keep out any common pest. The lid also comes with a locking ring that even the most cunning animals wouldn’t be able to crack. We’ve never had any critter incidents while using Subpod.
Cost? Initial and ongoing?
At the time this blog went life, a standard Subpod compost bin is $220. I would highly recommend getting the “bundle” which includes an aerator as well, and that is $236. You will also need to buy compost worms. To get the system up and running, it is recommended to start with at least 1,000 worms which will run you about $58. So all in you’re looking at about $300.
As far as ongoing costs, it depends where you live and how cold of winters you have. If you have super cold and snowy winters and want to keep your system fully operational, you’ll need to buy some gear to do so (noted above). If you have cold winters but don’t want to invest in any of that, you’ll need to buy new worms each spring.

This post is not sponsored or in partnership with any of the aforementioned brands but the article contains affiliate links. When you shop via the links above I may make commission on a sale at no additional cost to you. All opinions are my own.