Simple Side Table Update

I really enjoy DIY projects - especially when it involves items I already own. This weekend, I decided to finally tackle a side table that has been begging for some love for months now.
I purchased this table at Target right before my junior year of college. I had been on the hunt for a side table all summer but was unable to find anything quite tall enough to meet my needs. My bed frame was extra high to allow for storage underneath, so just any bedside table wasn't going to cut it. I happened to run to Target one day and stumbled upon the outdoor clearance section with this table. It was perfect! I didn't care if it was meant to be used outside or not. I used it through-out my junior and senior years of college. When Tyler and I moved into our apartment after I graduated, the table came along, but I decided to finally use it for it's intended purpose - outside.
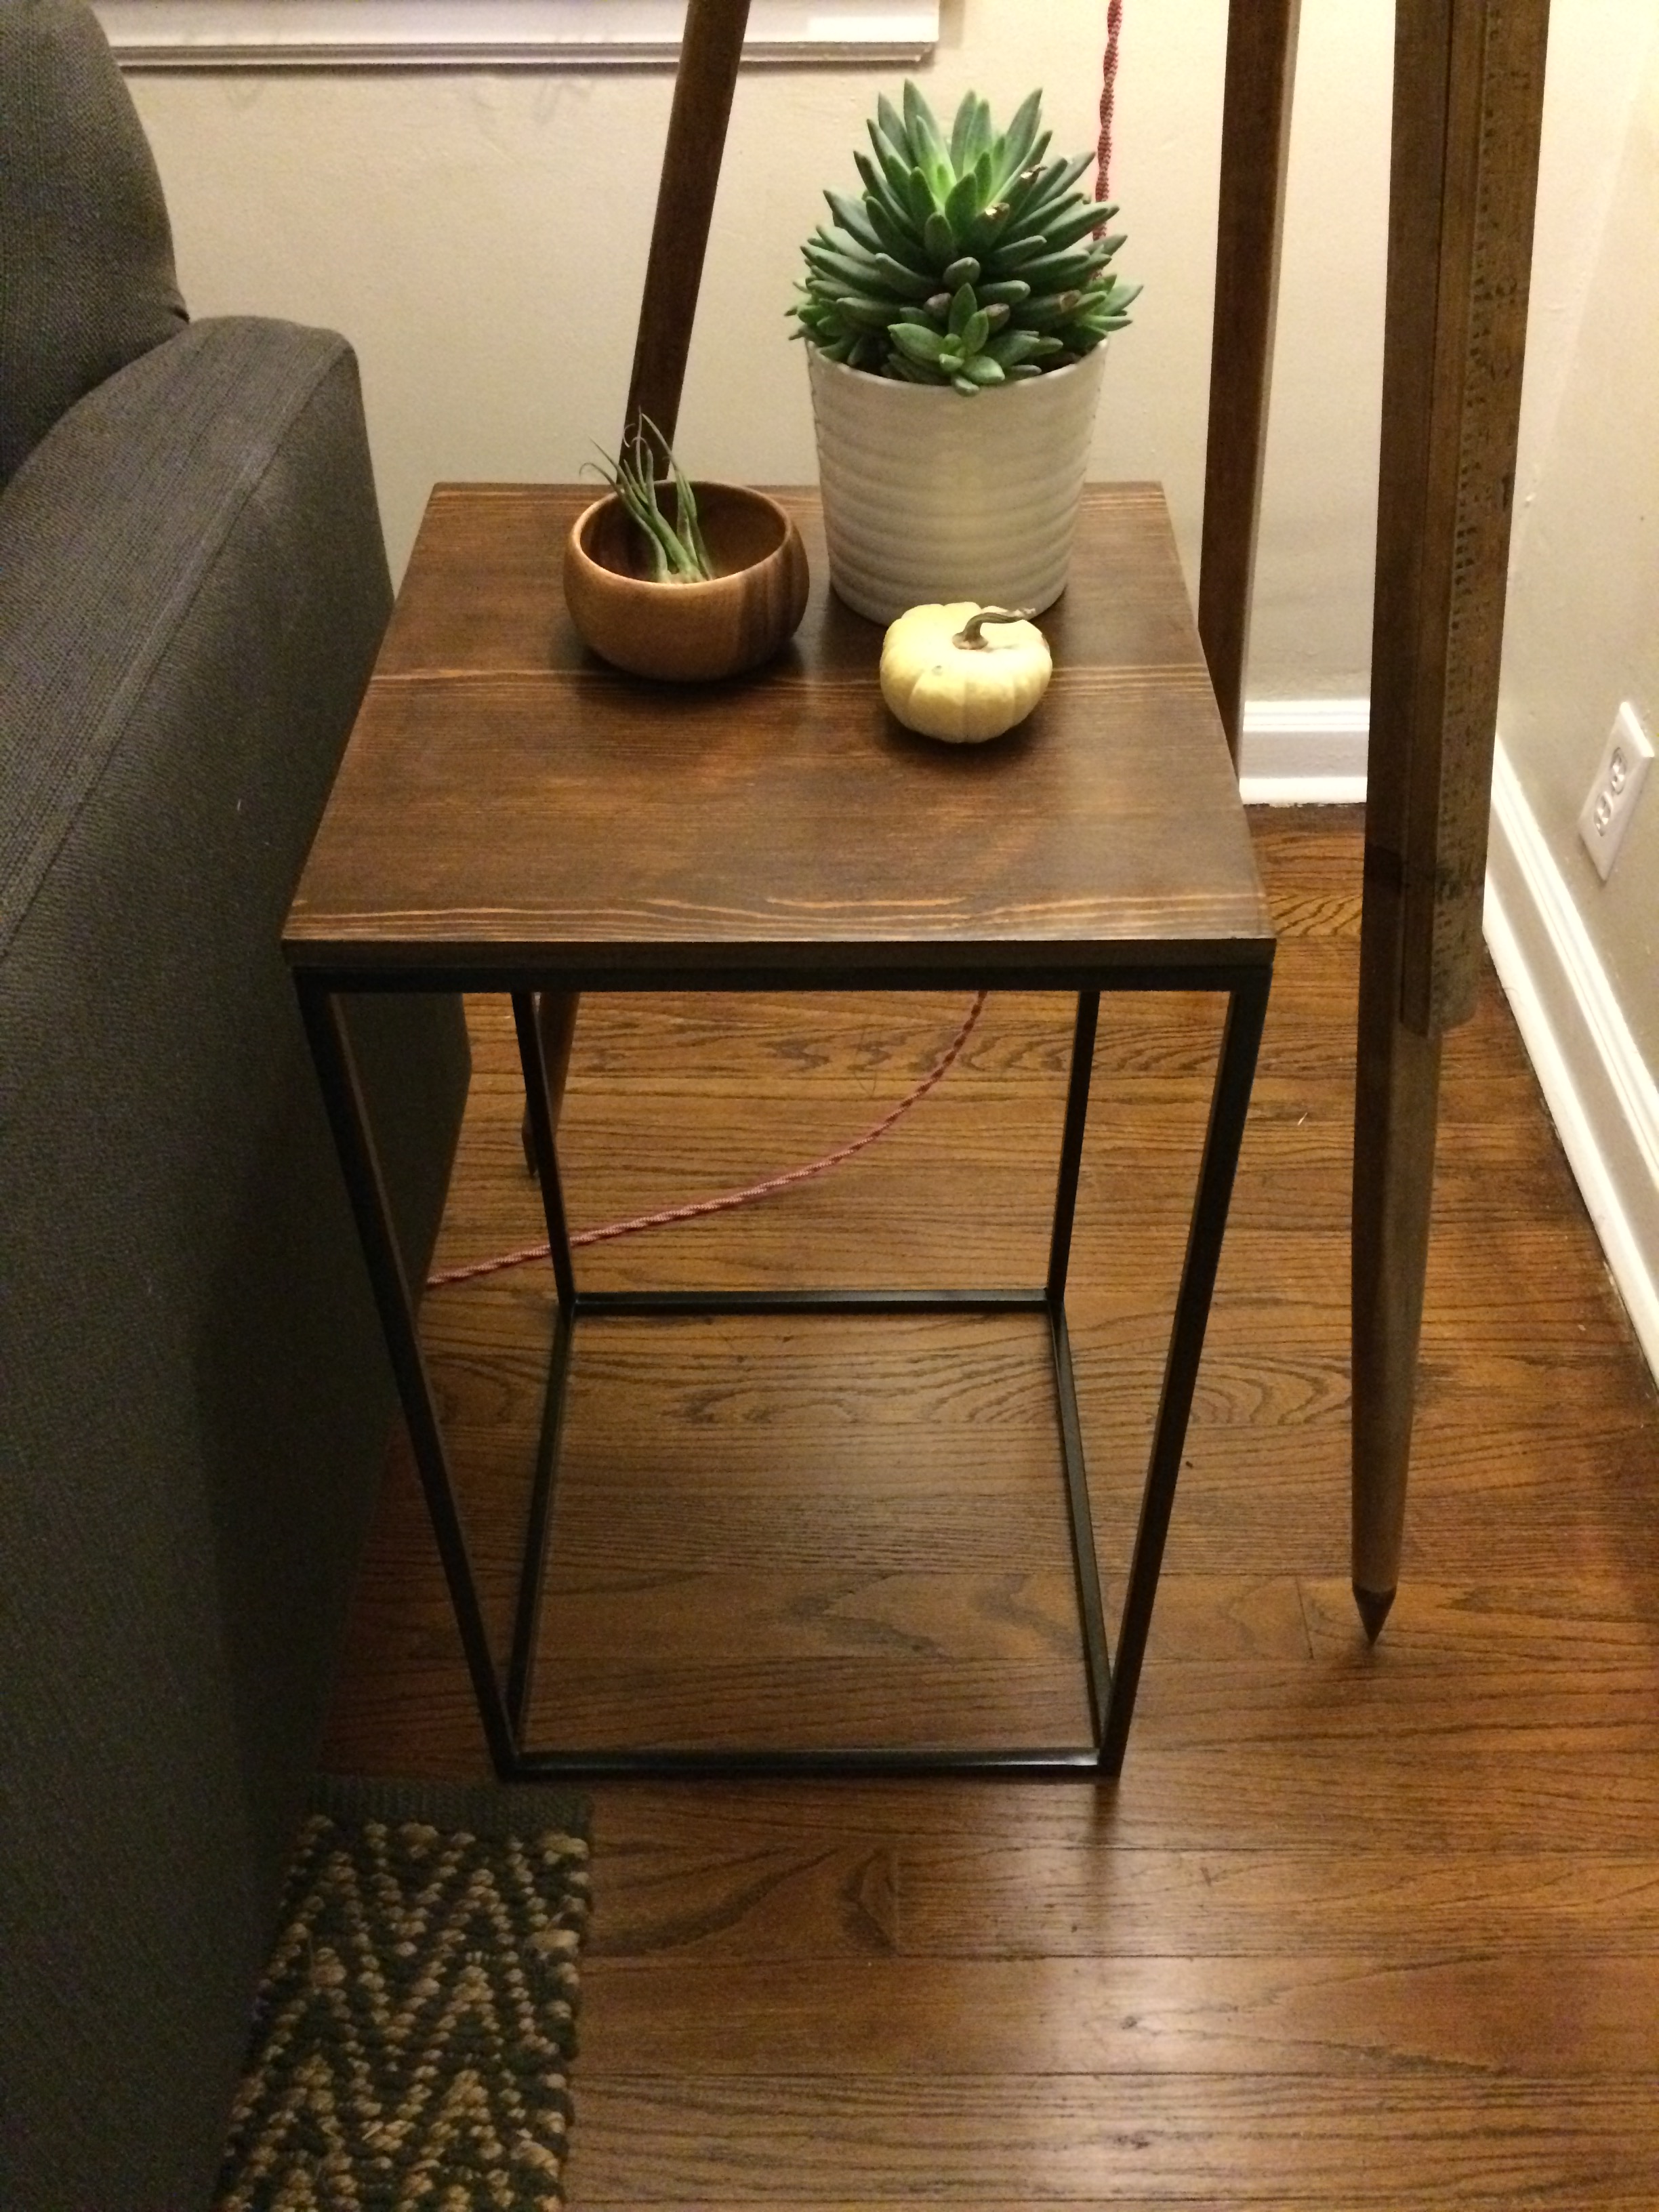
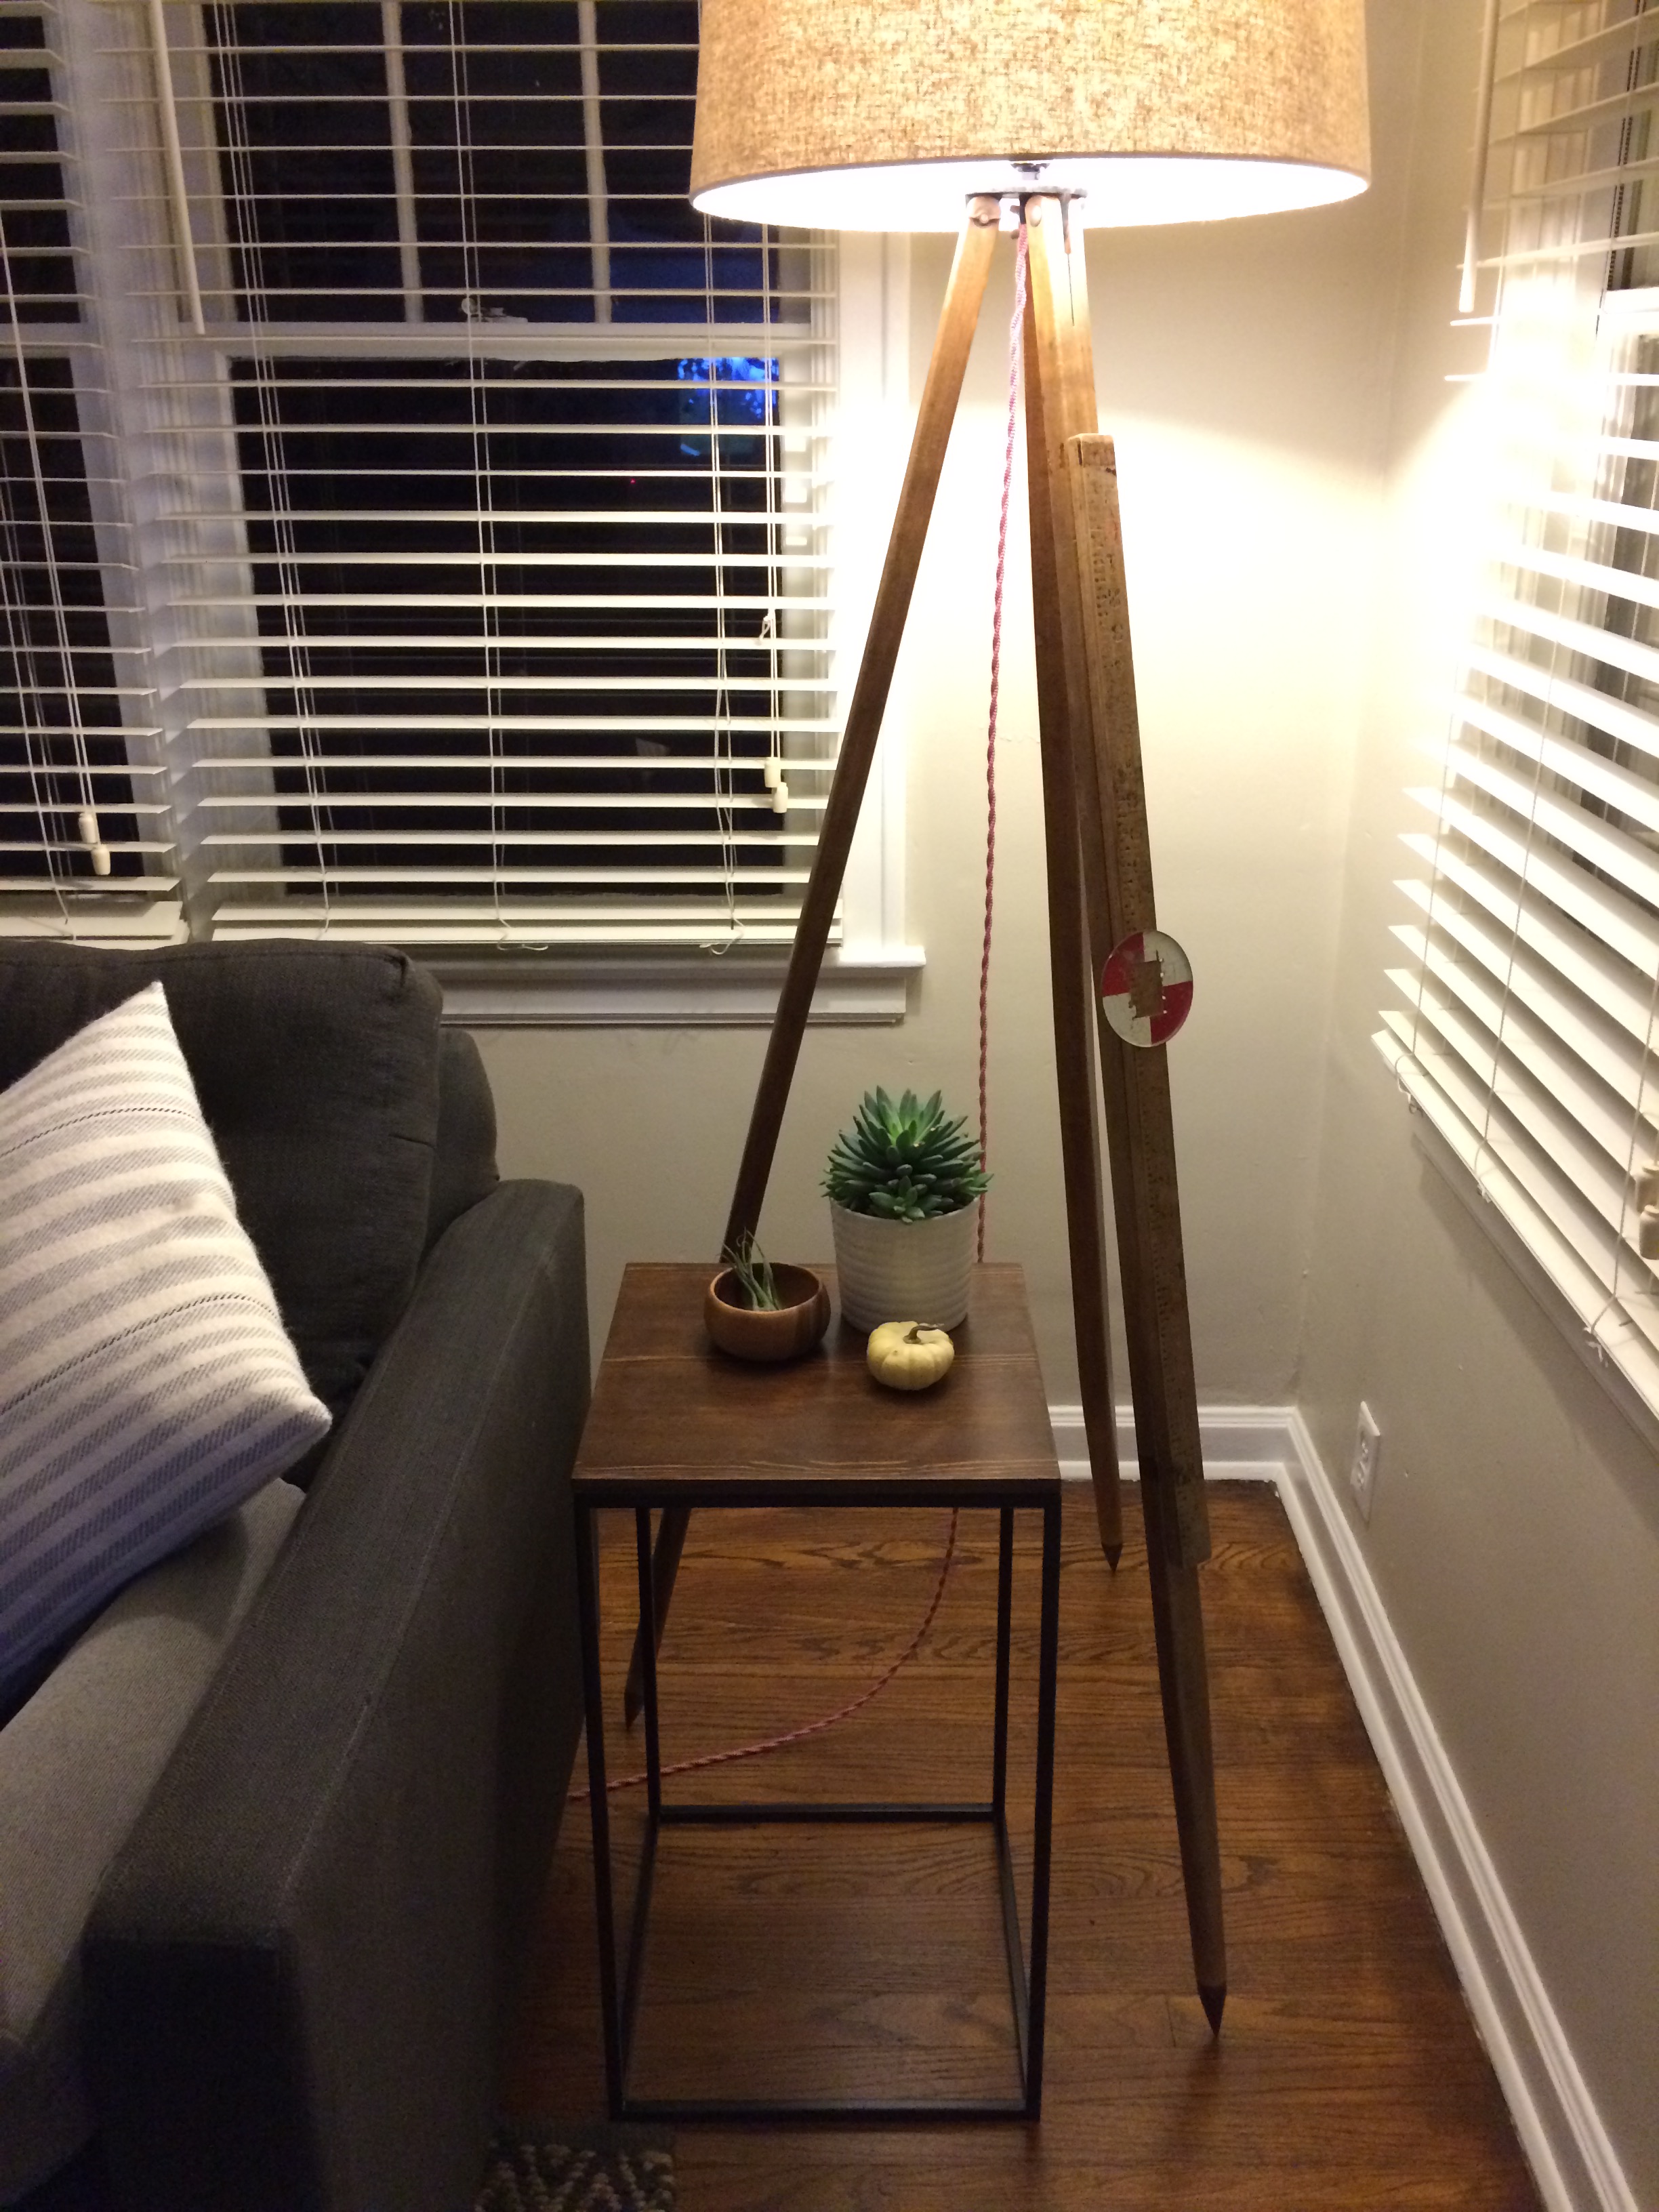
After 2 years of sun, snow, and rain, the poor thing had seen better days. The finish that used to be on the top had pretty much all worn off. Actually, if you touched it, it would just kind of flake off on you. The metal base was still in pretty good shape, but the color had really started to fade and a few rust spots were visible near the bottom. Despite the condition, though, I still really liked the style. We even started using it as a side table in our living room. I saw lots of potential. The thing just needed a little love!

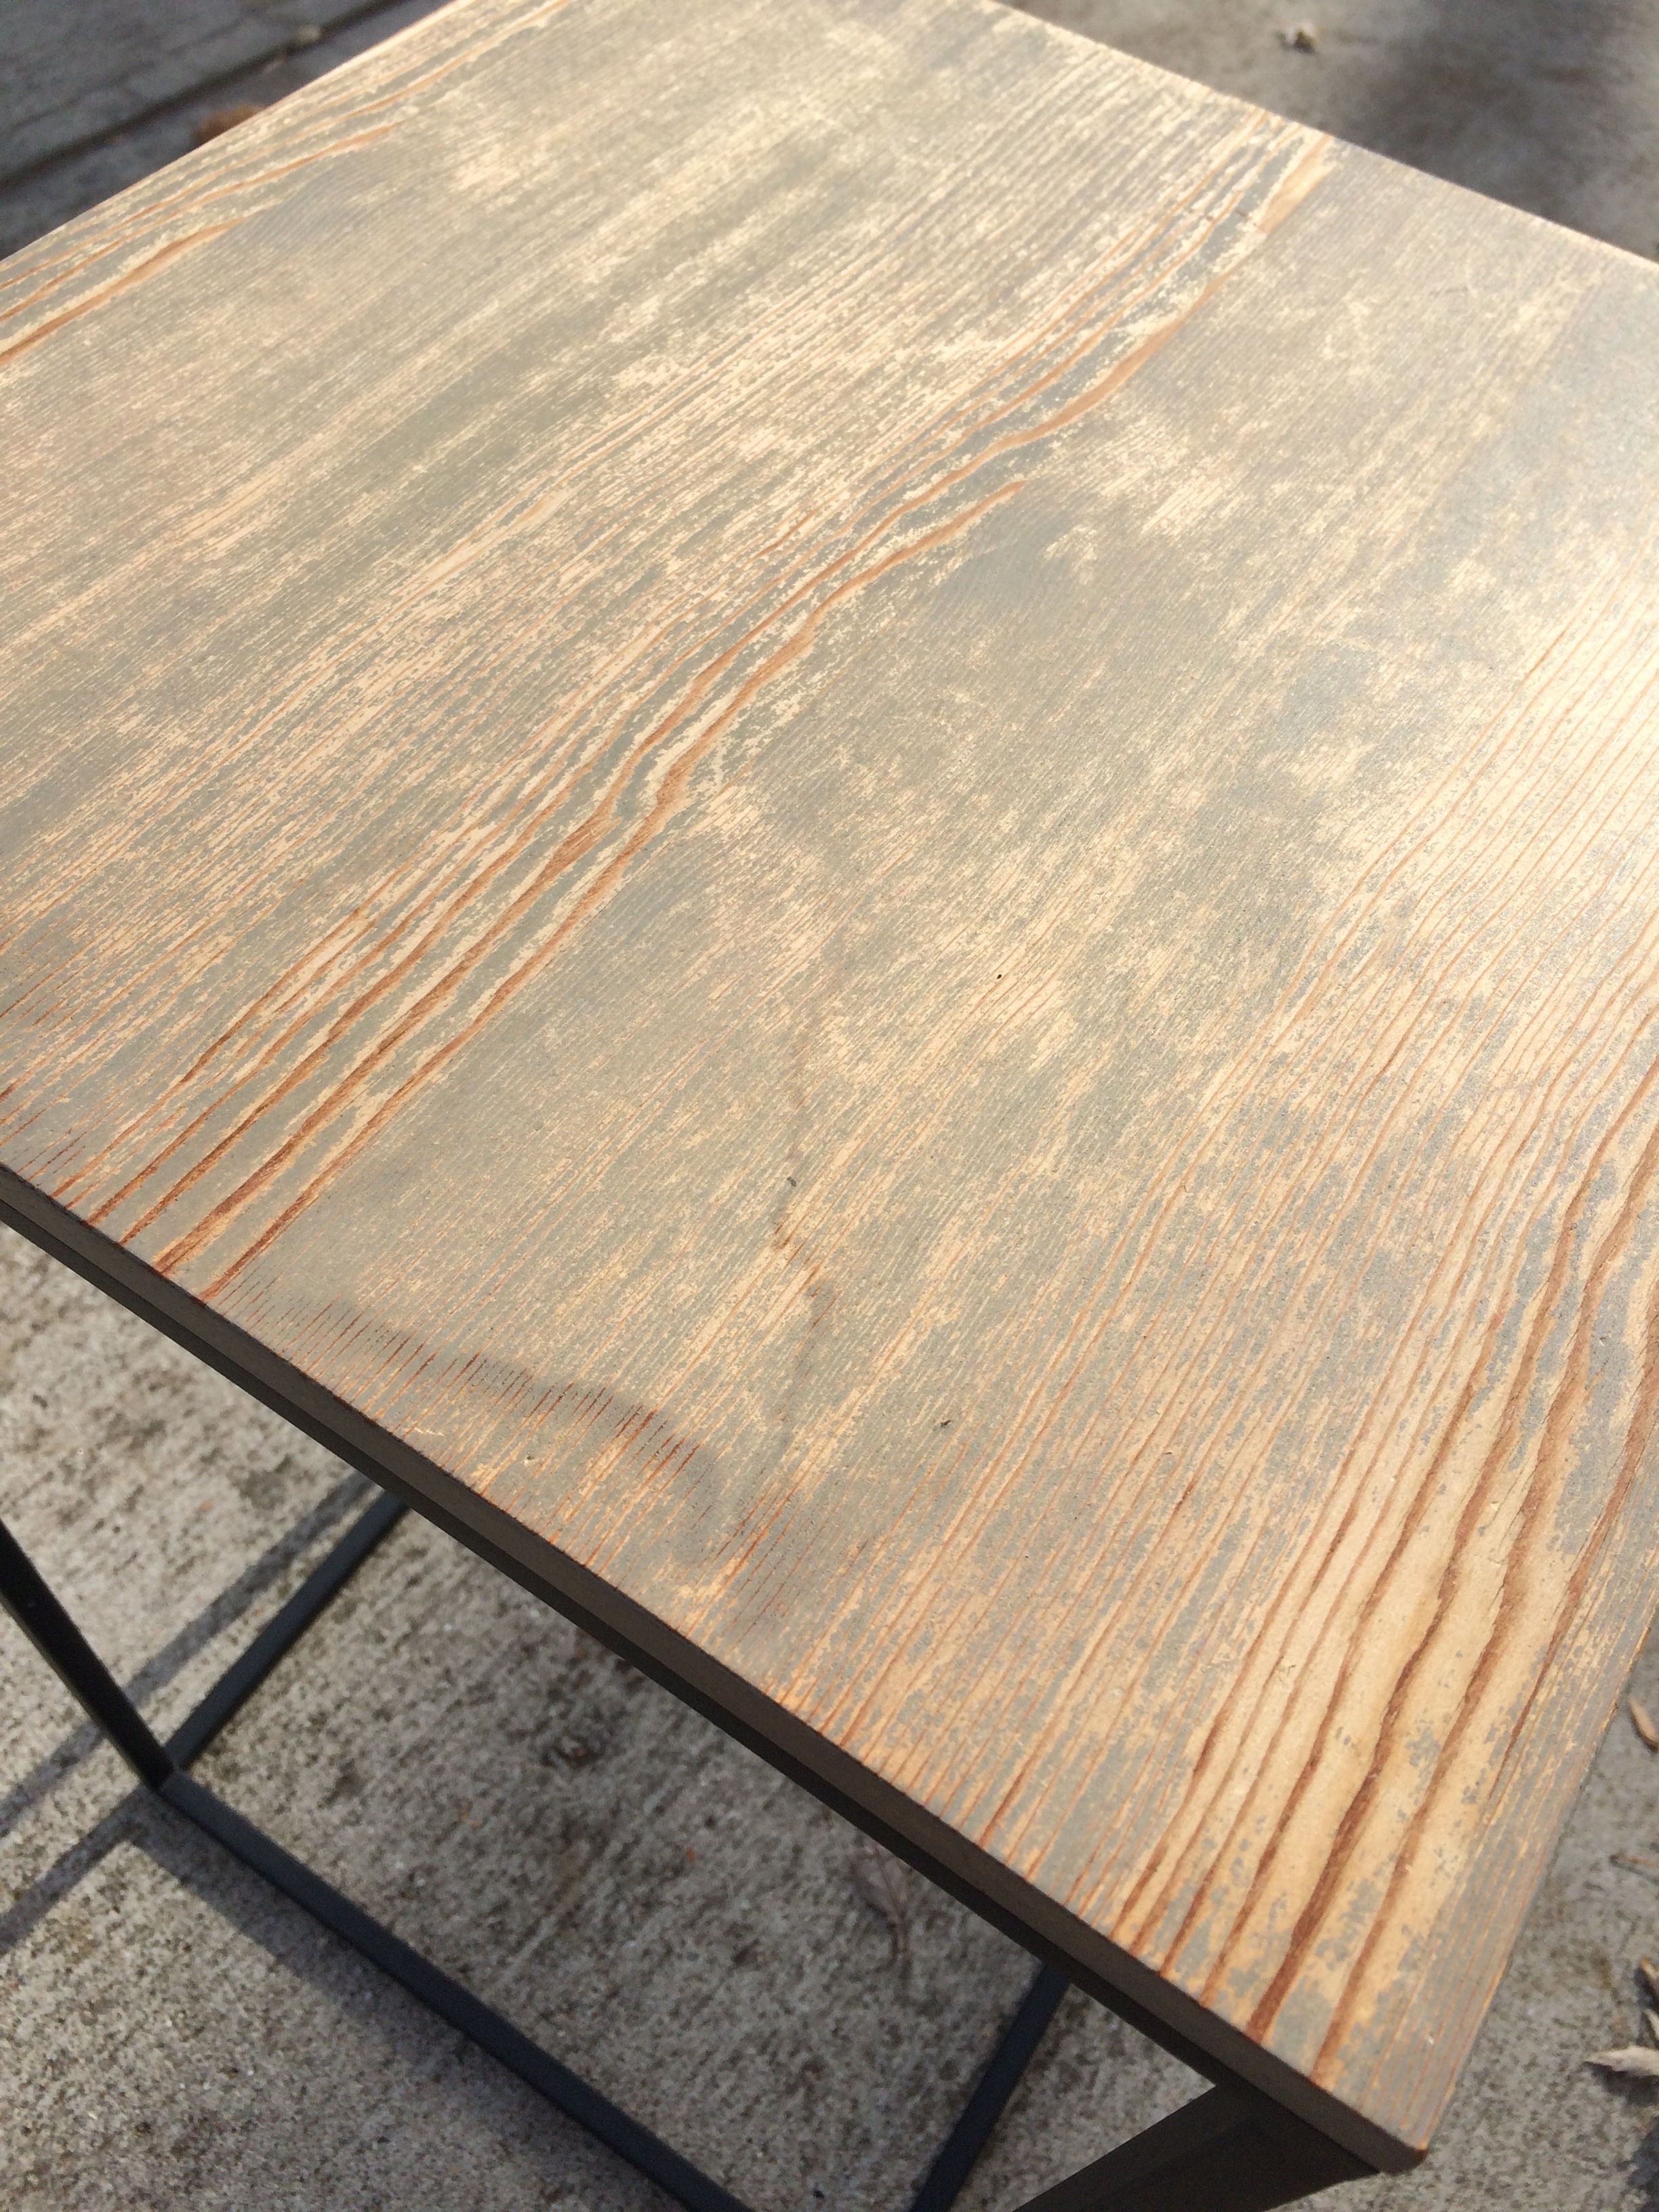
I started off by sanding the wood top. The old finish came right off and I was left with a perfectly good table top. I couldn't decide if I wanted to keep it light or stain it dark, so I moved on to the base instead. I attempted to remove the top to prevent any paint from getting on the wood, but the screws were completely stripped...

Have no fear. Nothing a little painter's tape and magazines can't fix!

I then sprayed scrubbed the entire base clean and spray painted it black. After the paint dried, I then removed the tape and magazines and decided the un-stained wood top just wasn't going to be the best fit for our living room. It looked kind of.... cheap? It was such a drastic contrast and the extremely light wood didn't particularly mix well with the rest of our decor. I knew I had some leftover stain in the basement, so I went on a search to see what might work.I found some in dark walnut and decided to give it a try.
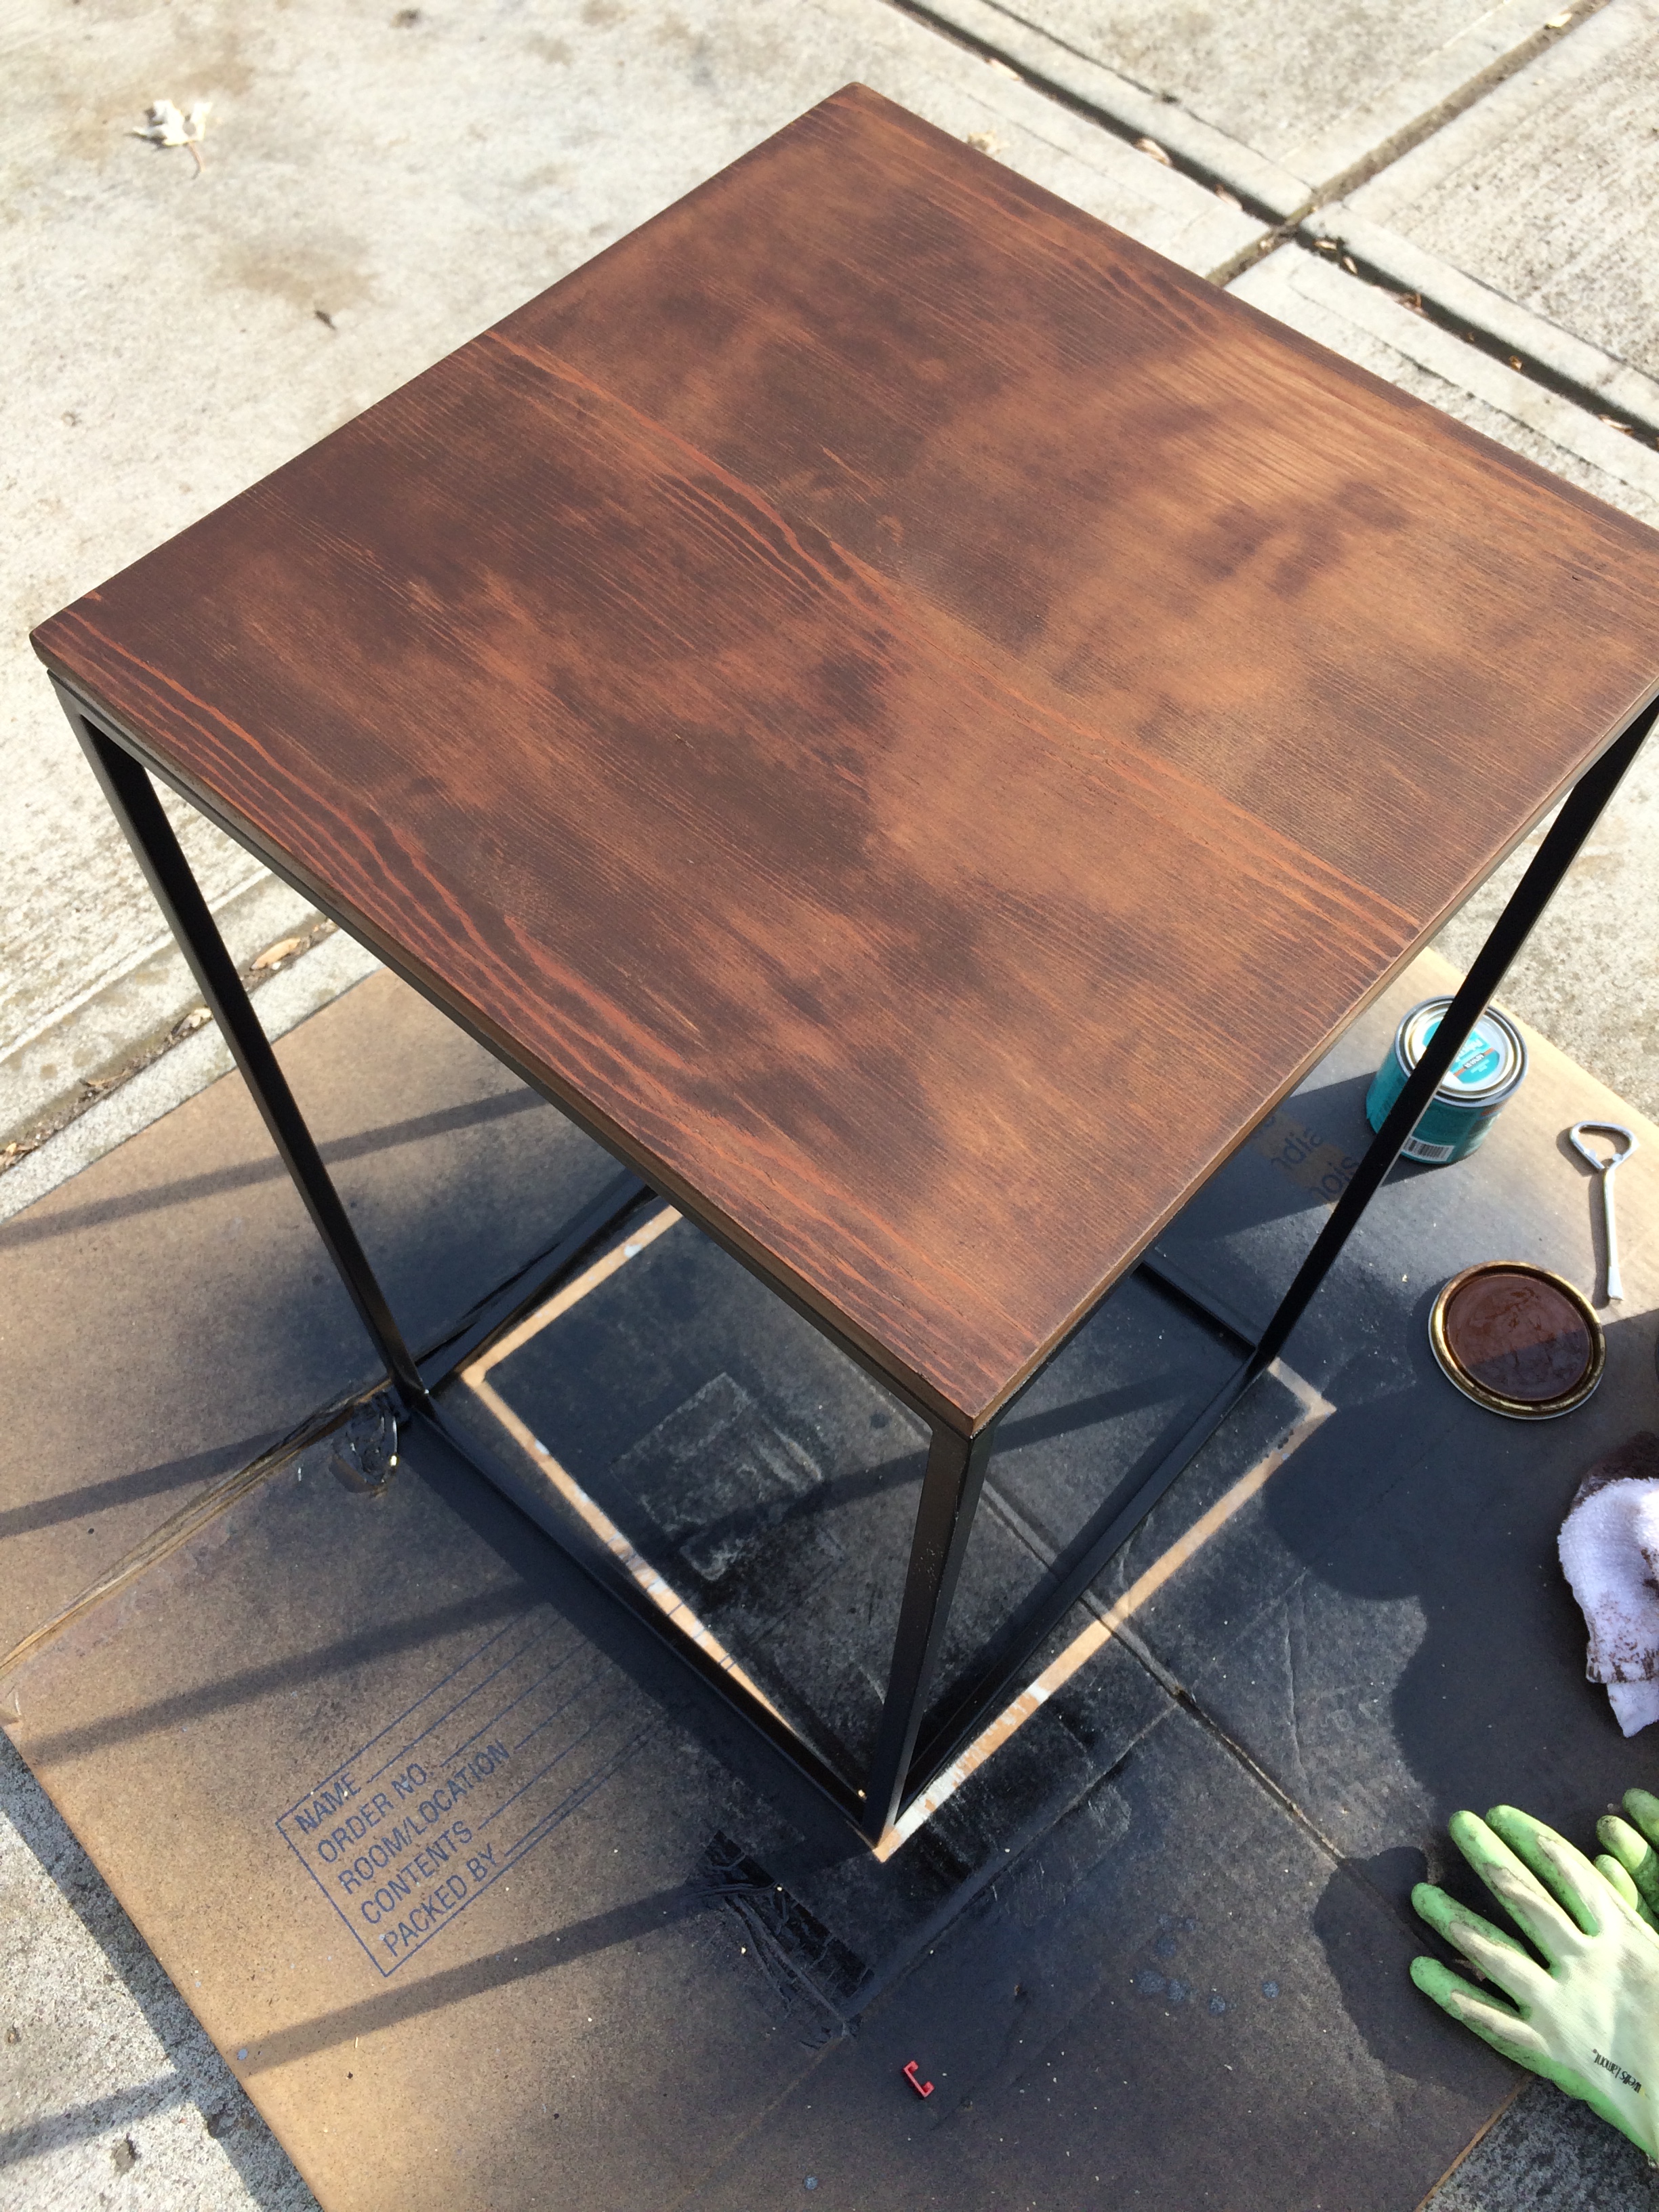
Not too shabby! After everything dried, I applied two coats of polyurethane and called this project complete. Simple and zero out of pocket cost - my favorite!