Sweater Stocking DIY

I know I said I would reveal my fellow capsule-er today, but we had a few snags in that plan. In the meantime, let's take a look at a DIY project I completed a few weekends ago!
I've been on the hunt for some Christmas stockings for quite some time now. I searched and searched last year, but I couldn't find anything that met my expectations. I wanted something very plain and "sock" like. I didn't think I was asking too much, but every search lead to glitter this or velvet that in every shade of red and green imaginable. Last time I checked, white/cream/gray were colors, too! Geesh.
Well this year, I decided to take matters into my own hands. Surely I could make something myself! I had a vision for something very neutral in color but nice and sturdy in structure. Something warm, cozy, and full of texture. Something sort of.... sweater-like? With that in mind, Tyler and I stopped by our local Goodwill store a few weeks ago in search of the perfect sweater turned stocking. To our luck, we found the perfect contender!

I started out by gathering my supplies. The sweater cost us a whopping $4.52 at Goodwill. I threw it in the washer and then hung it outside to dry to brighten it up a bit. The only thread I had on hand was gray, but I decided it would work just fine. I wasn't going for anything too perfect, so I actually hoped some of it might show through. Add a pair of scissors and a needle, and I was ready to get sewing! I started out by cutting my sweater in half.

At this point, I had to decide if I wanted the neck of the sweater to be the toe of my stocking or the shoulder. I ended up going with the shoulder because I didn't think the neck was going to allow for a big enough "toe".

I simply traced out an approximate pattern on the sweater with a pencil and then started cutting. (You can see some of my original sketches in the image above.) I then took this stocking, laid it over the other sweater half, and cut it to the exact same size. I ended up with this...
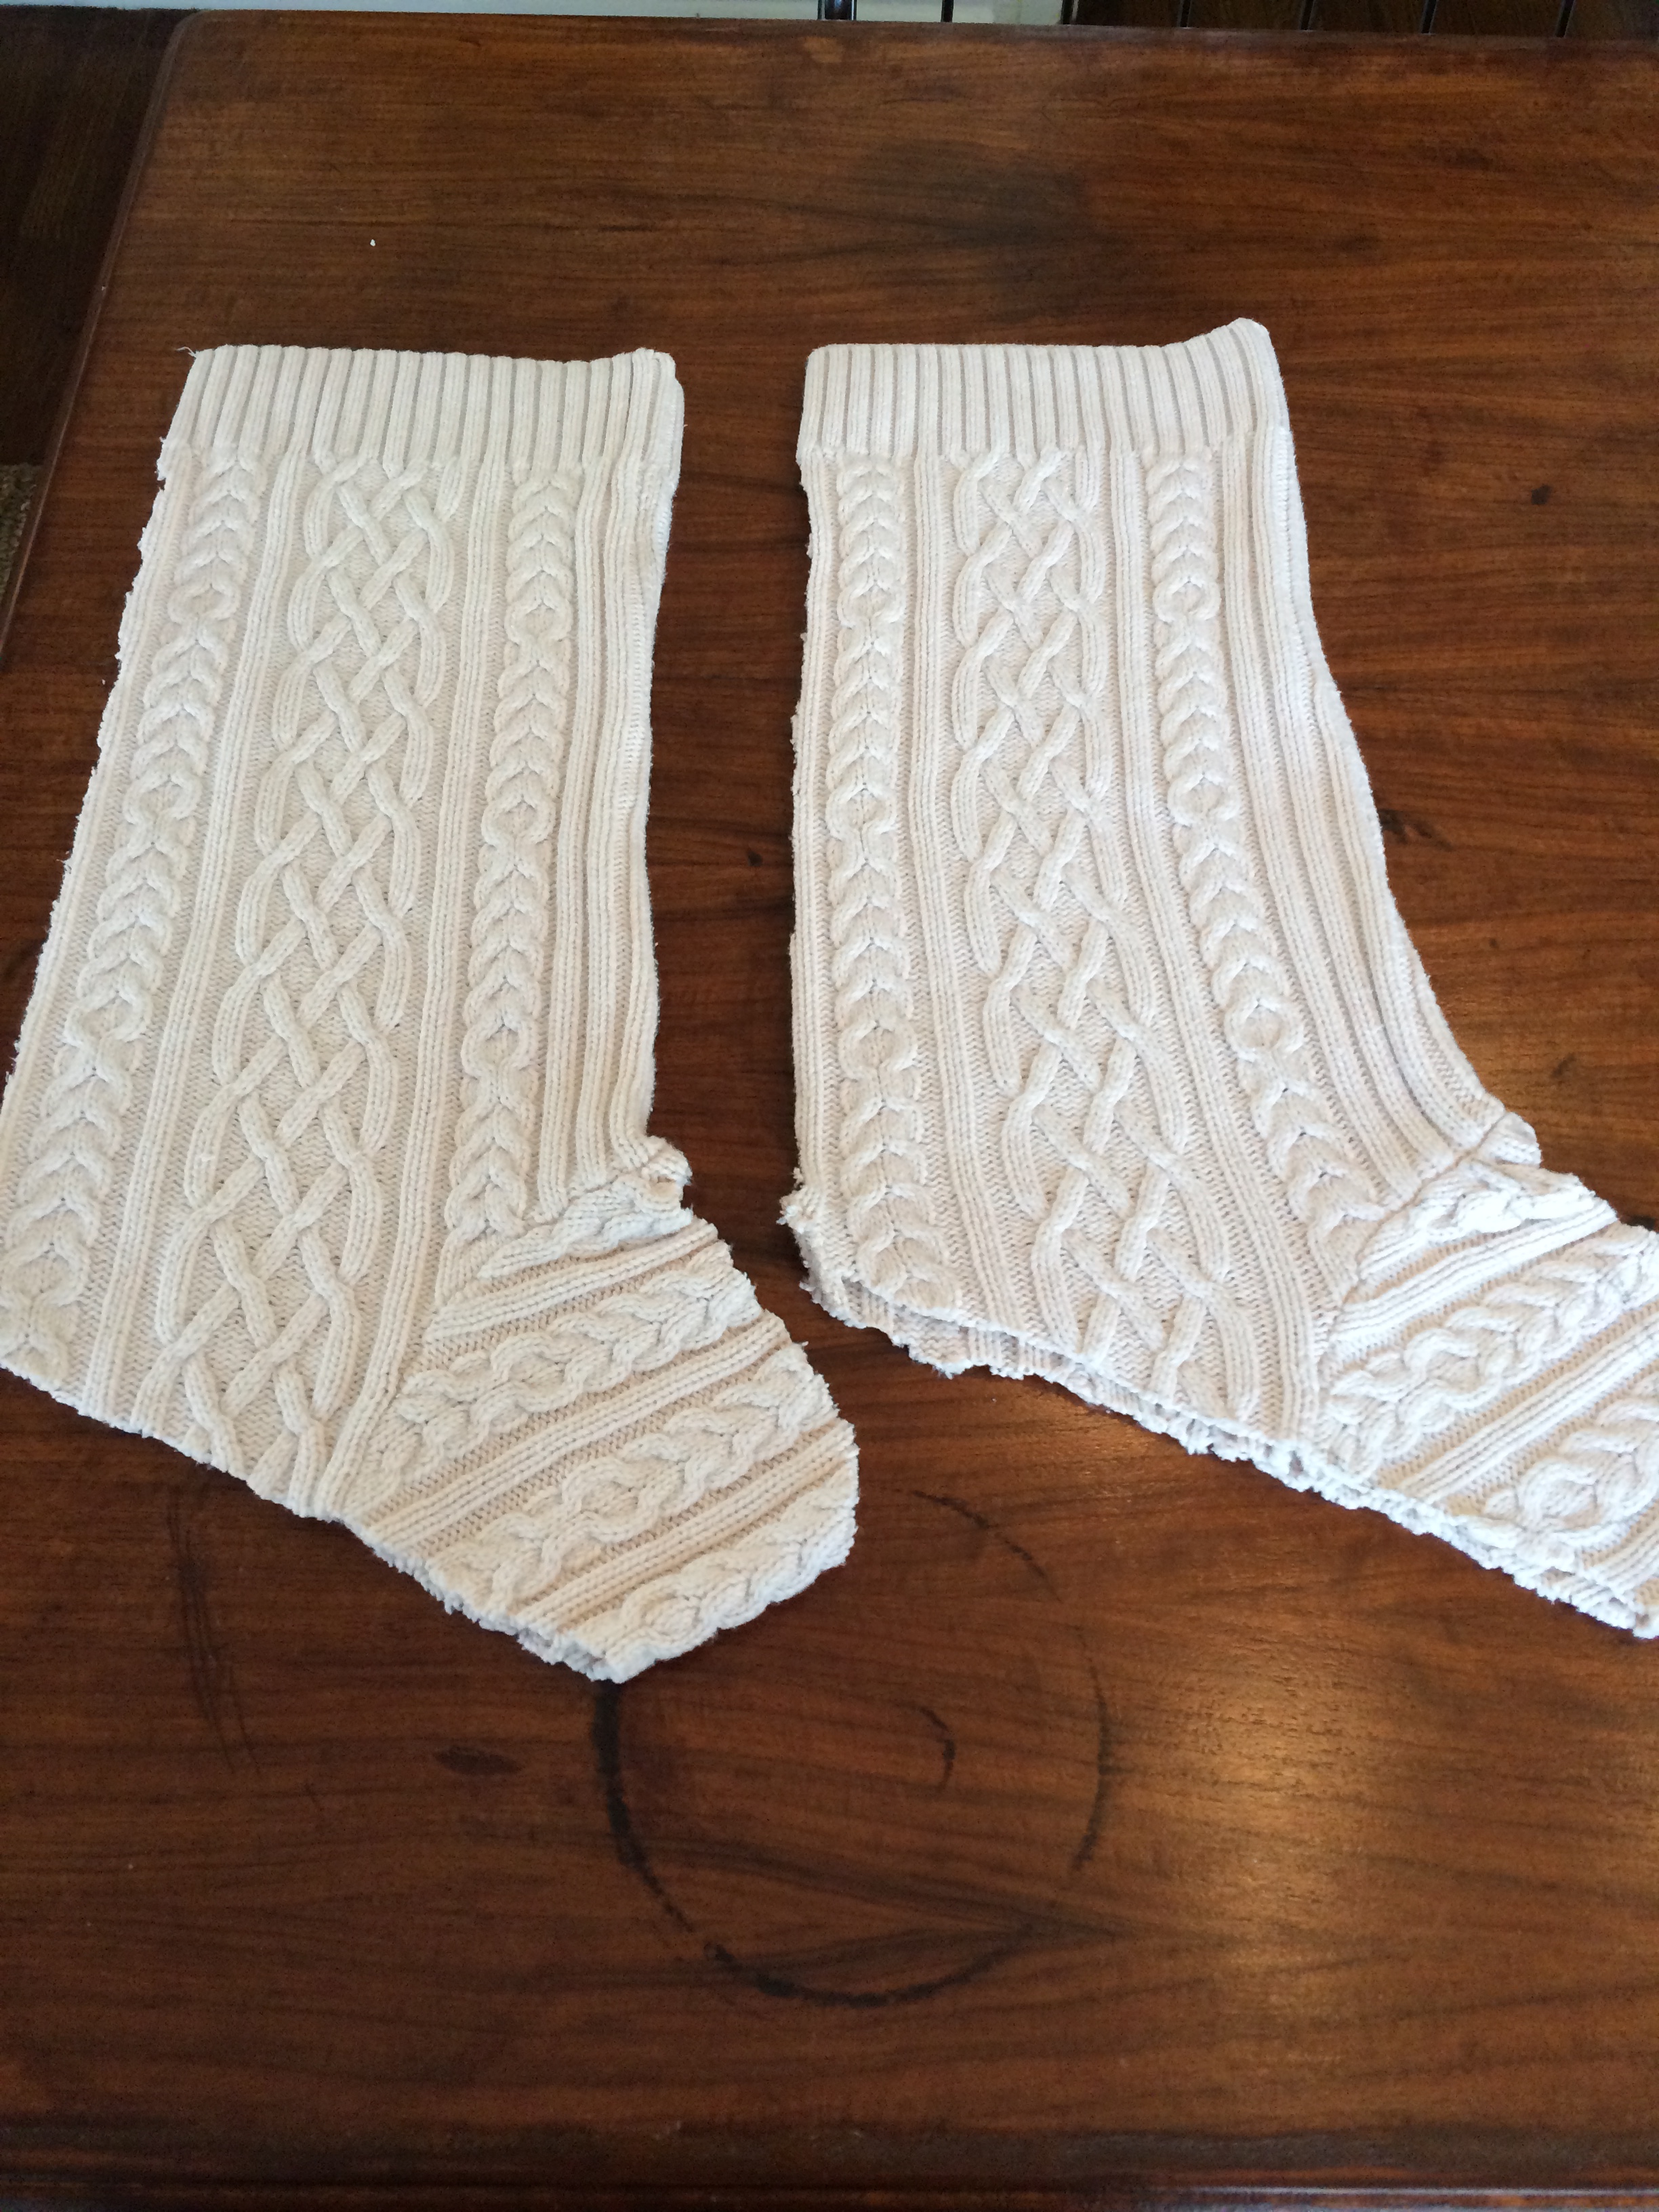
Easy peasy! At this point, it was time to turn each stocking inside out and start hand-stitching them shut.

If you have a sewing machine handy, you could literally finish this project in about 15 minutes. I don't have one, so I hand-stitched each stocking shut. Once both stockings were closed, I flipped them right side out.
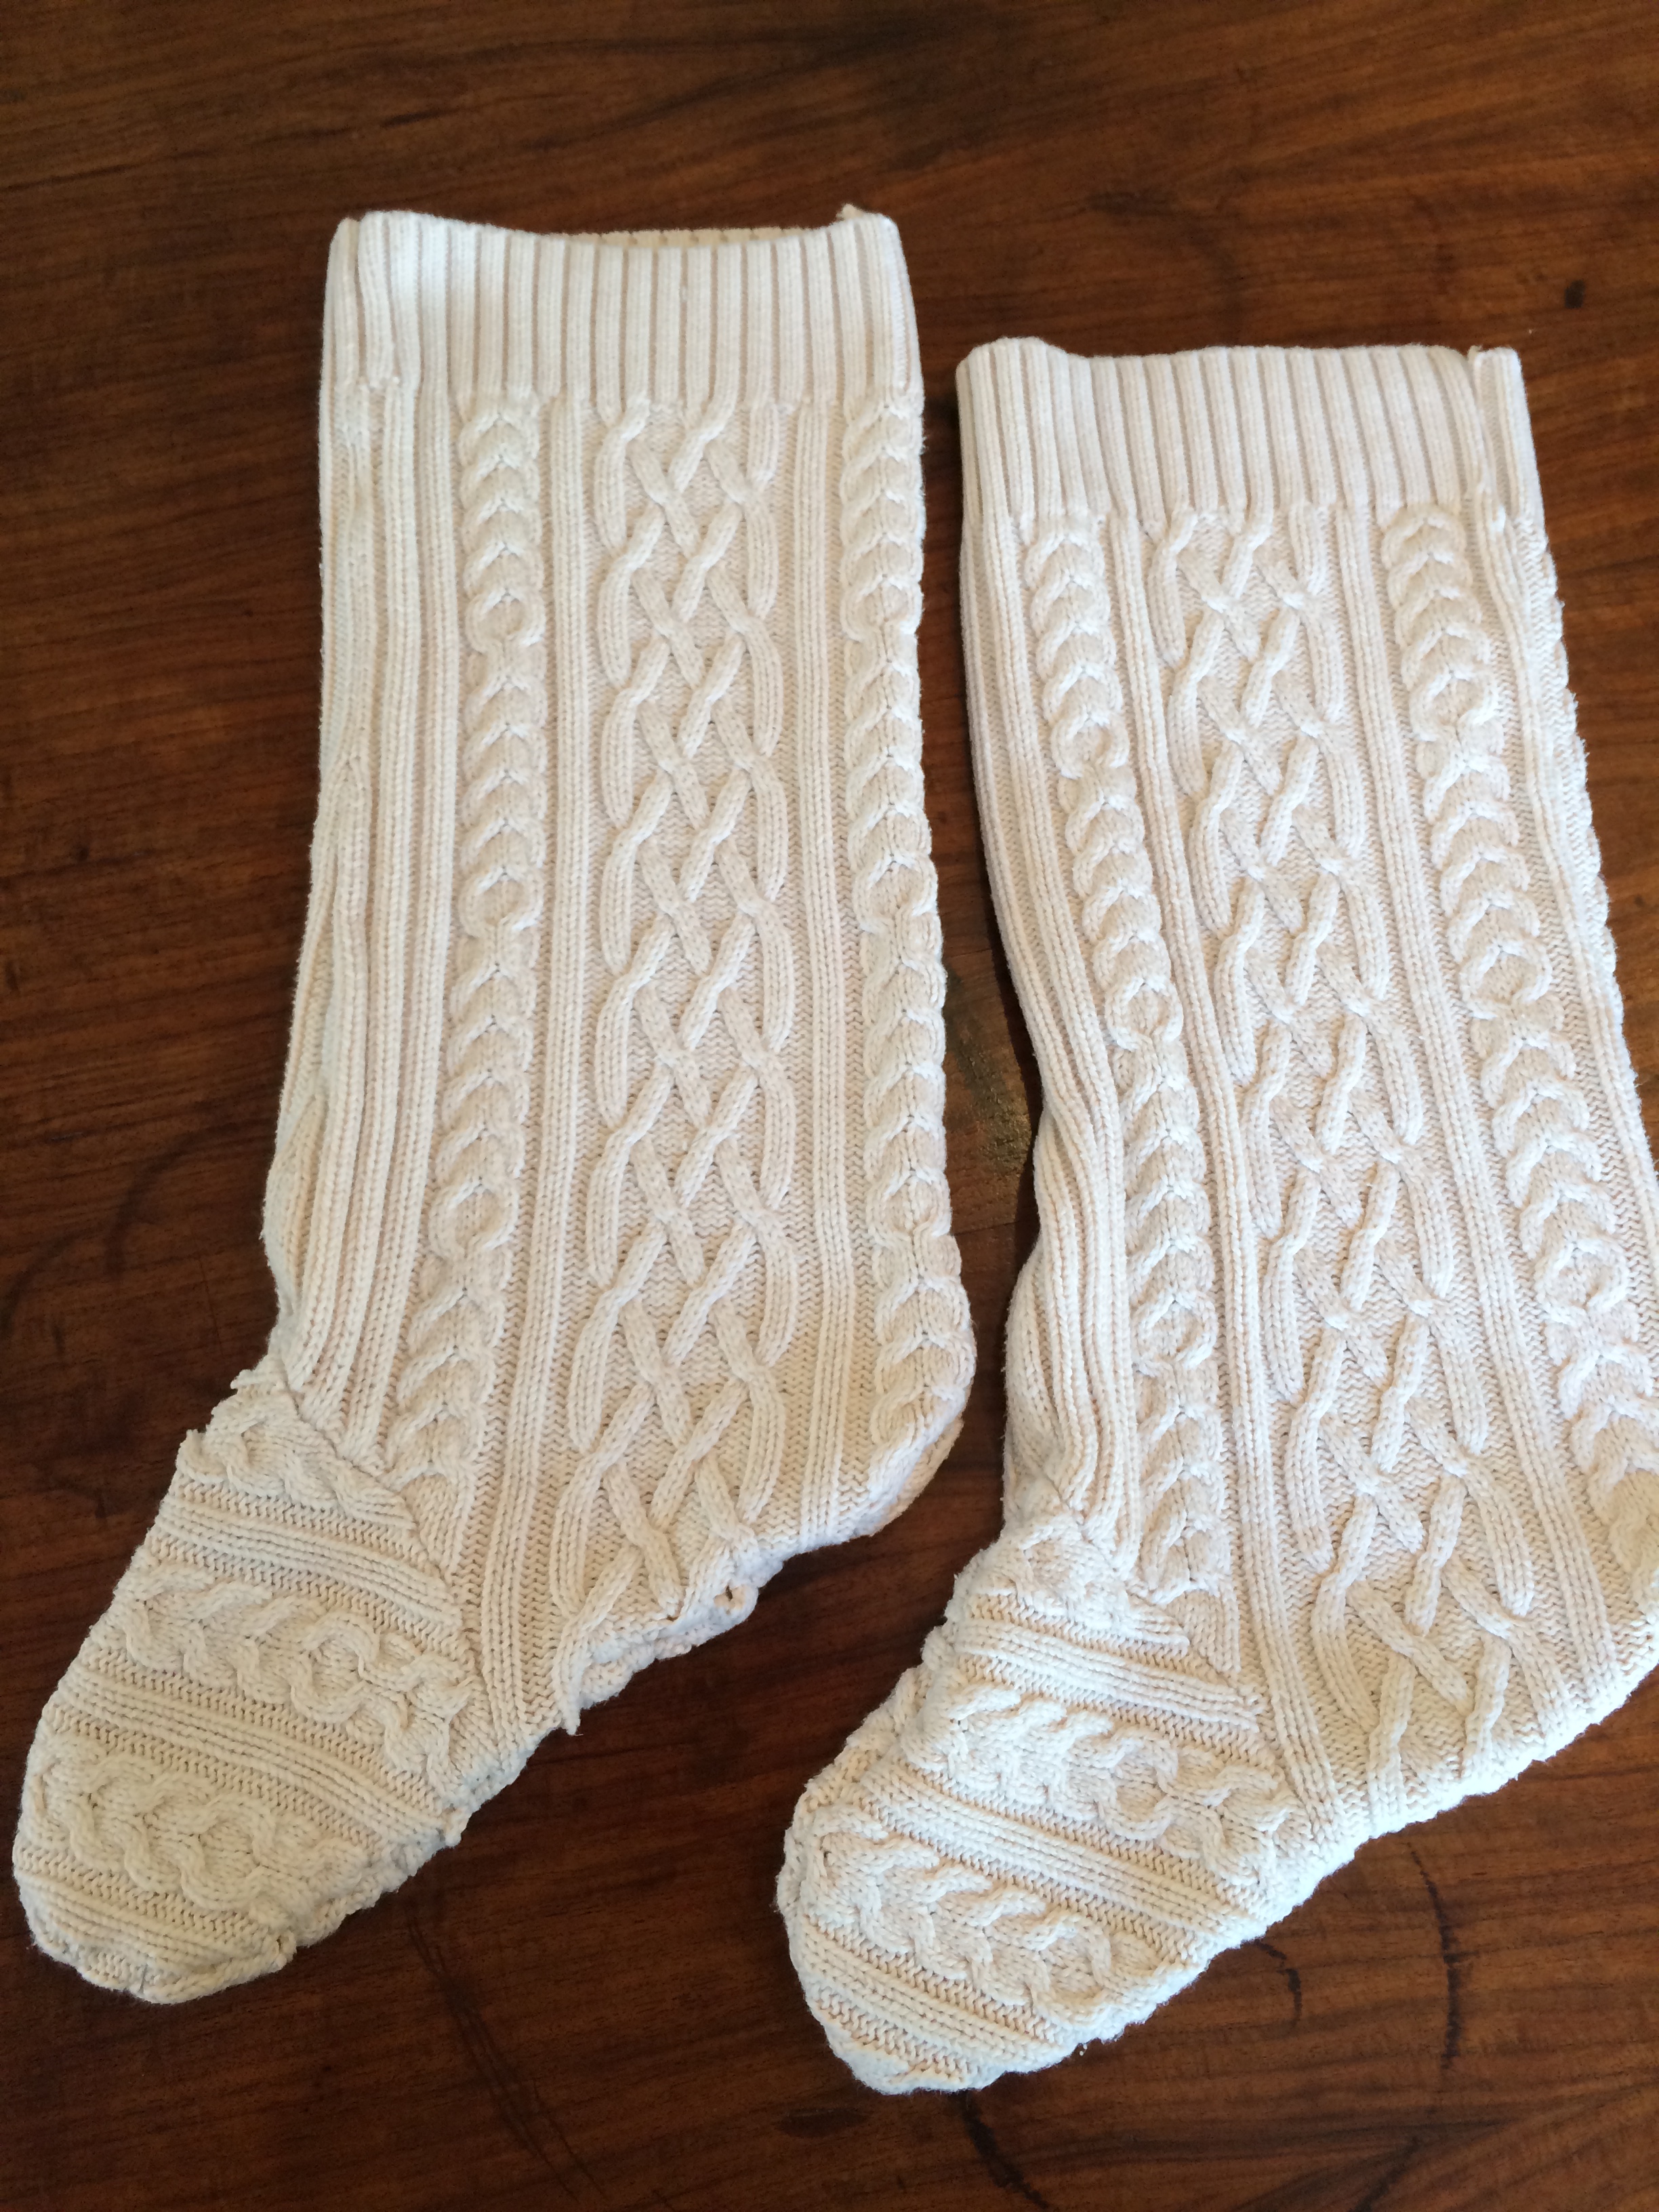
I then used some faux-leather I had on hand to make the loops for hanging. This was a super simple DIY that I completed on a Saturday afternoon. We're still on the hunt for some hooks to hang these from our fireplace, but I'll make sure to post some photos when everything is hanging!
