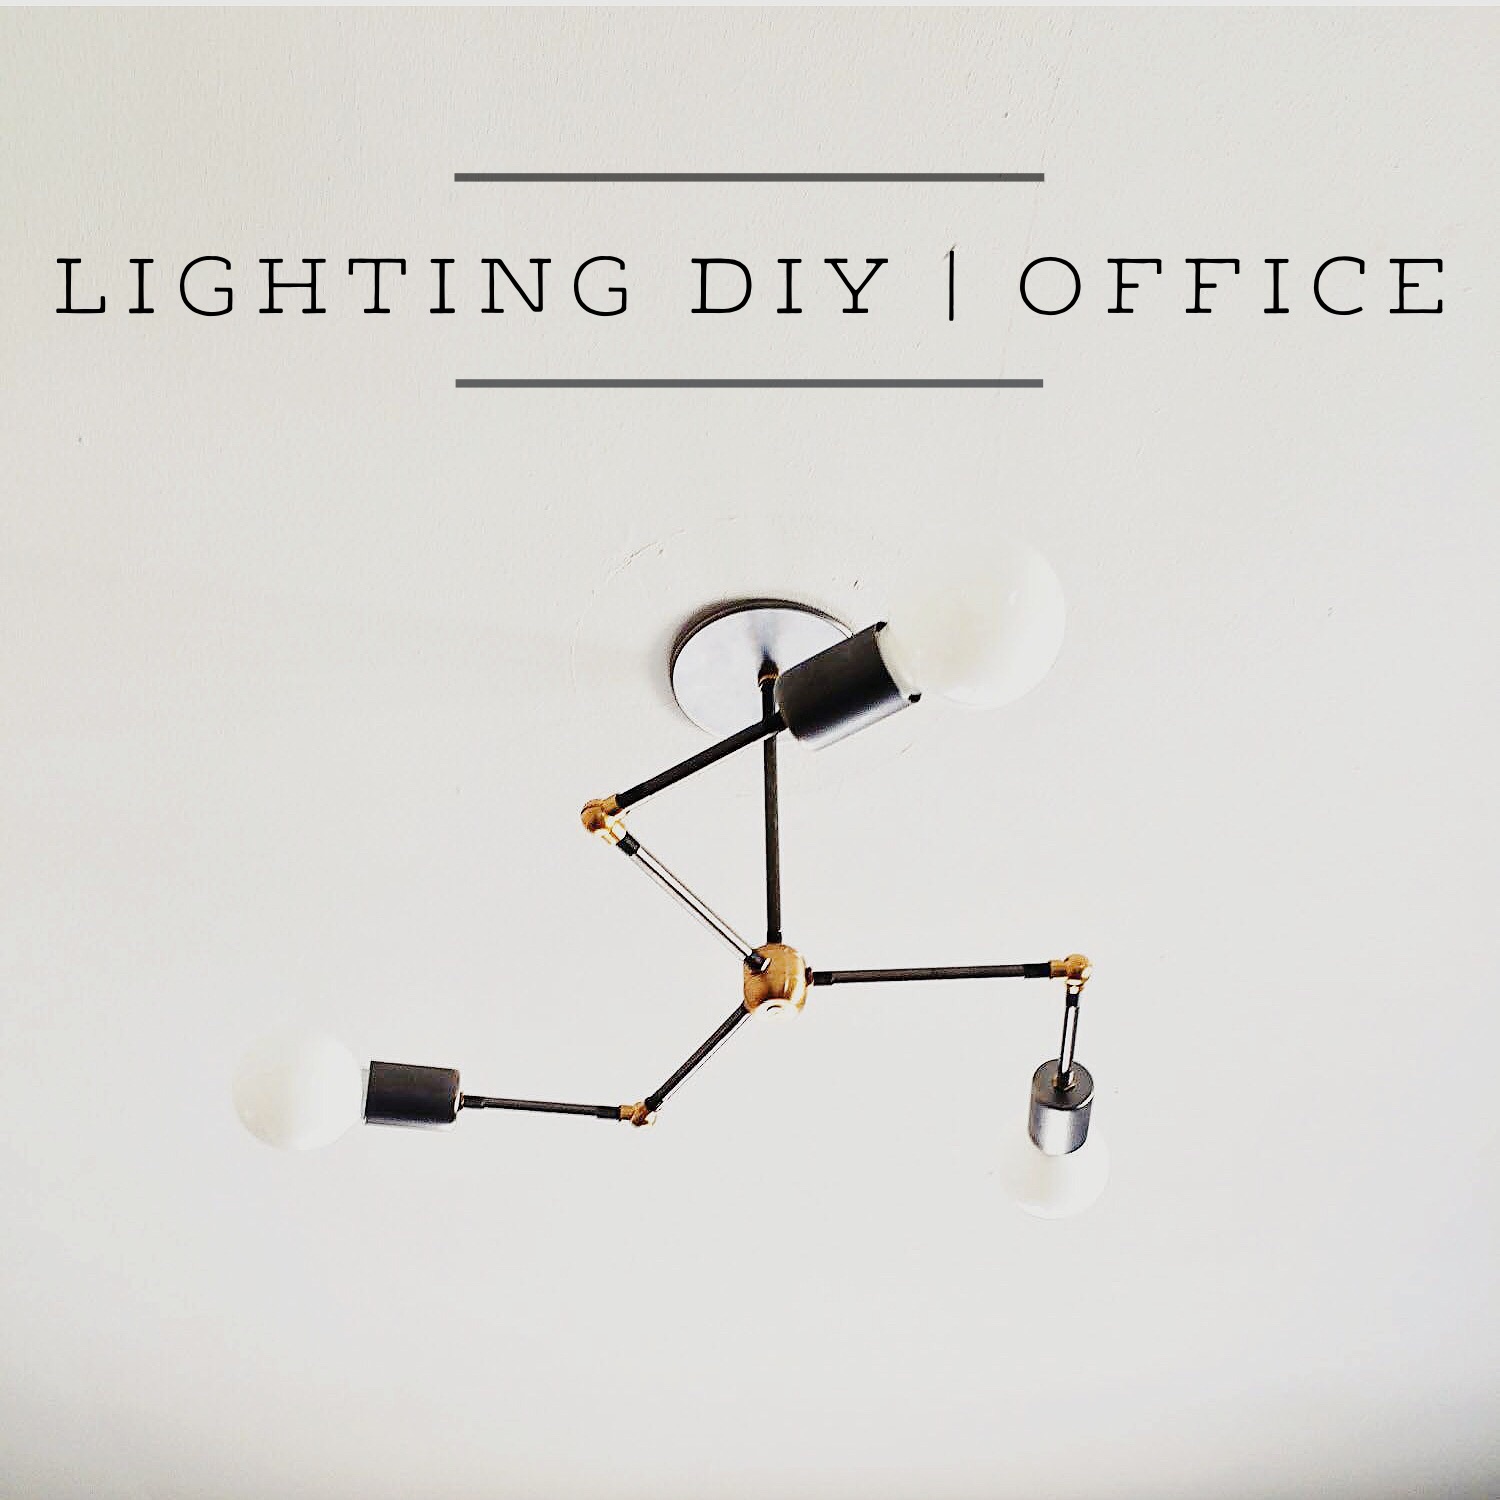
Lighting DIY // Office

Tyler and I have turned into quite the lighting creepsters (if only that were a word... or a thing at all). No matter where we go, it's nearly a race to see who can spot a cool light fixture first. Soon after, the mutual agreement that "oh, we could totally make that" ensues. To date, we have DIY'd several fixtures around our house including the dining room chandelier, surveyor's tripod floor lamp, and living room chandelier.
Our latest endeavor actually stemmed from a request from both of our parents. Tyler's were planning to make a tripod lamp of their own and mine were looking for a new chandelier for their bathroom, so we offered up our expertise (I use that term loosely ) and worked to come up with a few designs. In the process, we decided it would be really nice to make a cool fixture for our office, too. We've wanted to design something for the space for quite some time, so this seemed like the perfect opportunity.
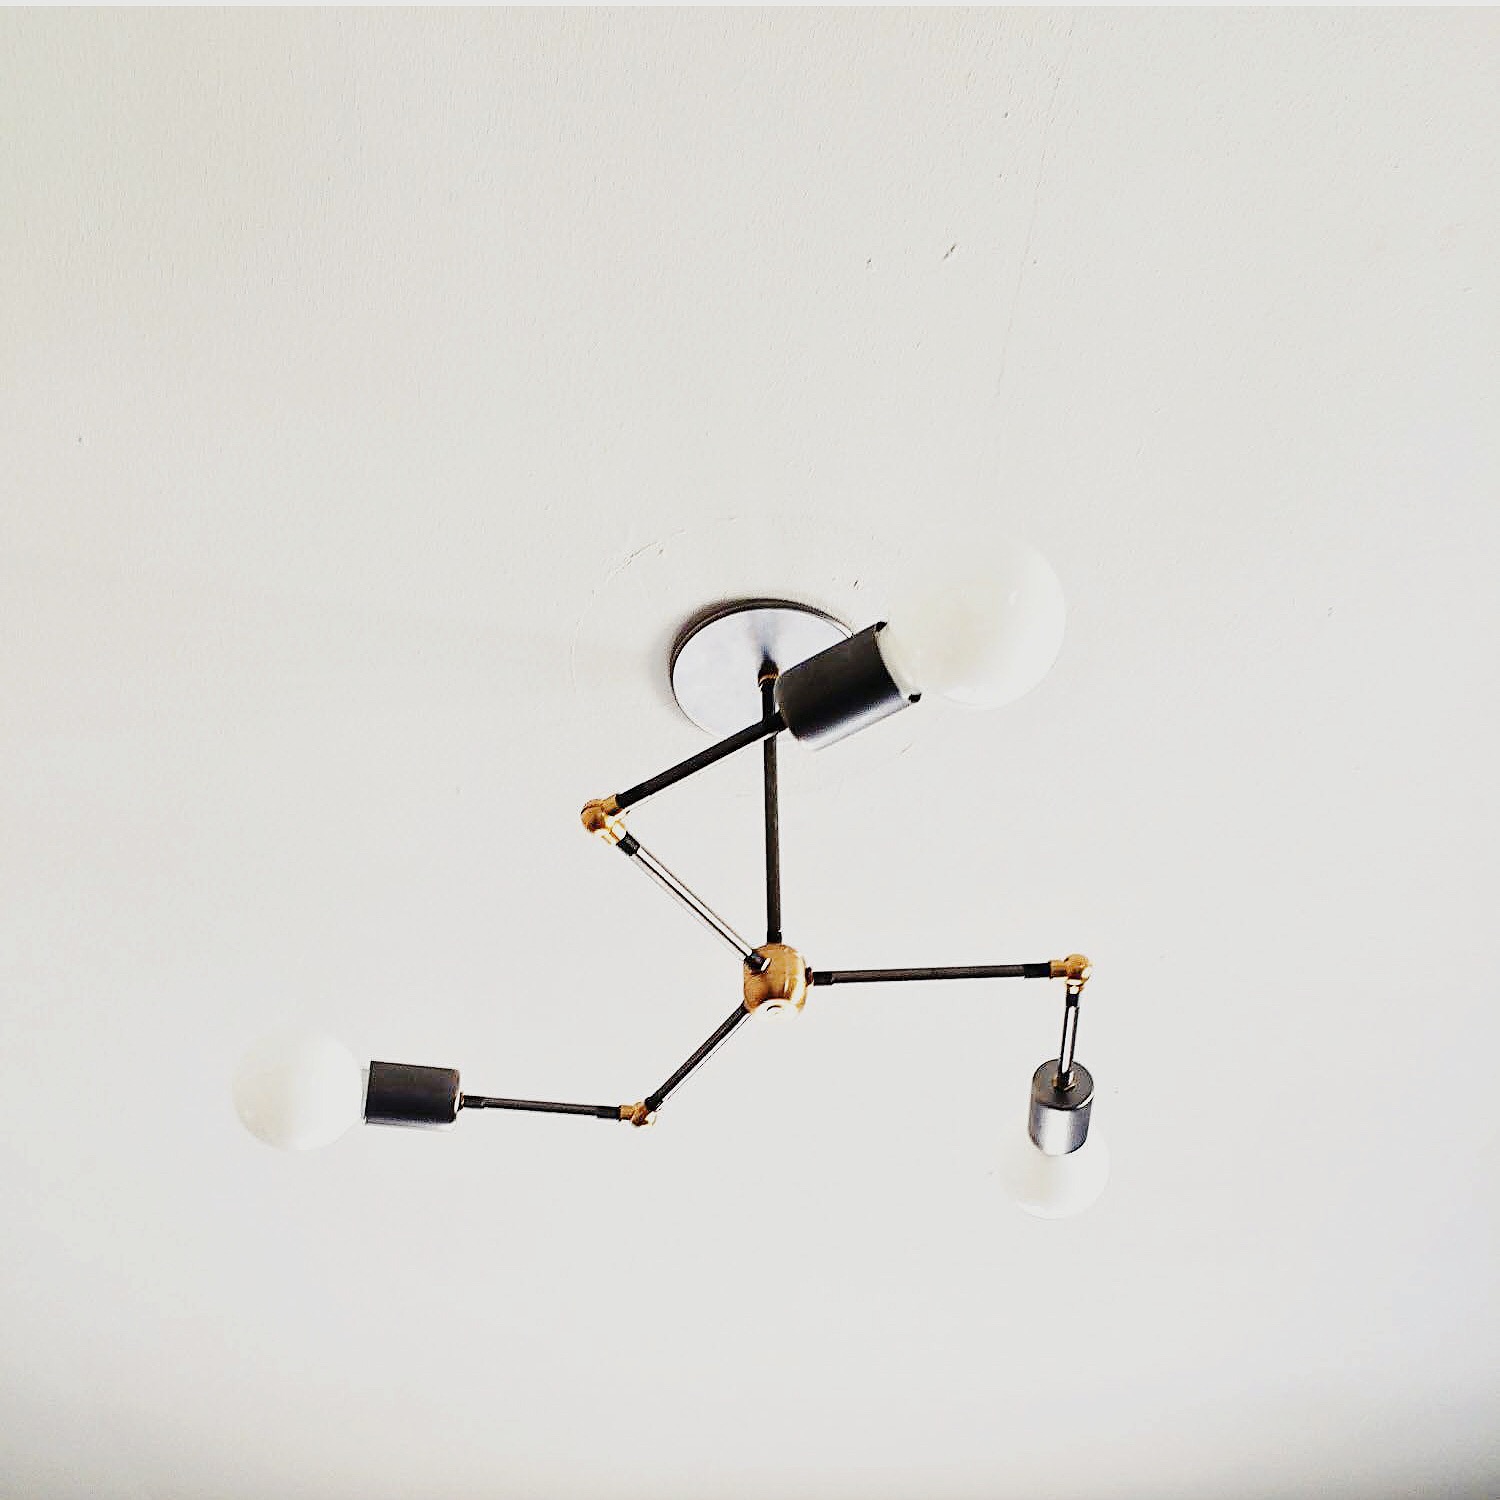
We wanted to stick to a style similar to our others but something a bit more simple and clean. The office is pretty much Tyler's room, so I left the final design up to him. He landed on the "Vega Chandelier" by Schoolhouse Electric.
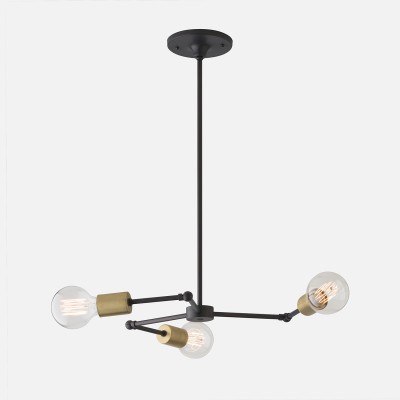
Schoolhouse Electric - Vega 3 Chandelier
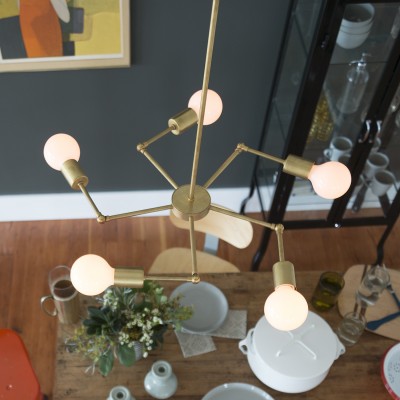
Schoolhouse Electric - Vega 5 Chandelier
The lines are clean and the design seemed simple enough to replicate. Plus, the horizontal rotation of the arms meant there wouldn't be any head room issues to deal with. We headed straight to our favorite online lighting supply store to order what we needed- Grand Brass. Here's a list of our pieces and parts:
SUPPLIES
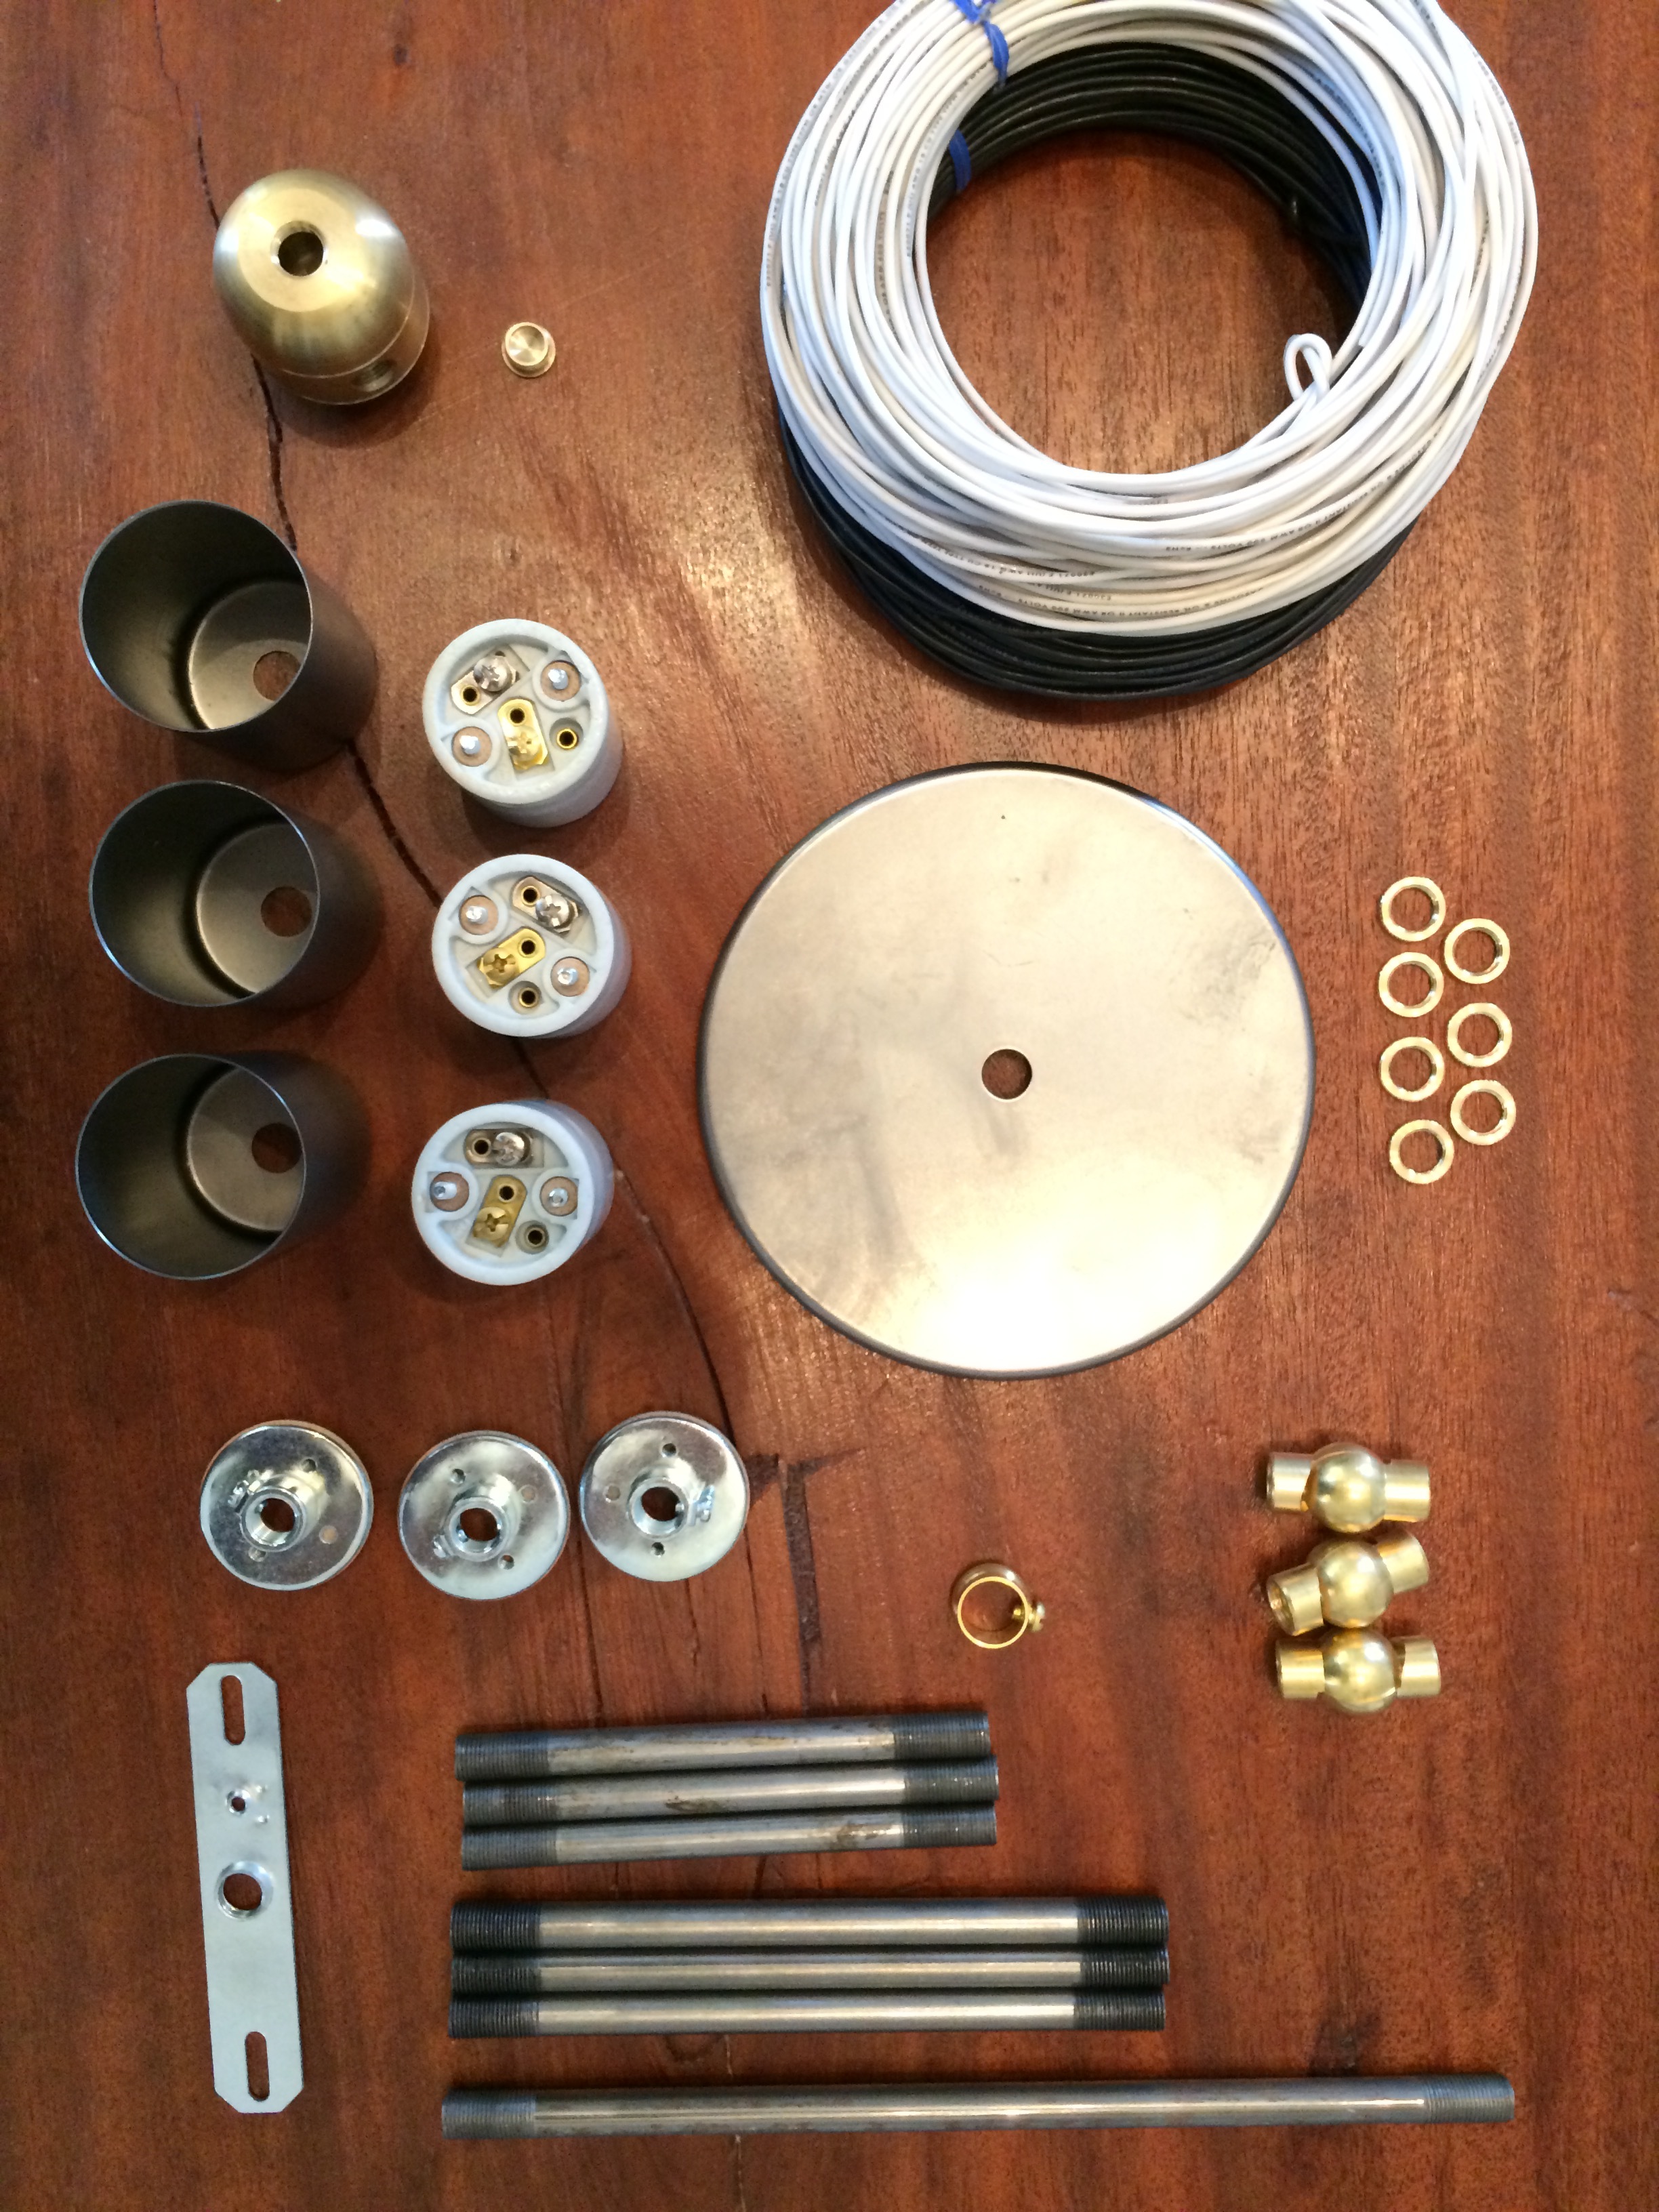
- (3) Porcelain Sockets - $1.60 each
- (3) Socket Cups in Unfinished Steel - $0.95 each
- (7) Brass Nuts - $0.12 each
- (3) Brass Adjustable Friction Swivel - $3.75 each
- (1) 1/8F x 1/8F x 1/8F Large Turned Cluster Body - $8.20
- (1) Male slotted plug for closing 1/8F Hole - $0.50
- (3) 6in x 1/8 IPS Hollow Steel Pipe - $0.60 each
- (3) 4-1/2in x 1/8 IPS Hollow Steel Pipe - $0.55 each
- (1) 10in x 1/8 IPS Hollow Steel Pipe - $0.75 (this pipe determines distance from the ceiling so feel free to go longer your shorter for your needs)
- (1) 3/8in Brass Slip Ring with Side Screw - $0.65
- (1) Ceiling Crossbar - $0.30
- (1) 5in x 1/8SL Unfinished Steel Ceiling Canopy - $3.50
- (3) 60W 3-1/8in Globe White G-25 E-26 Edison Bulbs 120V - $1.95 each (not pictured)
- (10 ft) White Wire - $0.15/ft
- (10 ft) Black Wire - $0.15/ft
TOTAL : $45.94 + tax & shipping

- Wire stripper
- Flat head screwdriver
- Phillips screwdriver
- Electrical Tape
- Wire Connectors
- Voltage Detector
DIRECTIONS
Gather (1) 6in pipe, (1) 4 1/2in pipe and 1 swivel. Thread wire through to estimate total length needed. Add a few extra inches - just in case. You can always trim it down later.
Cut wire to length. Using that piece, cut 5 more wires the exact same length. You will need 3 black and 3 white wires.

Strip end of wire using wire stripper. Repeat for remaining 5 pieces.

Twist stripped wire and make a loop.

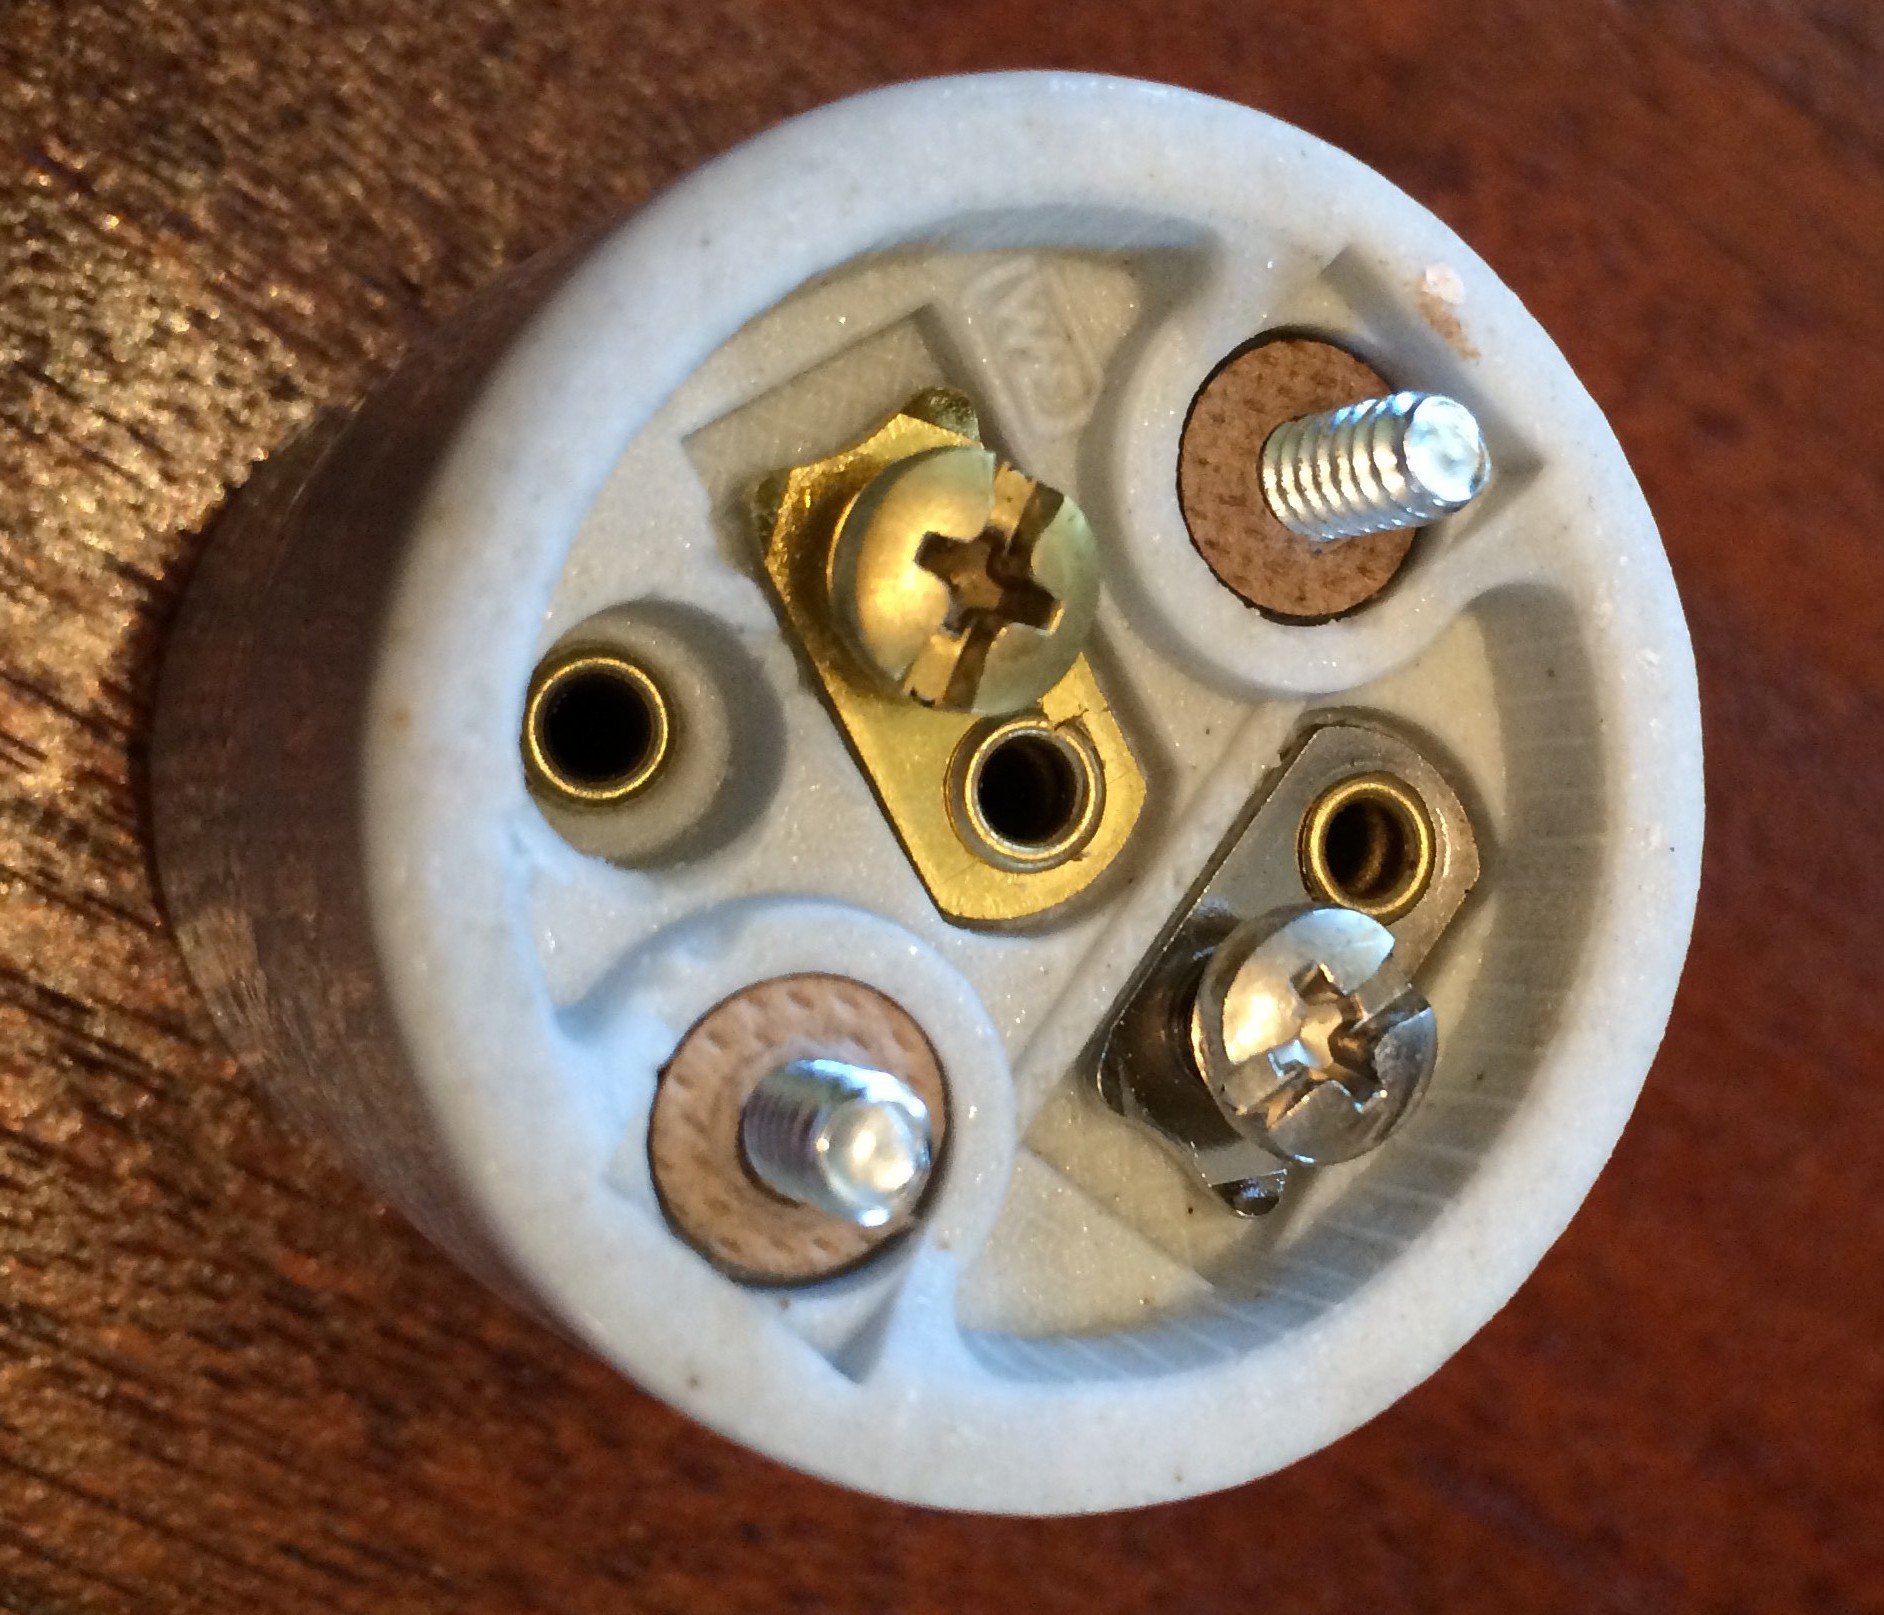
Remove top piece of white socket. Attach WHITE wire to SILVER screw. Attach BLACK wire to GOLD screw. Just think of Purdue. Black and gold! It may take a few tries to get the wire secured tightly.
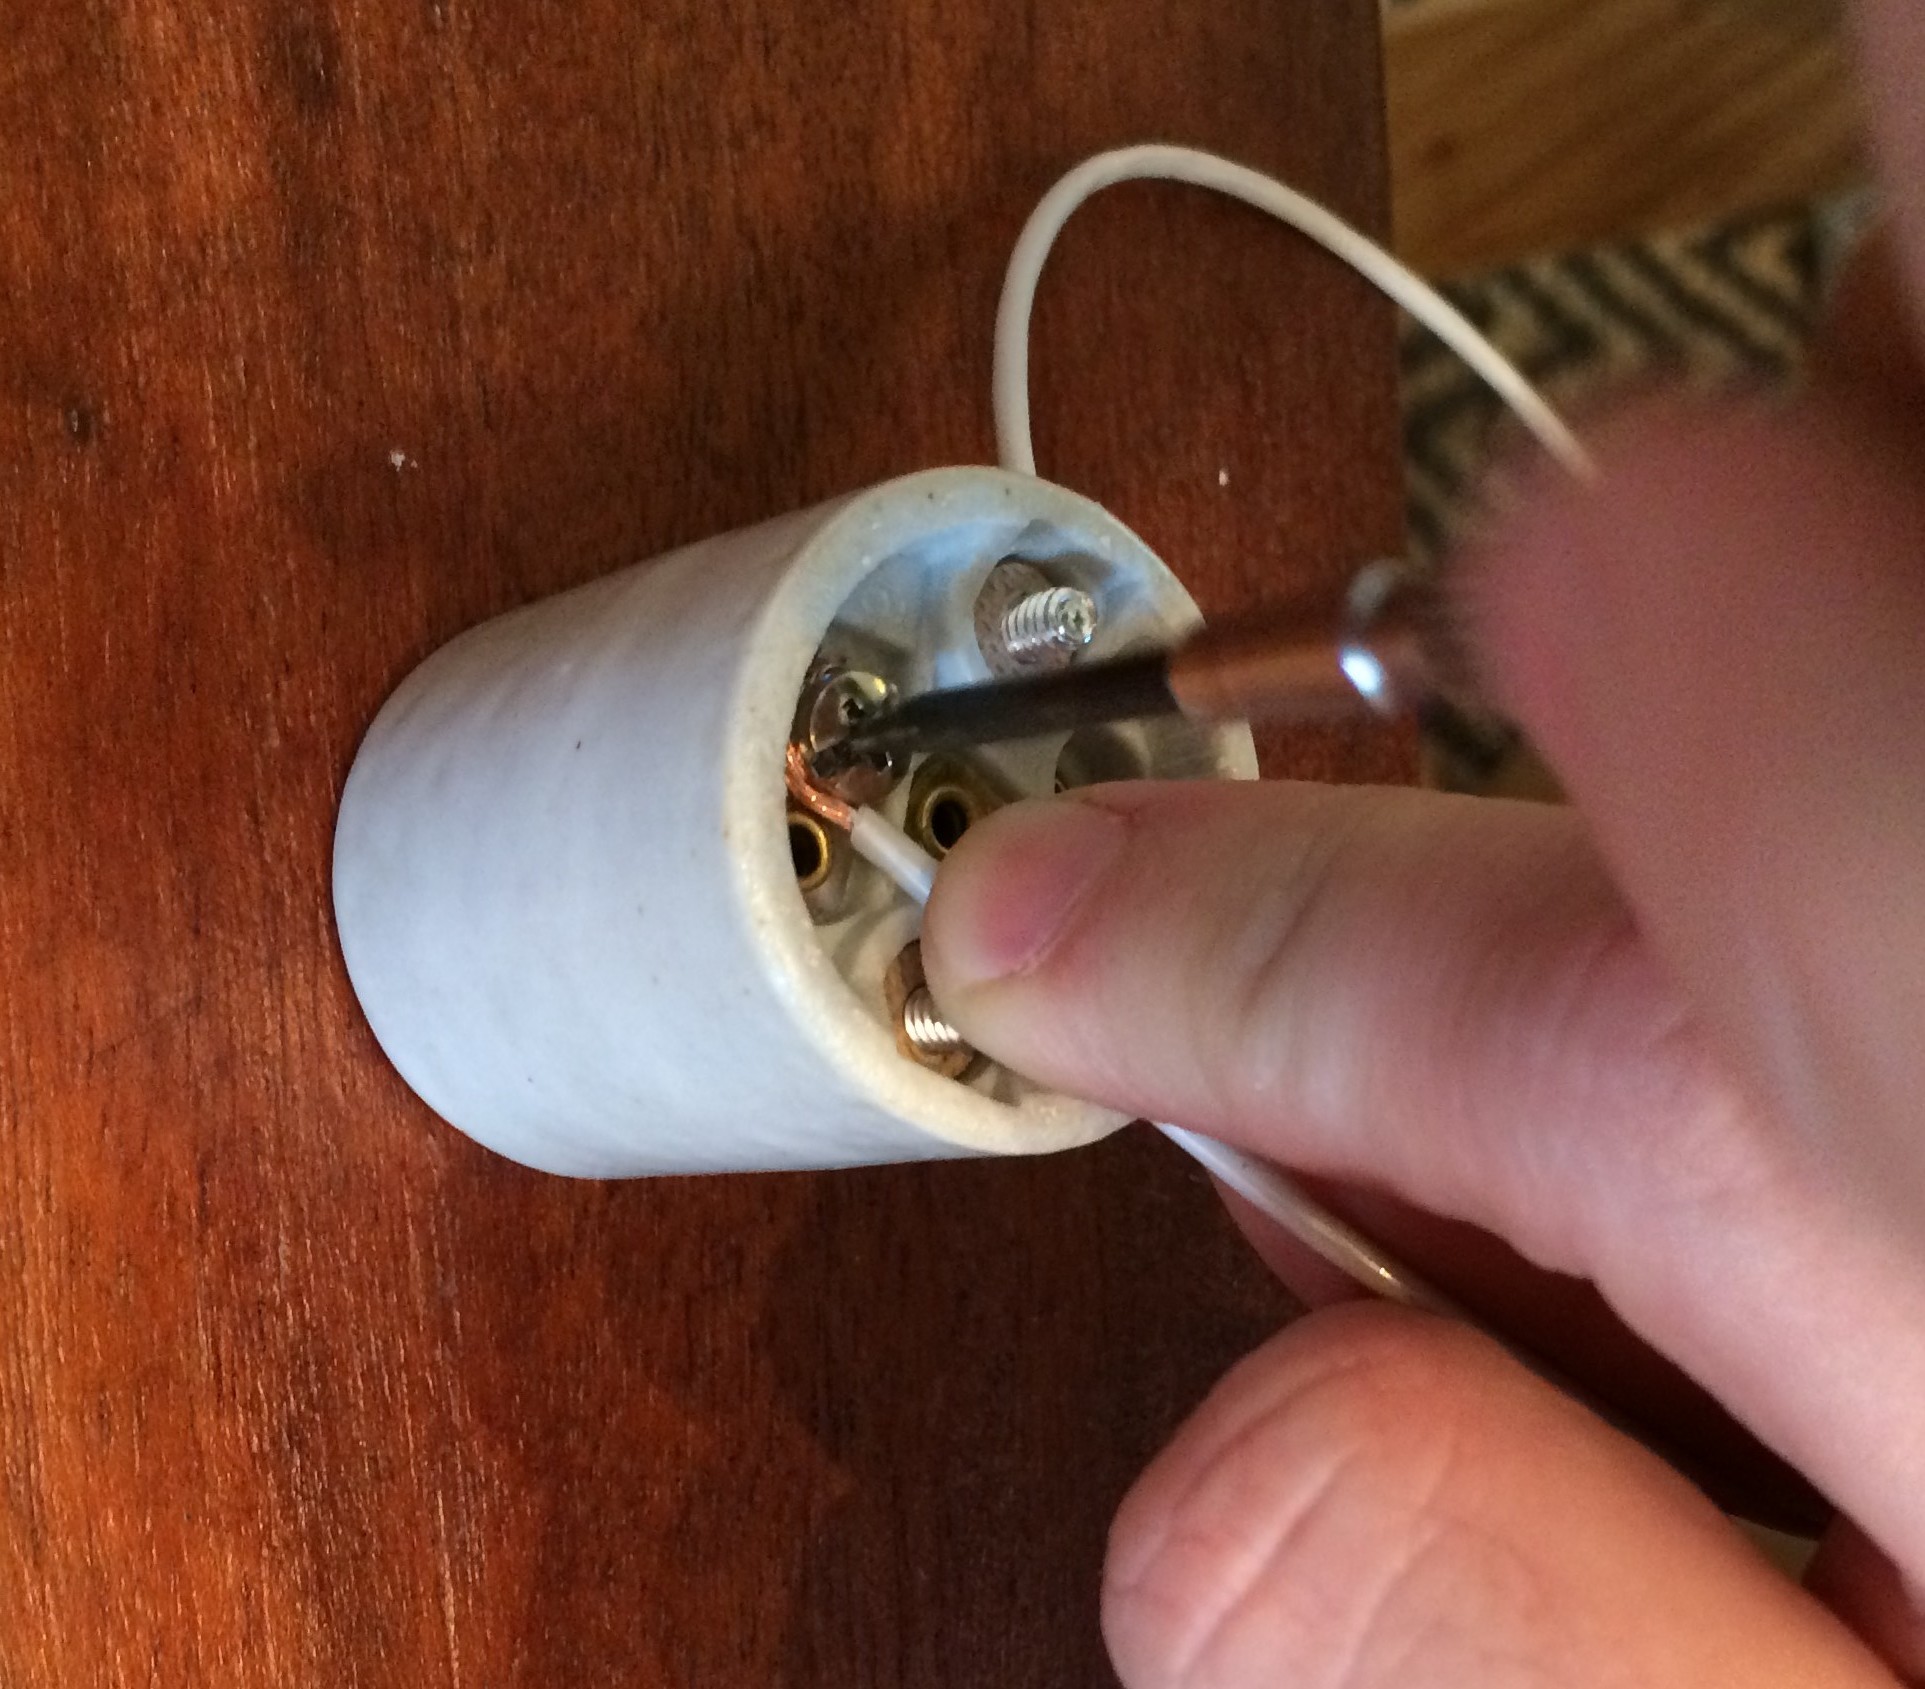

Thread black and white wires through the middle of the top piece you previously removed from the socket.

Tighten down the screws from the inside to secure.

Thread black and white wires through a socket cup.
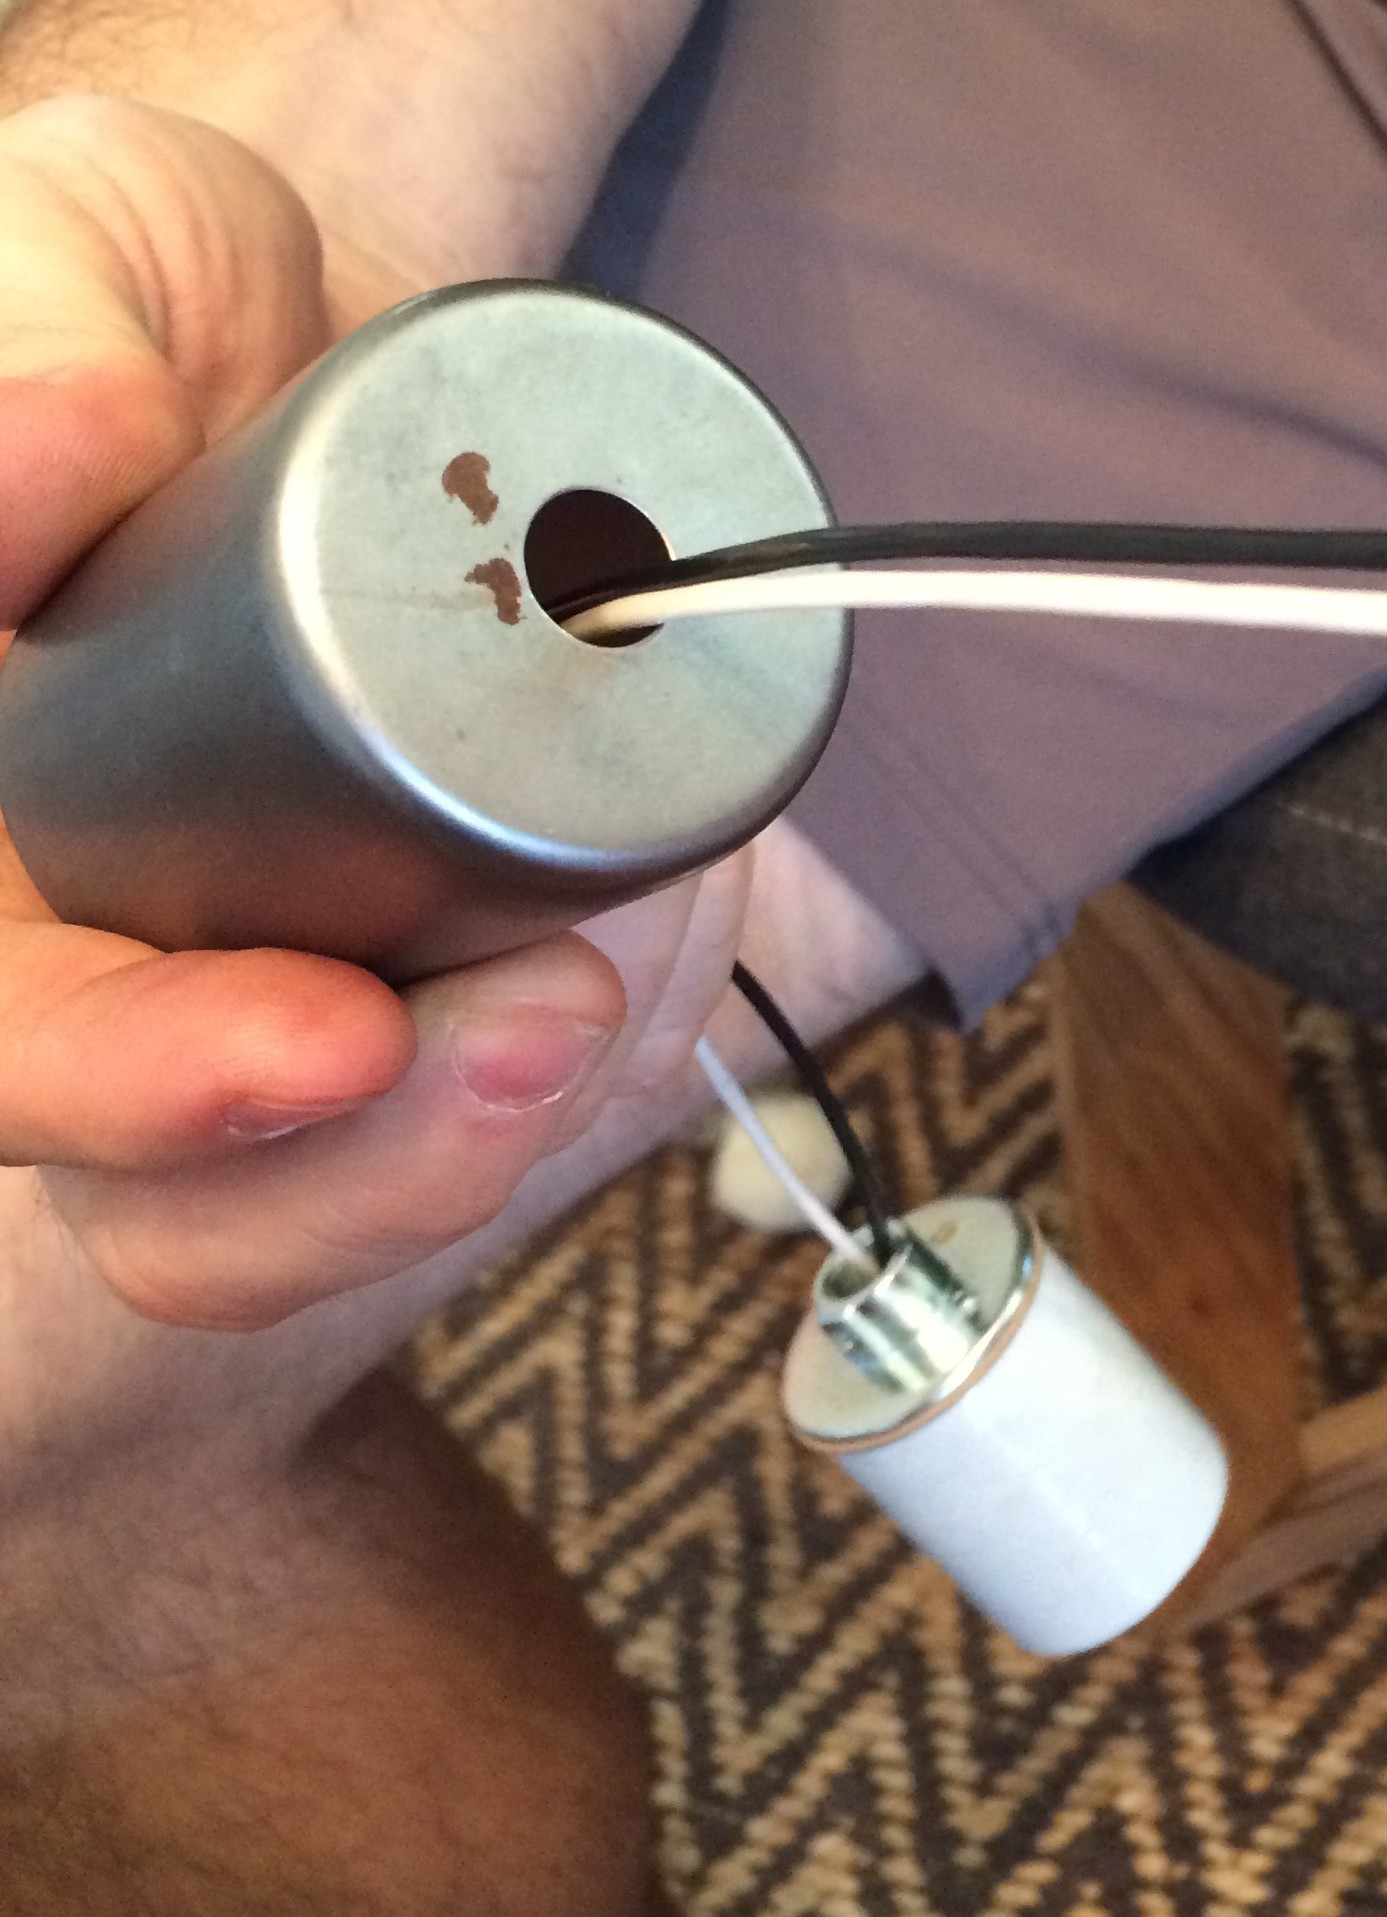
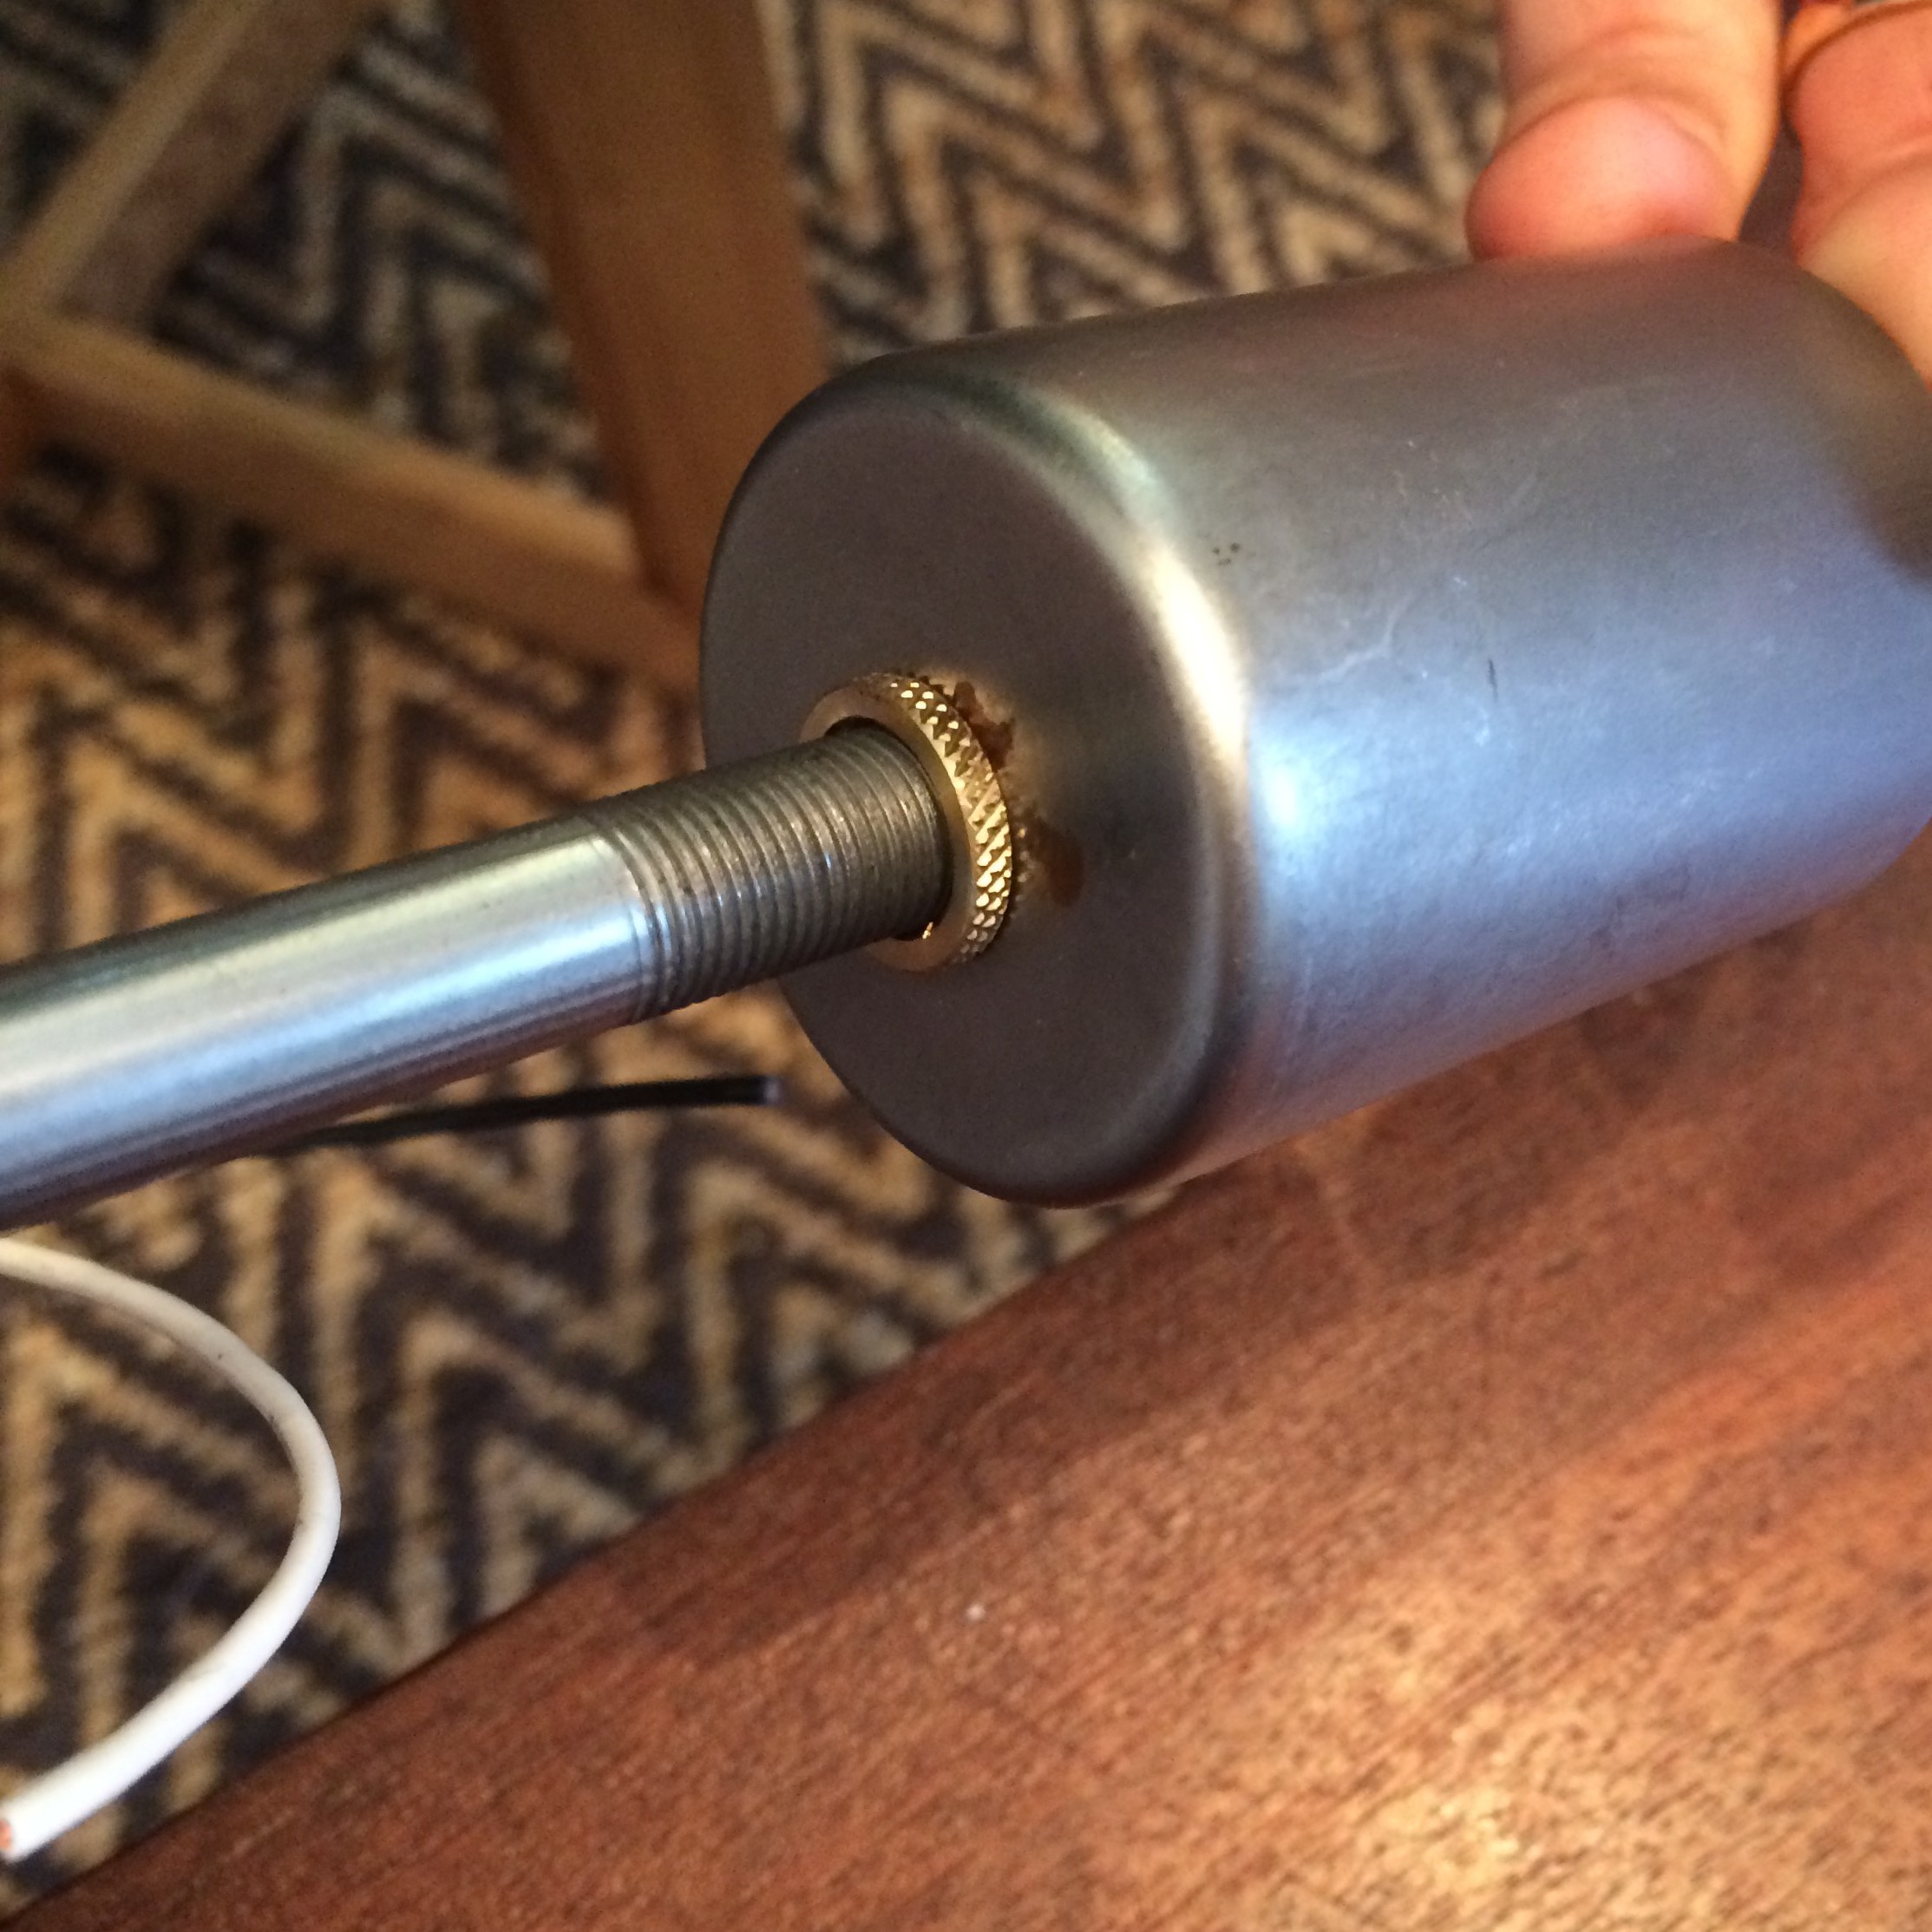
Screw (1) brass nut onto the end of a 4.5in pipe.
Thread wires through the pipe. Screw pipe into socket cup and socket. Tighten down brass nut to secure.

Unscrew swivel. Take all pieces apart.
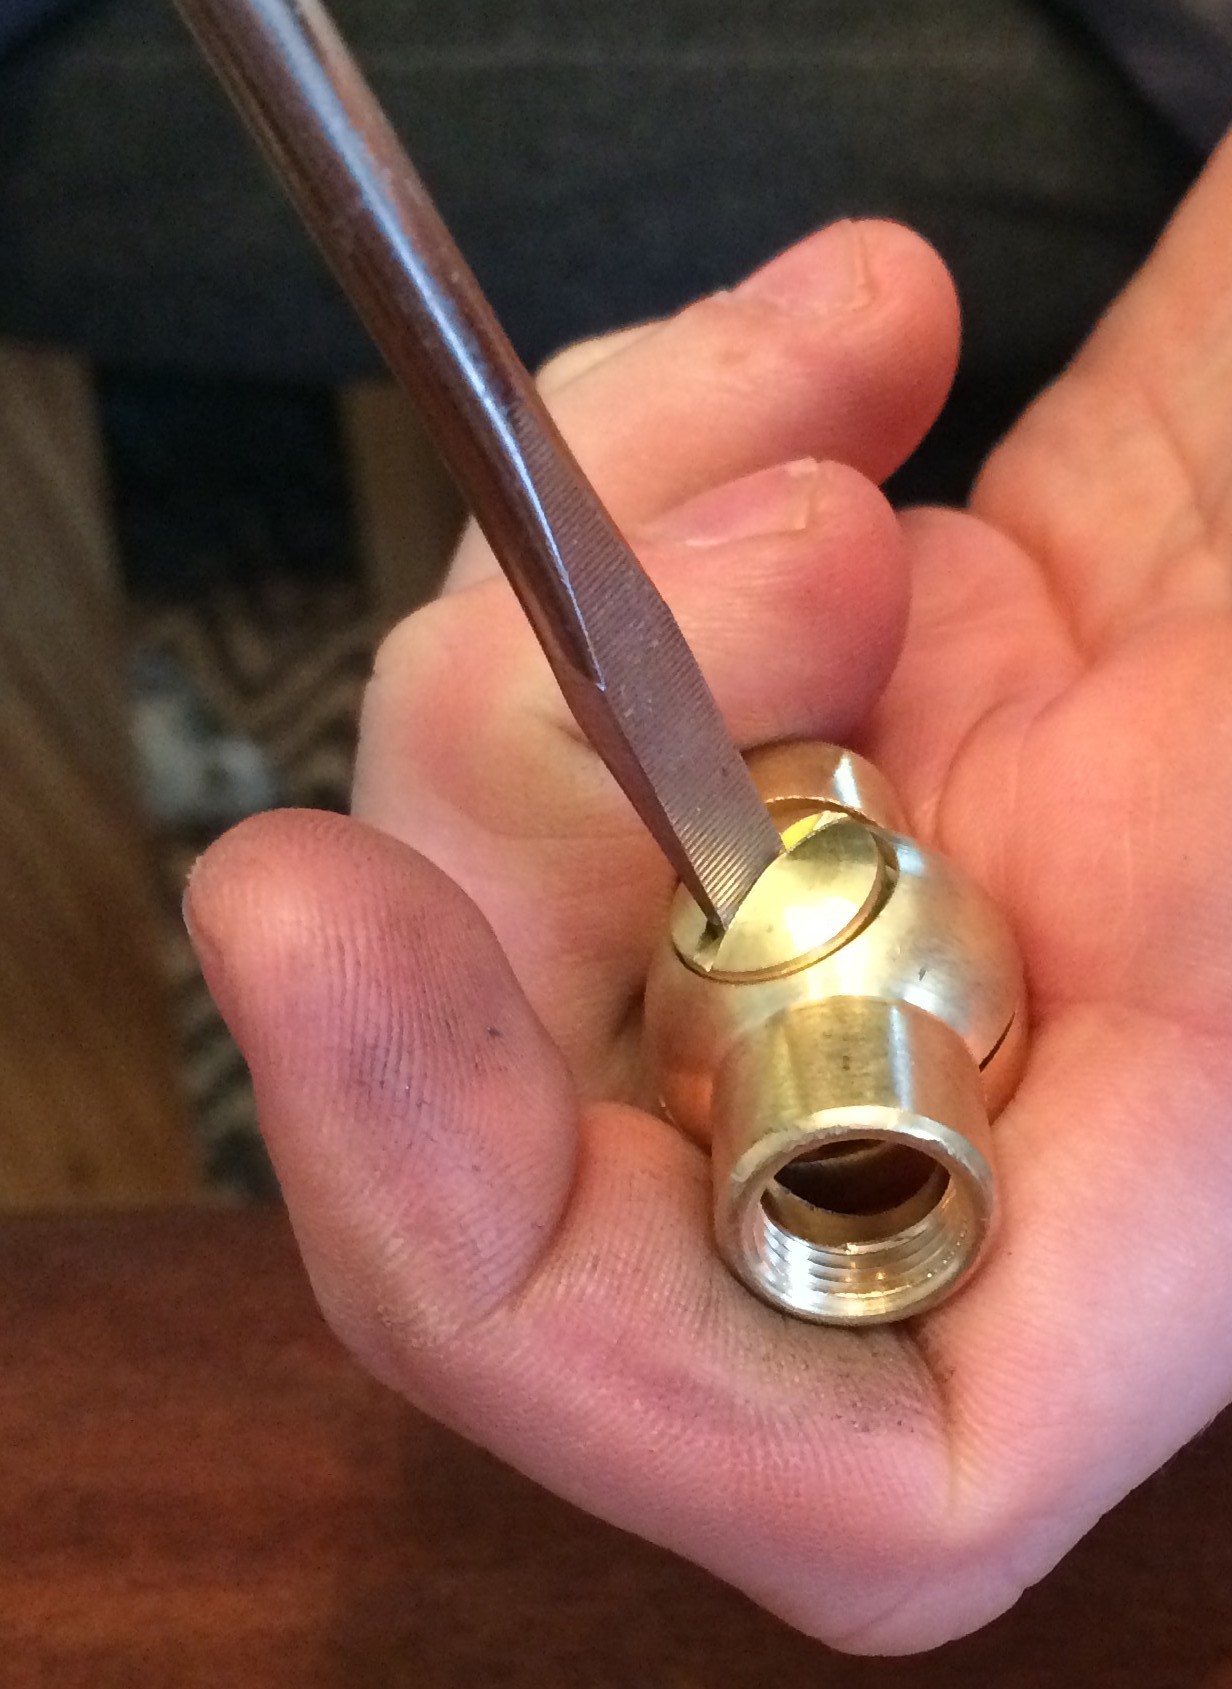

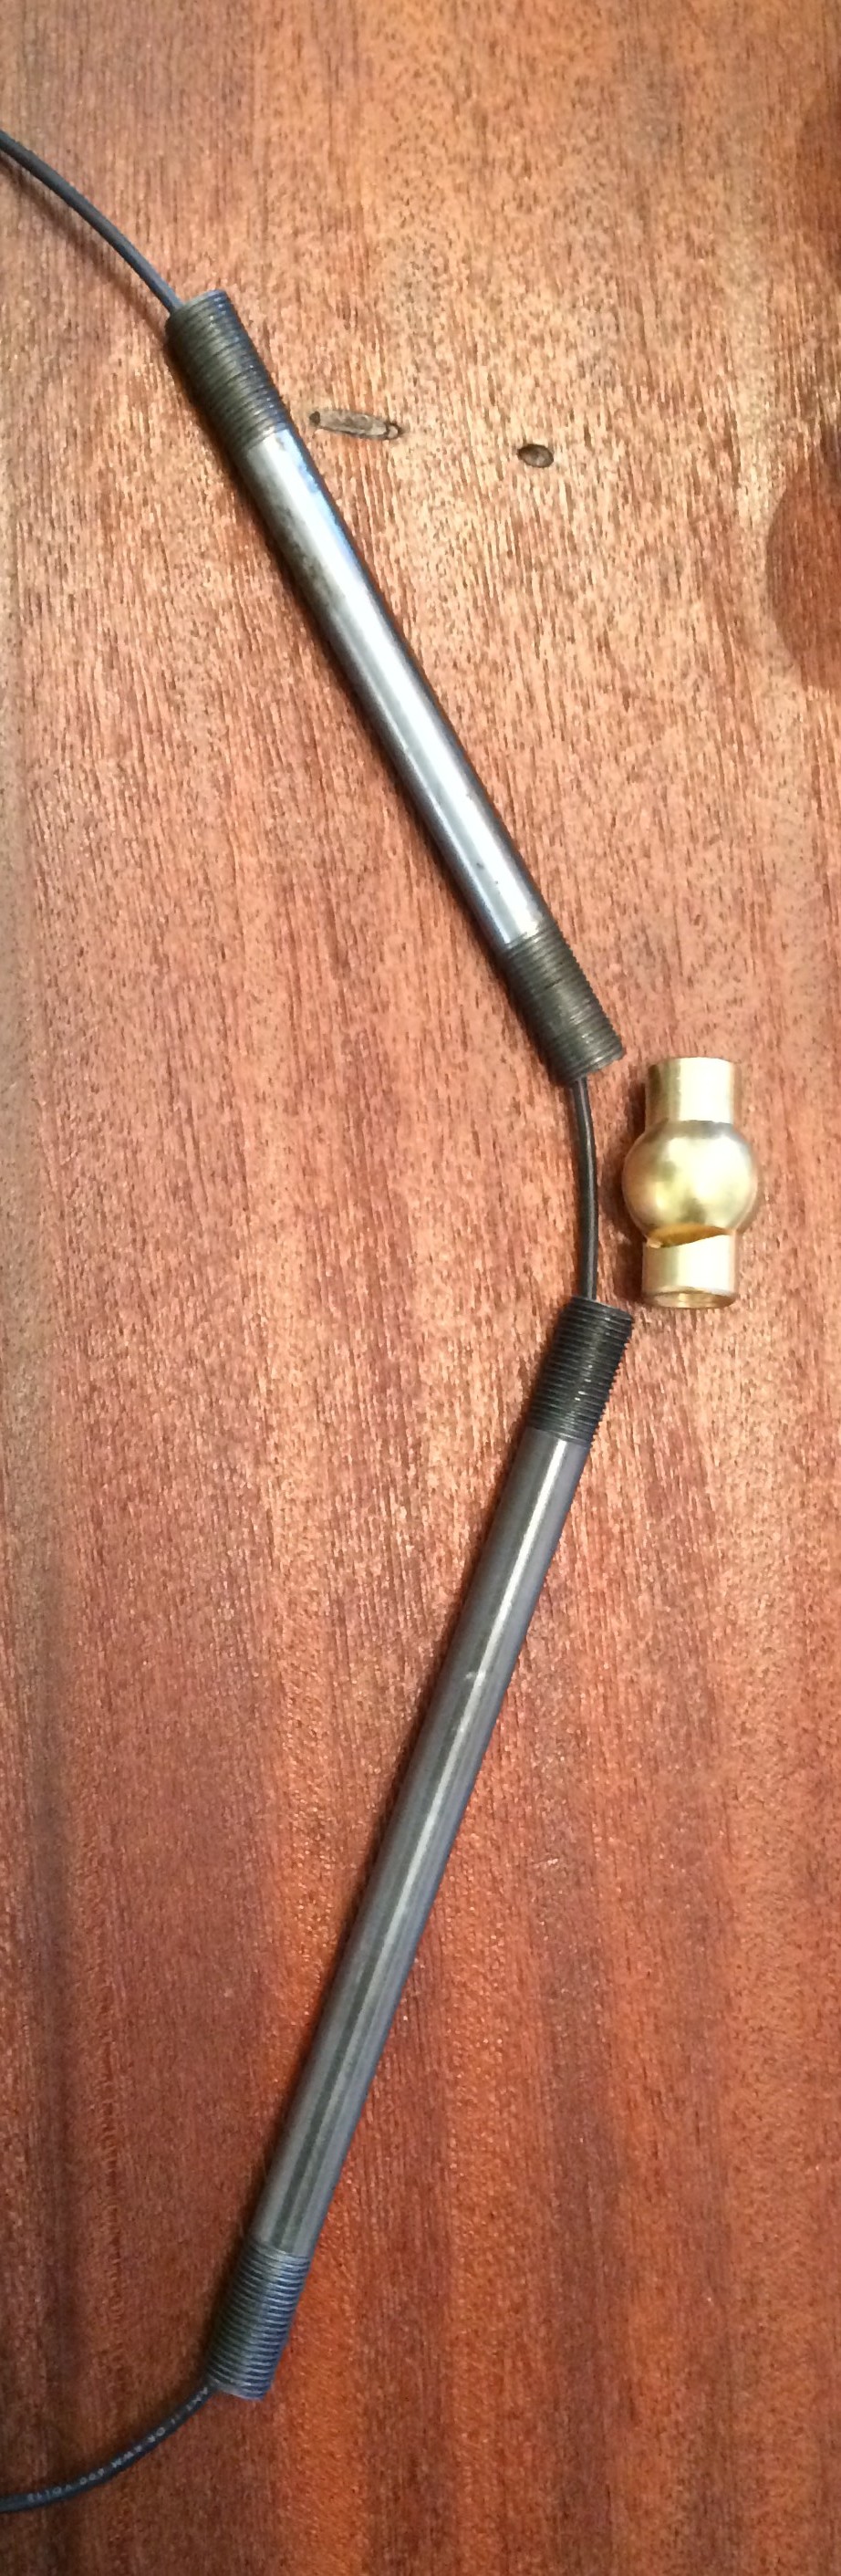
Thread wires through one piece of swivel. Screw swivel onto the end of the 4.5" pipe.
Screw the remaining swivel piece onto the end of a 6in pipe. Thread wires through swivel and pipe.


Start assembling swivel back together. Tighten screw to secure.


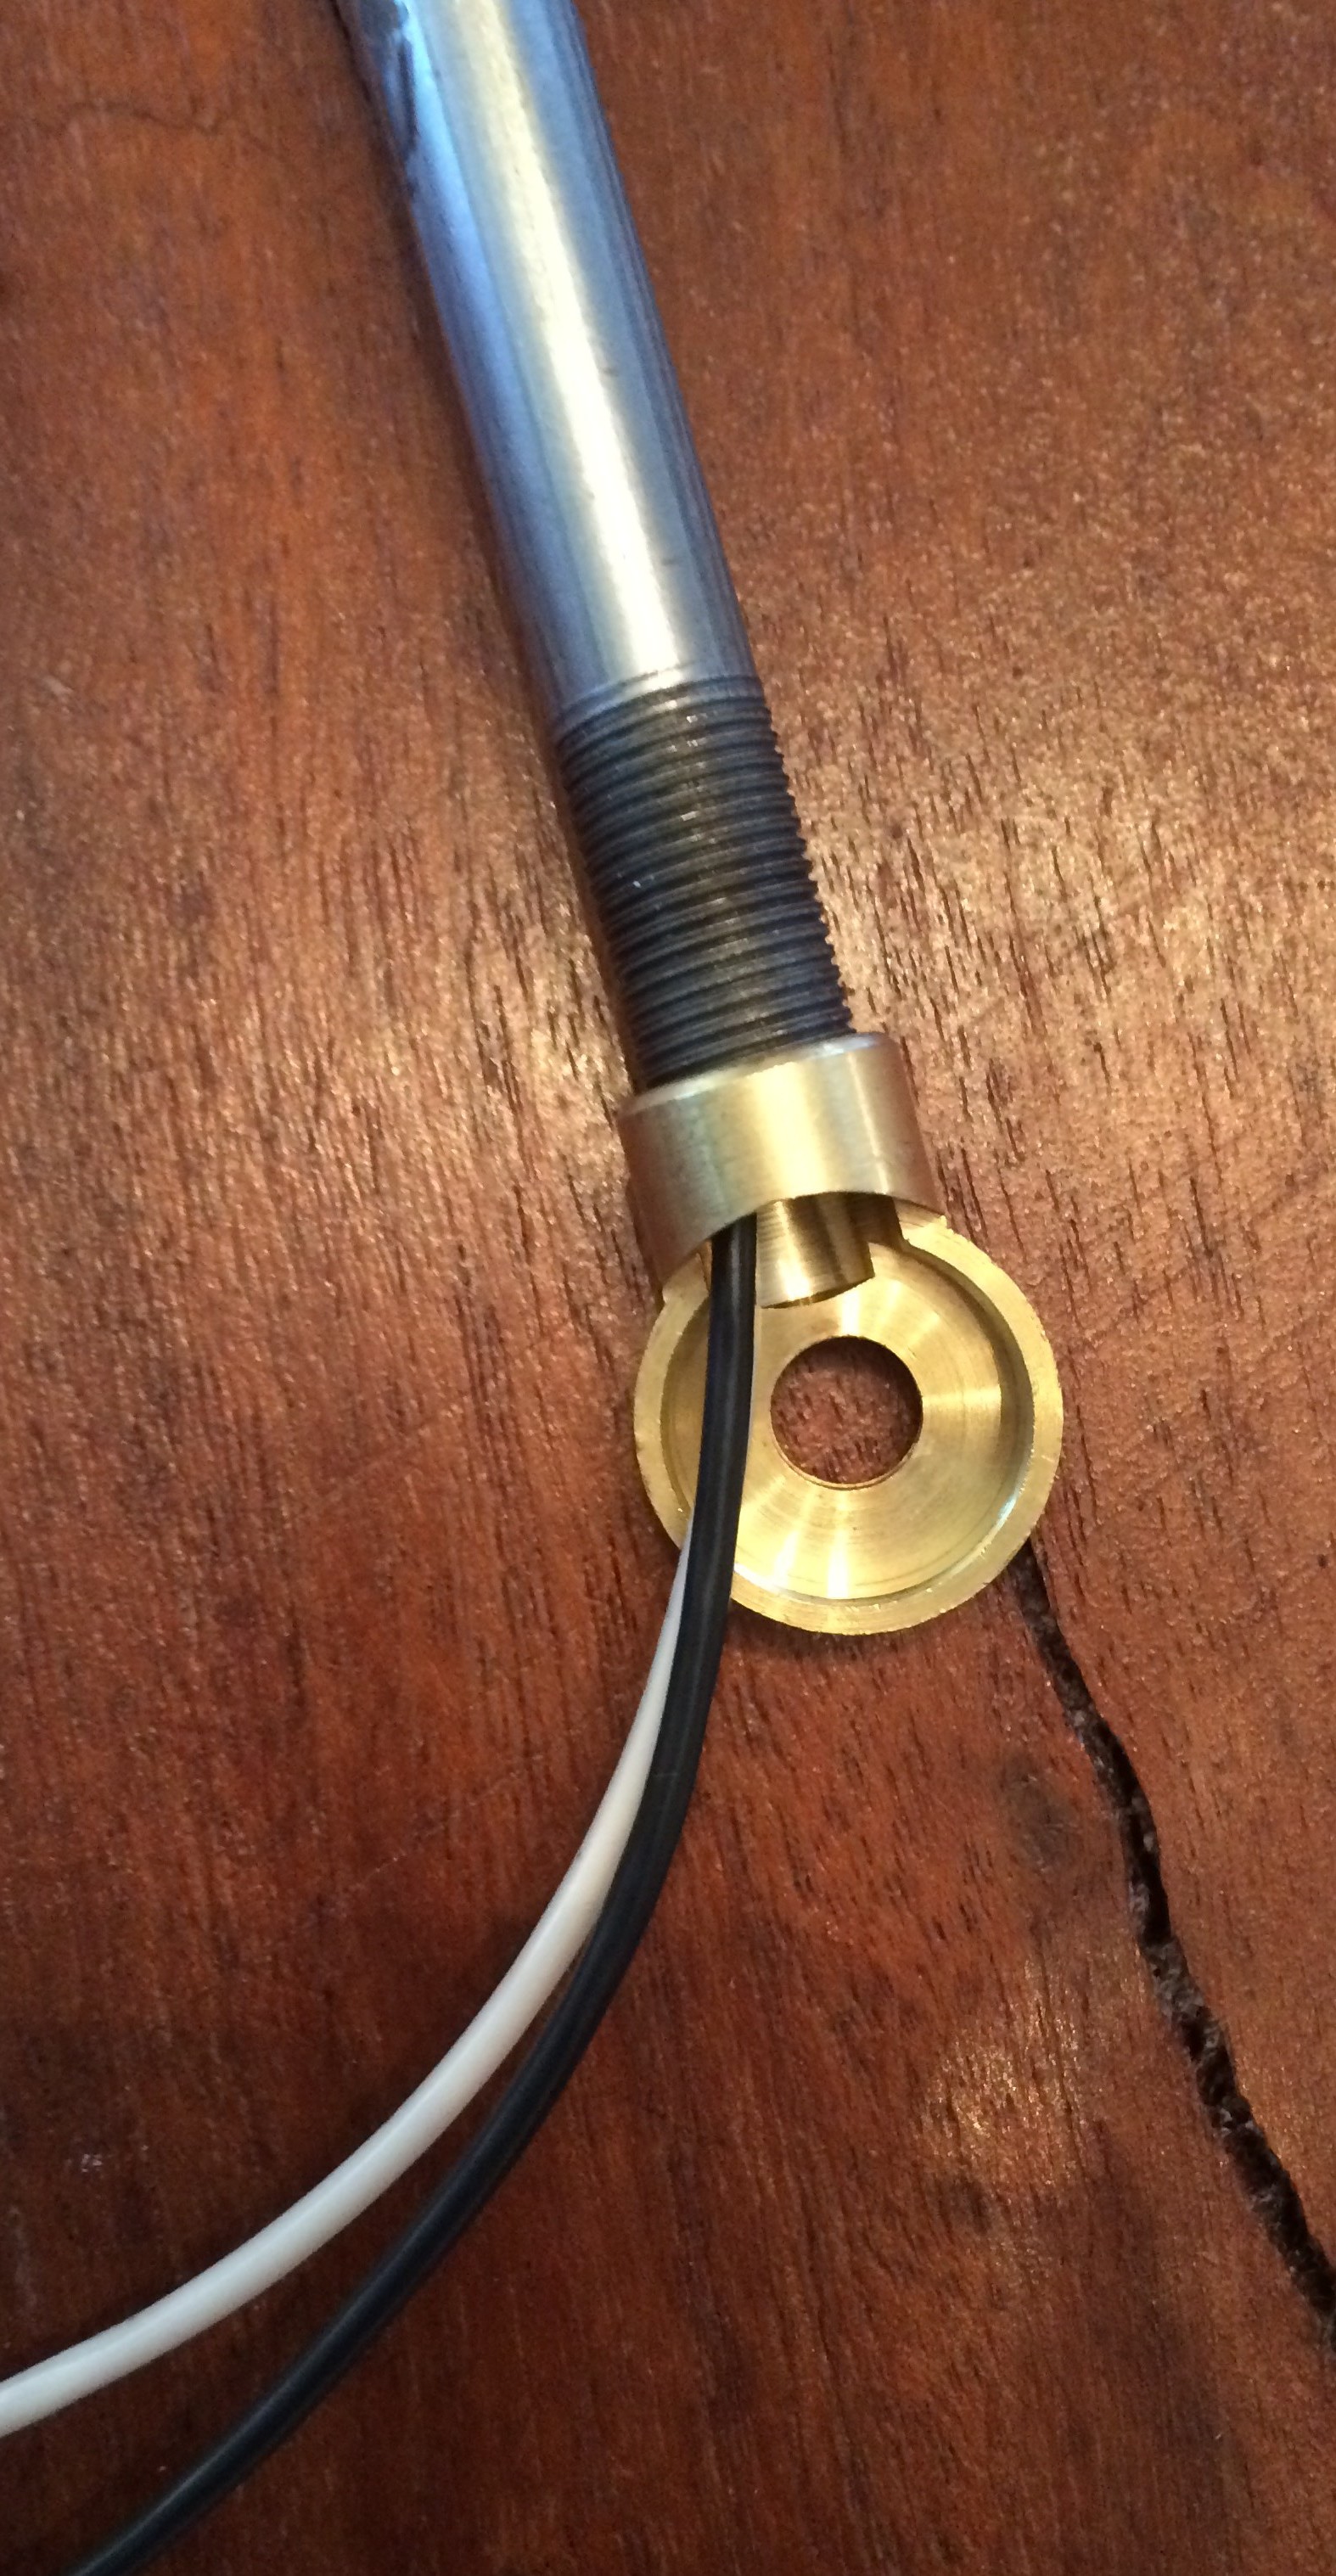
Screw (1) brass nut onto the end of the 6in pipe.

Thread wires through one hole of the cluster body. Screw 6in pipe into cluster body and tighten brass nut.


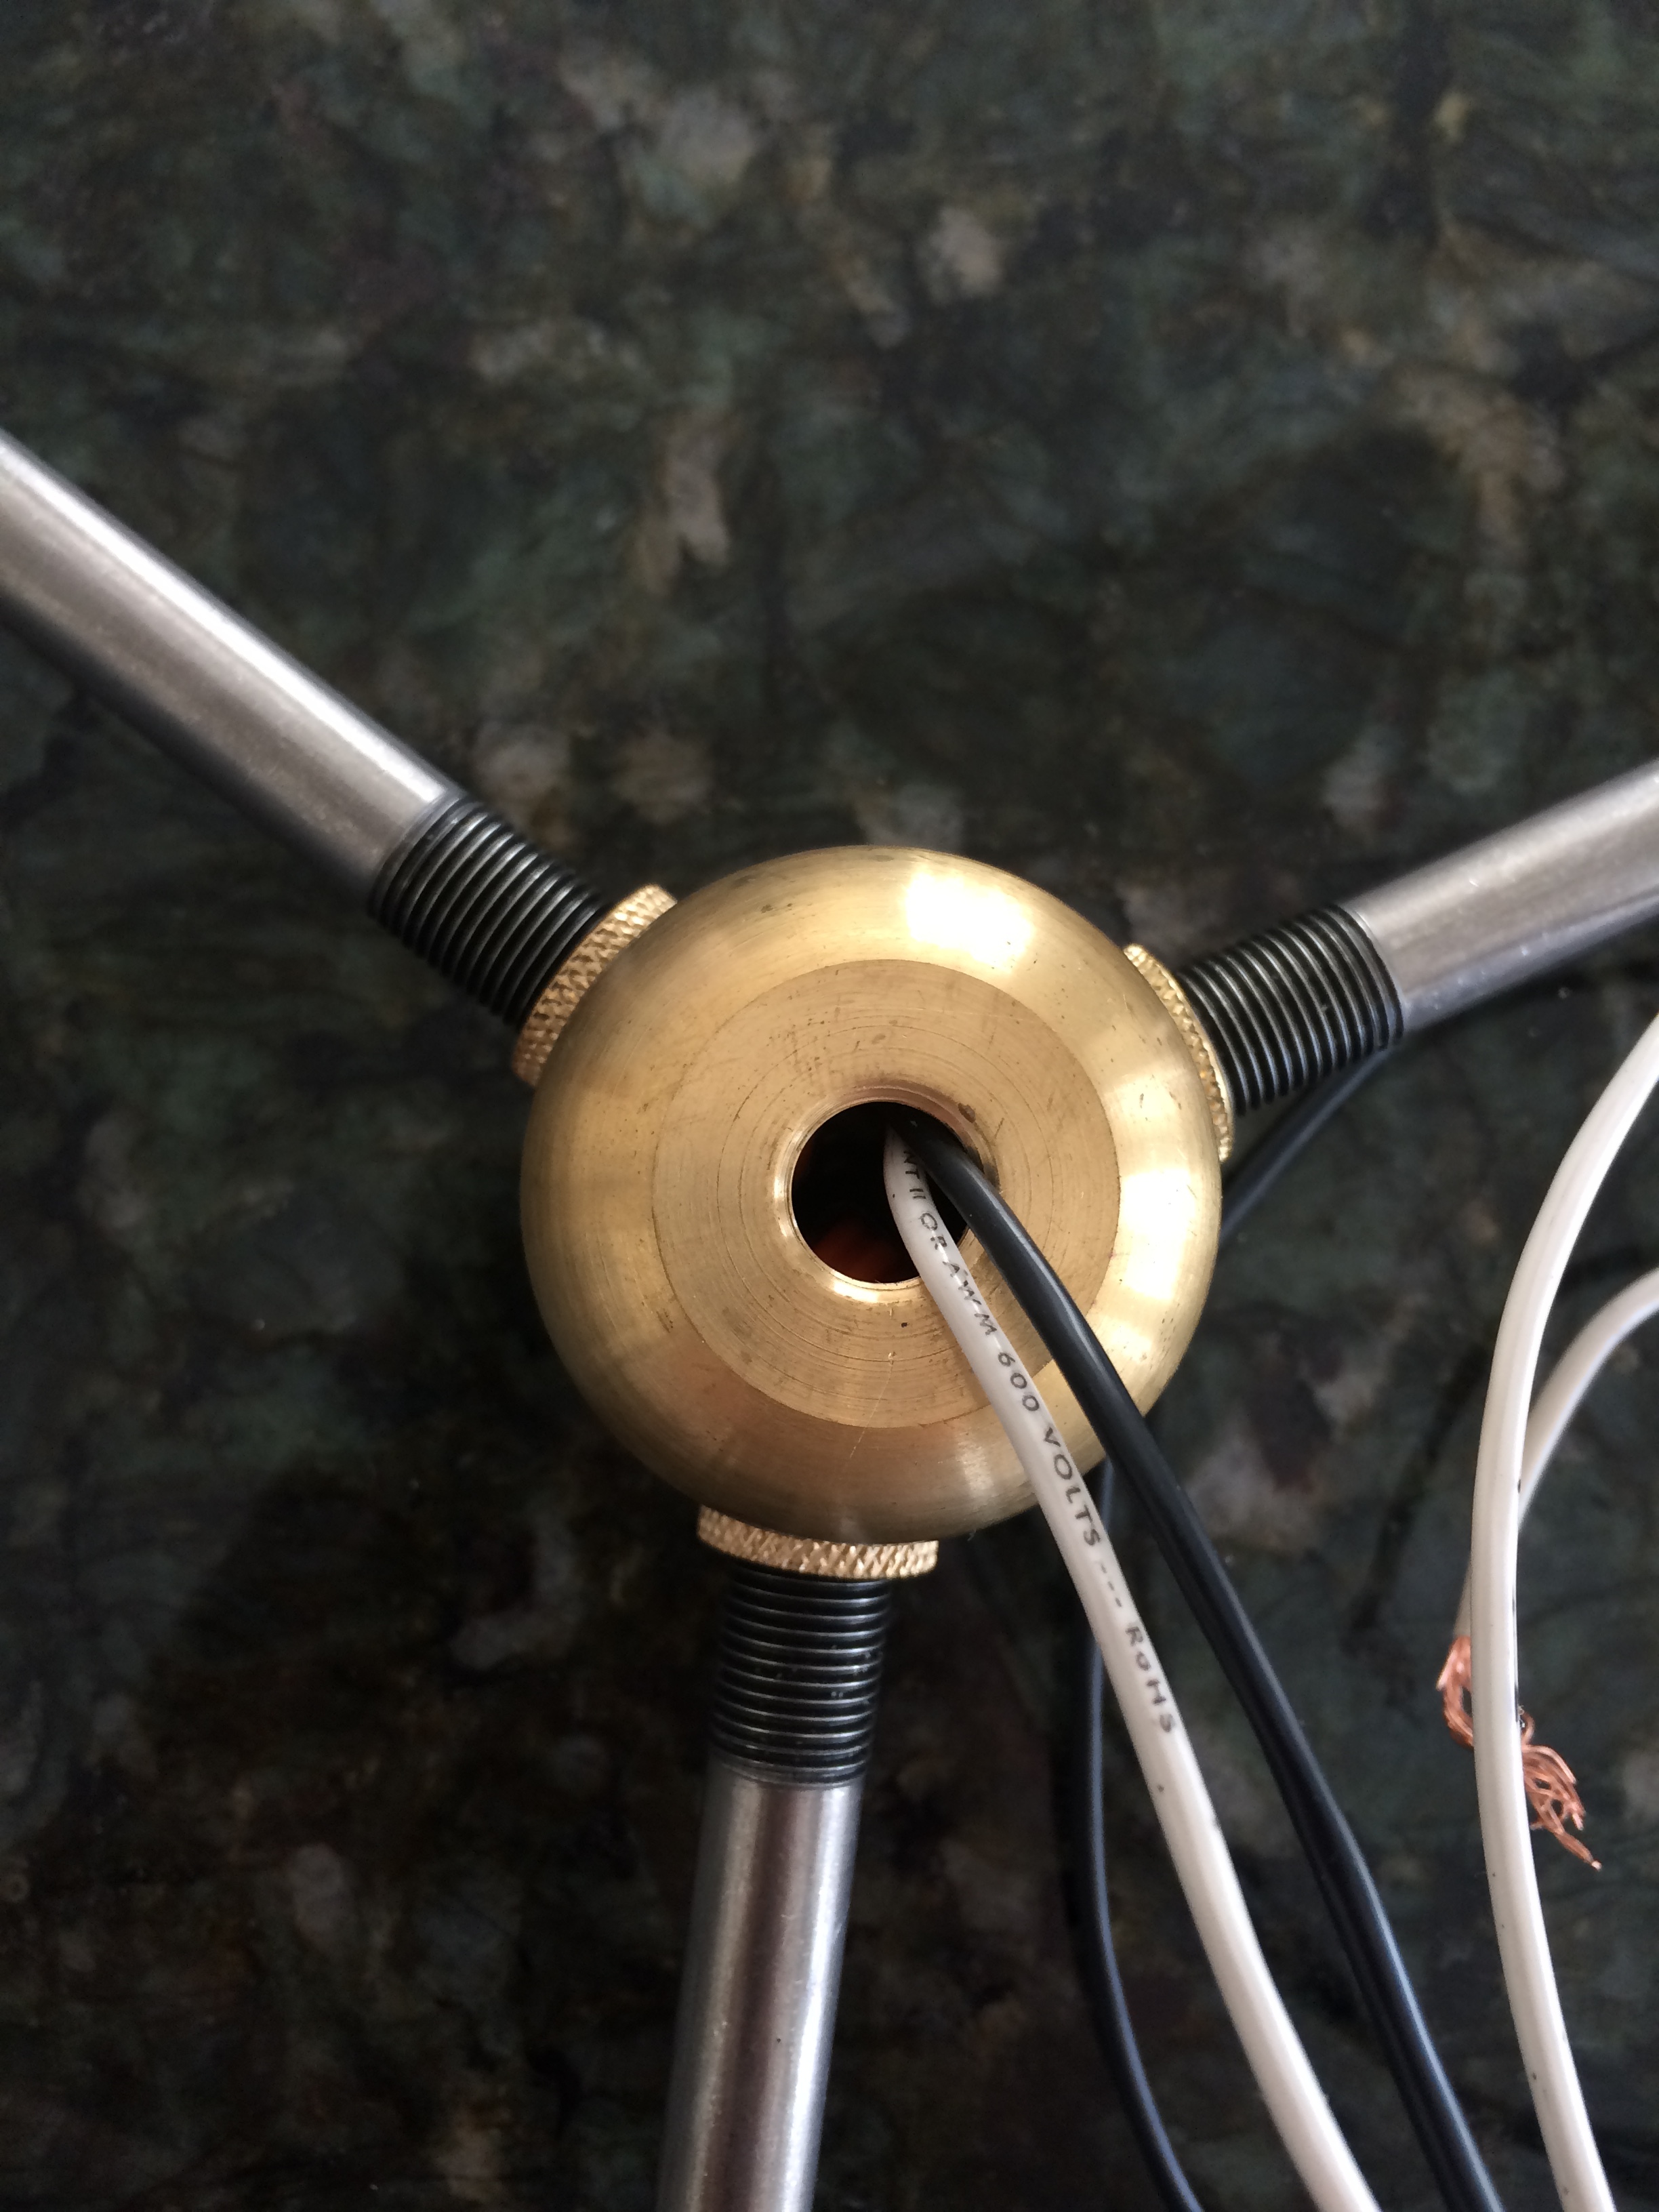
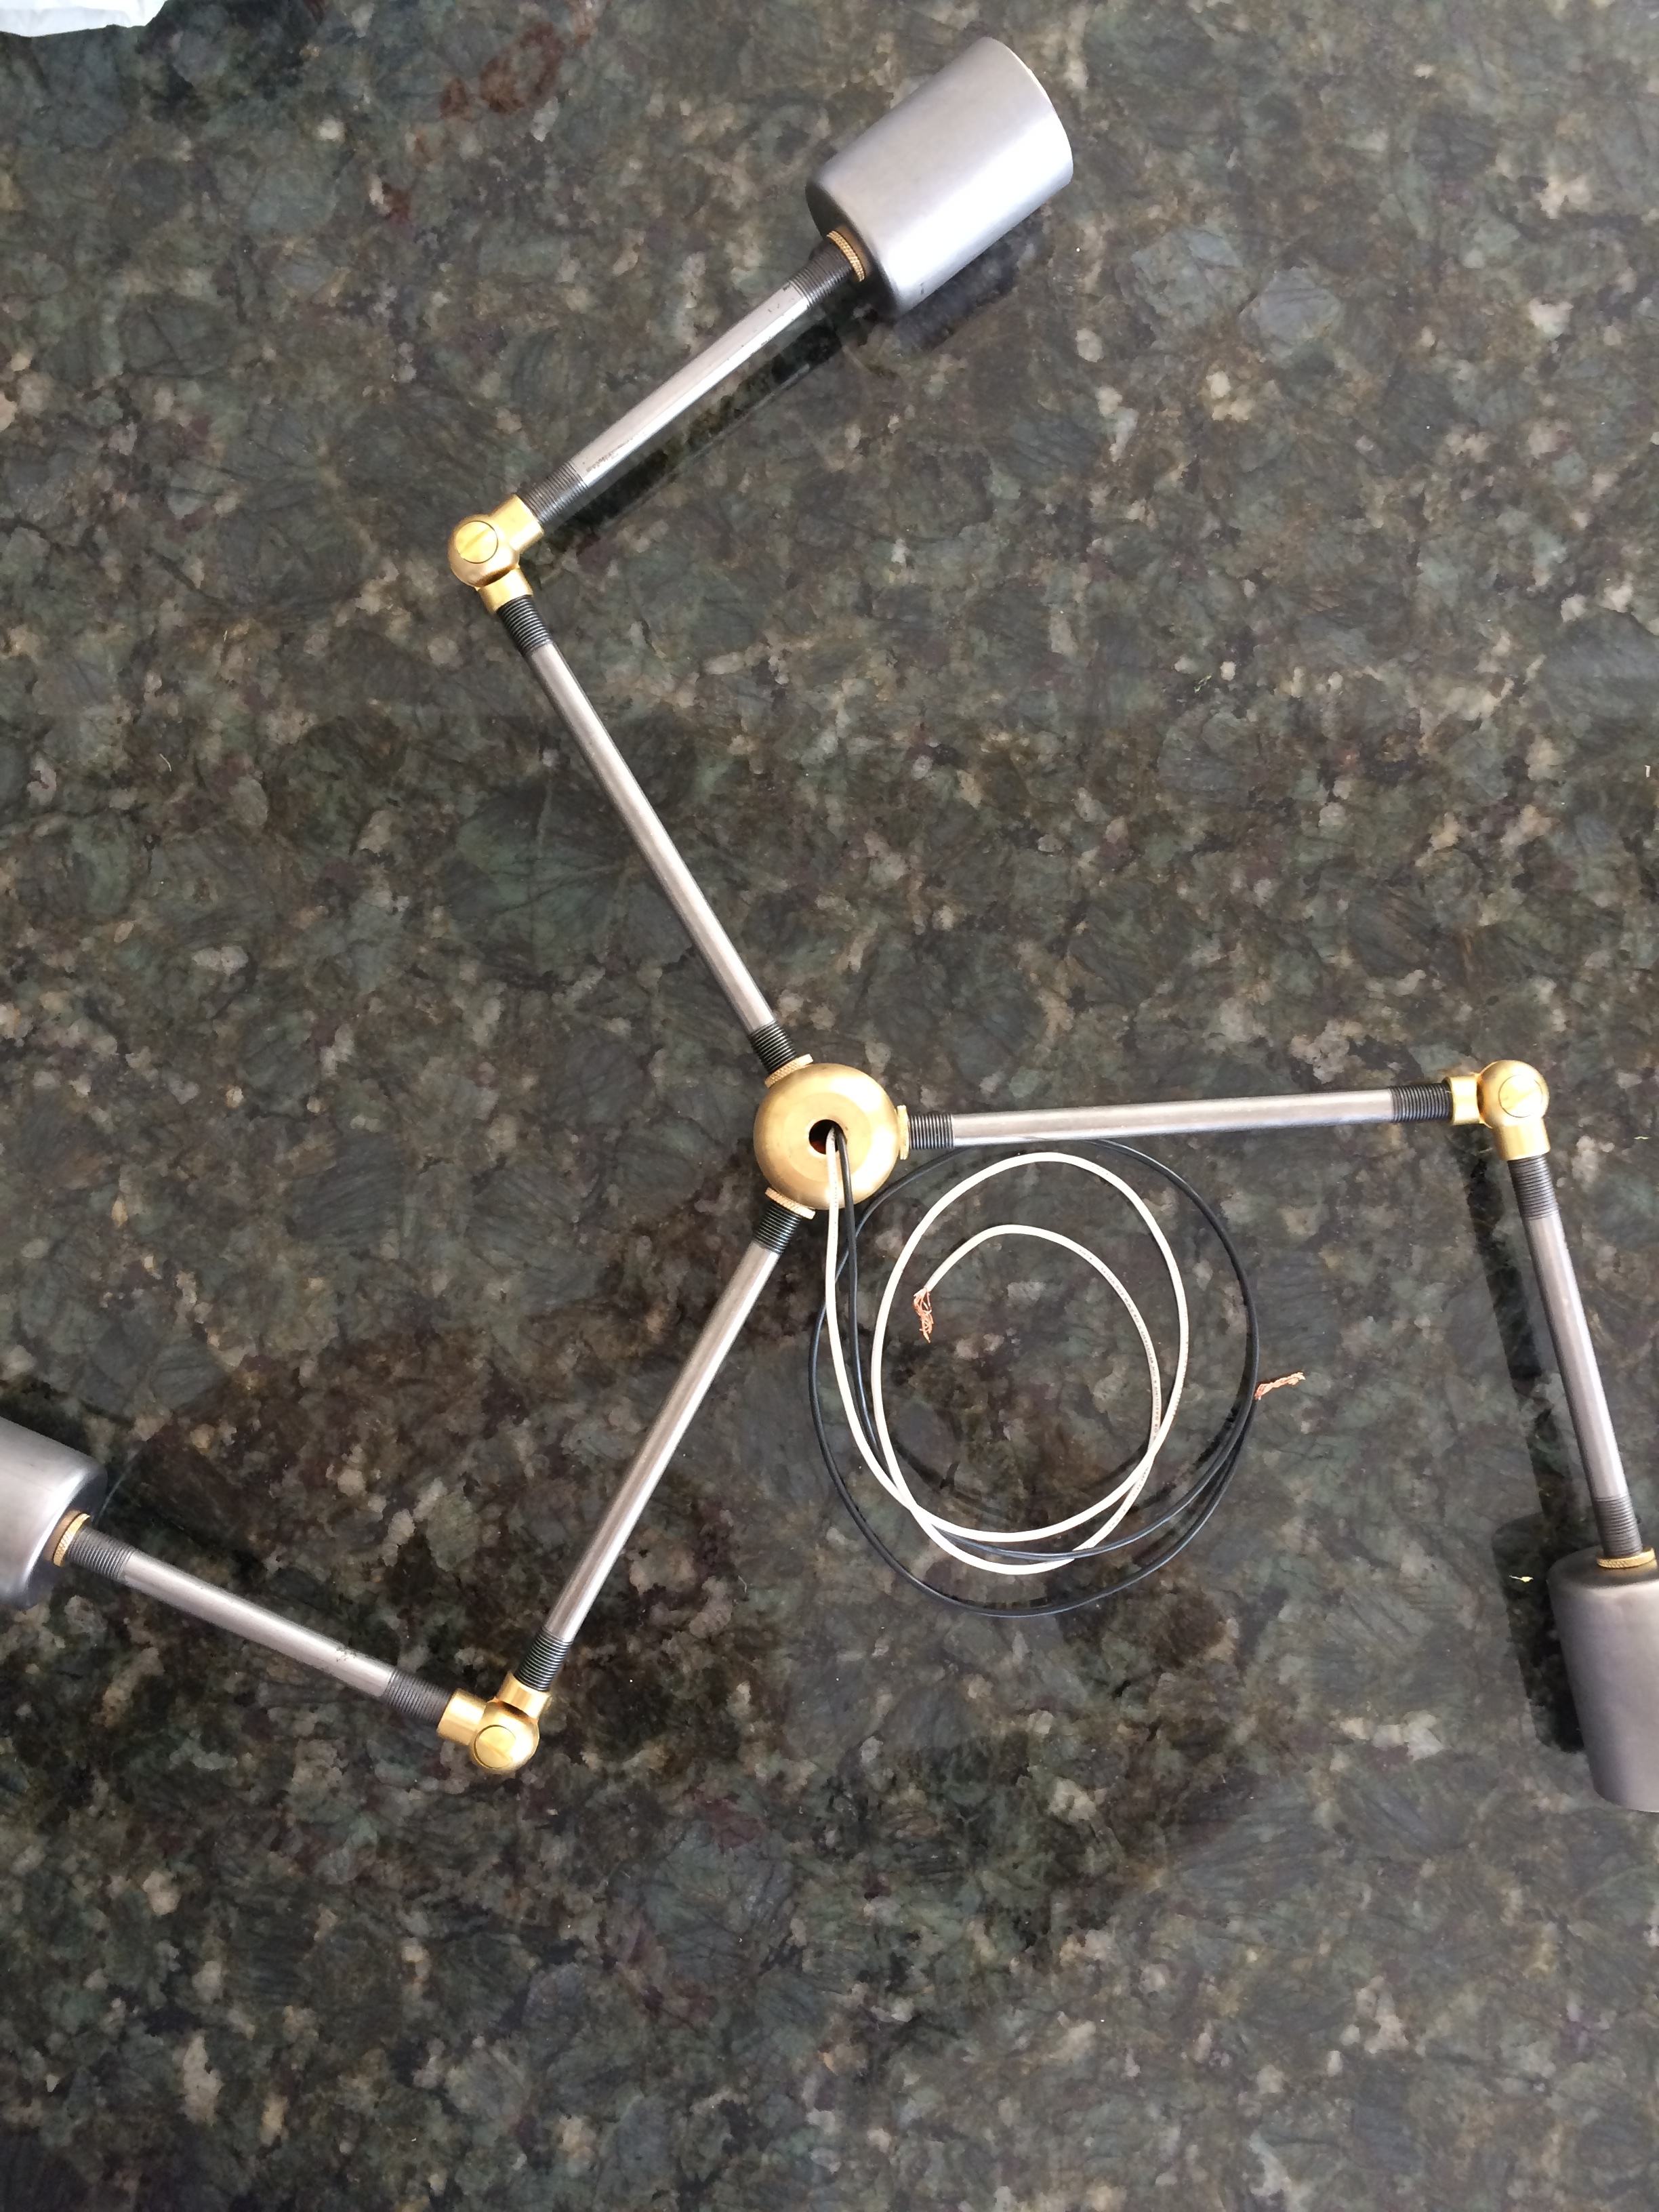
REPEAT two more times so you have 3 arms extending from the cluster body.
At this point, you will have (3) black wires and (3) white wires converging in the cluster body. You only want ONE black and ONE white wire to hook to the ceiling, so cut a NEW piece of black and a NEW piece of white wire. (The length will depend on how far you plan to hang the fixture from the ceiling.)
Strip the end of all (4) black wires. Twist together and secure with (1) orange wire connector. Next, wrap the black wires/orange wire connector with electrical tape. This helps ensure that black and white DO NOT TOUCH.
REPEAT steps above with the white wires.
Next, thread the single black wire and single white wire through the top piece of the cluster body and screw together to secure.
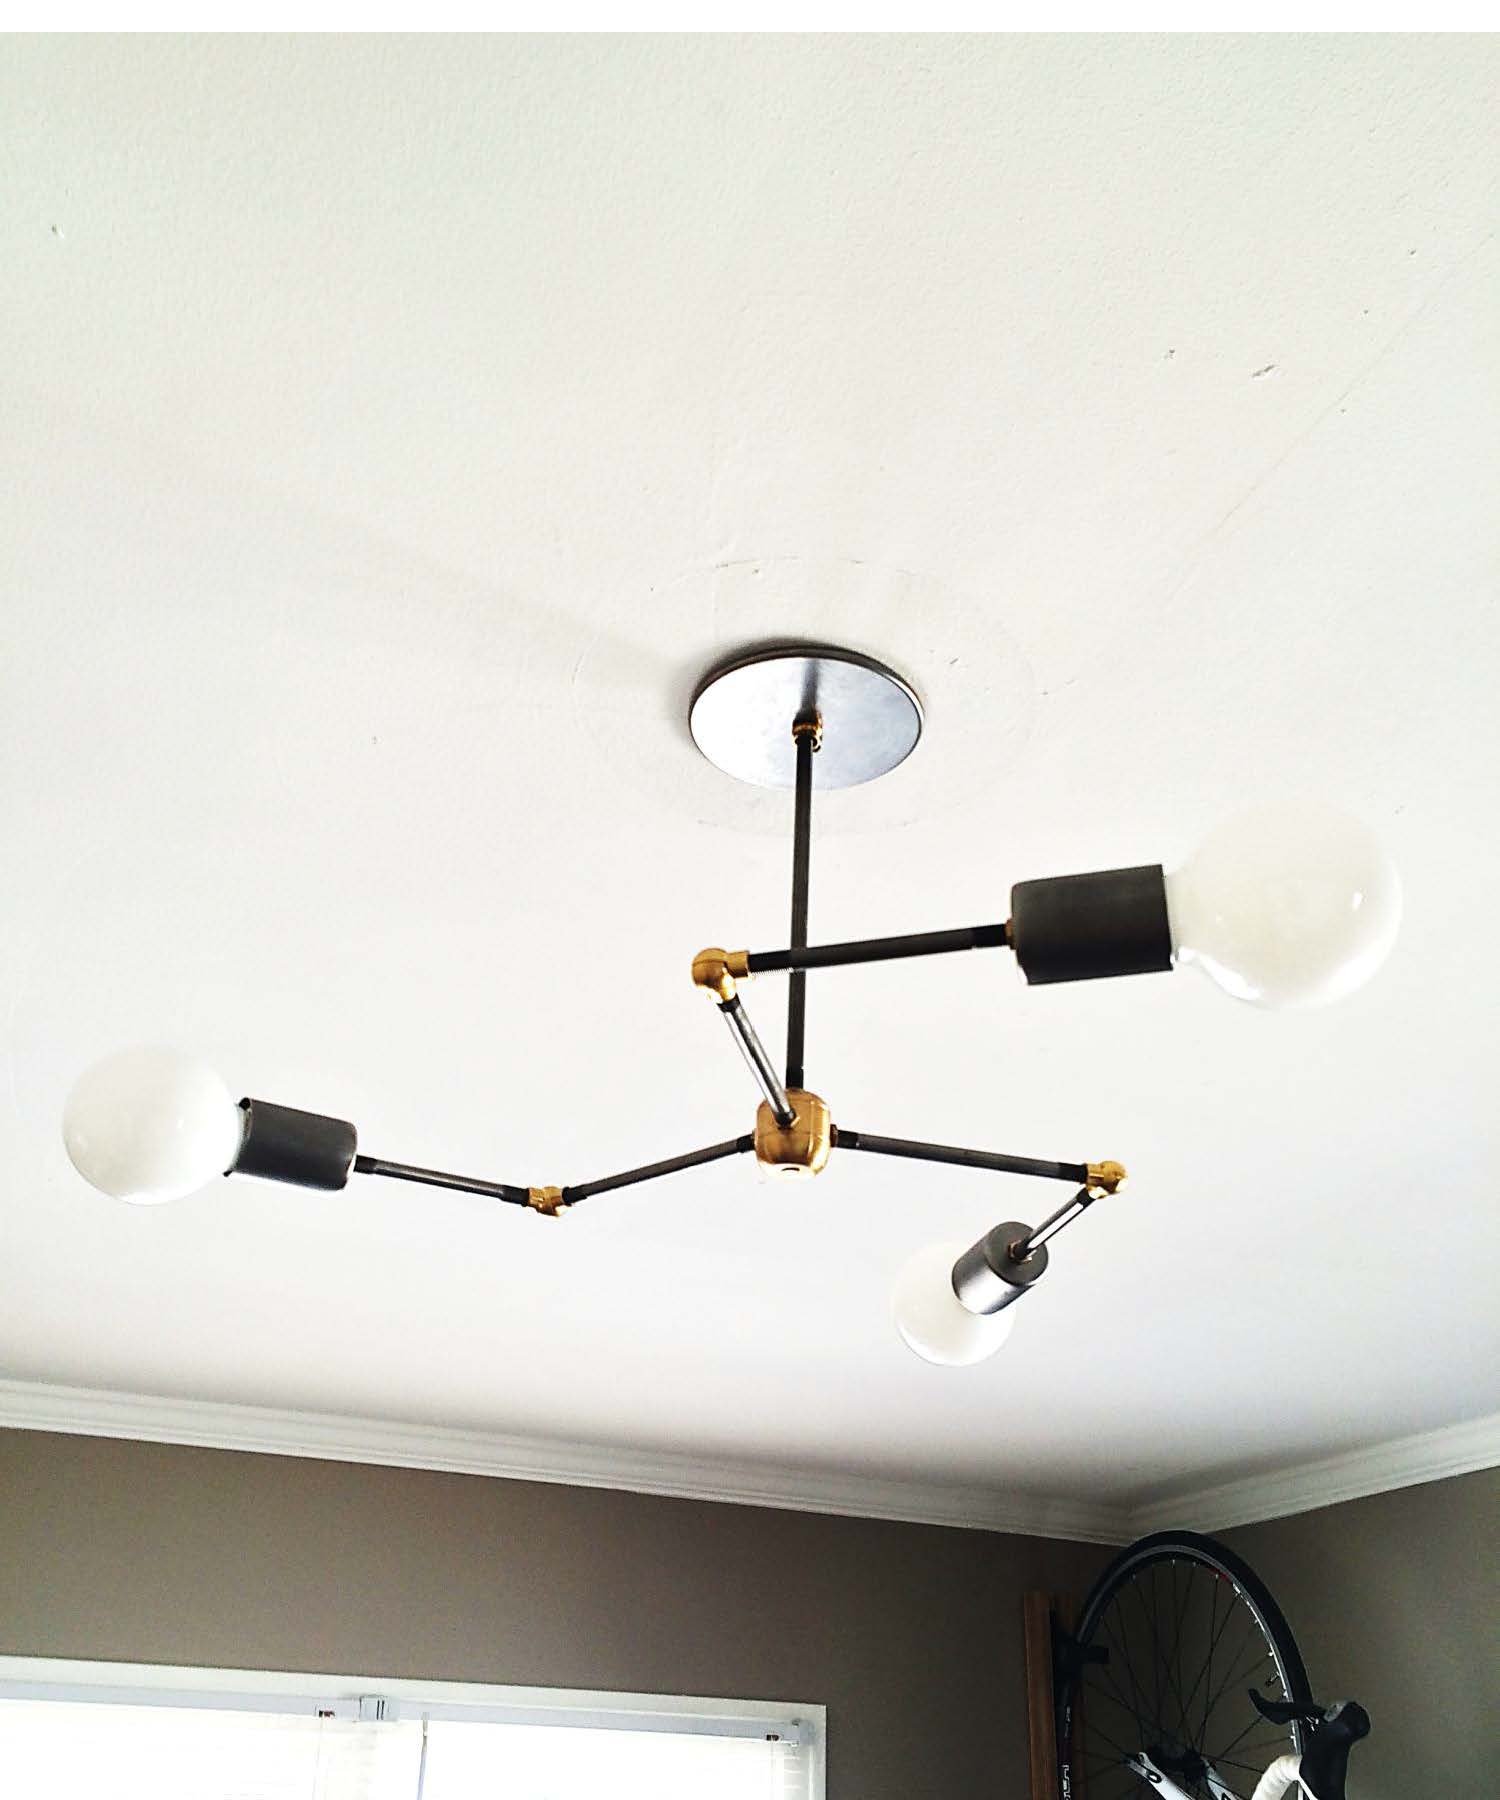
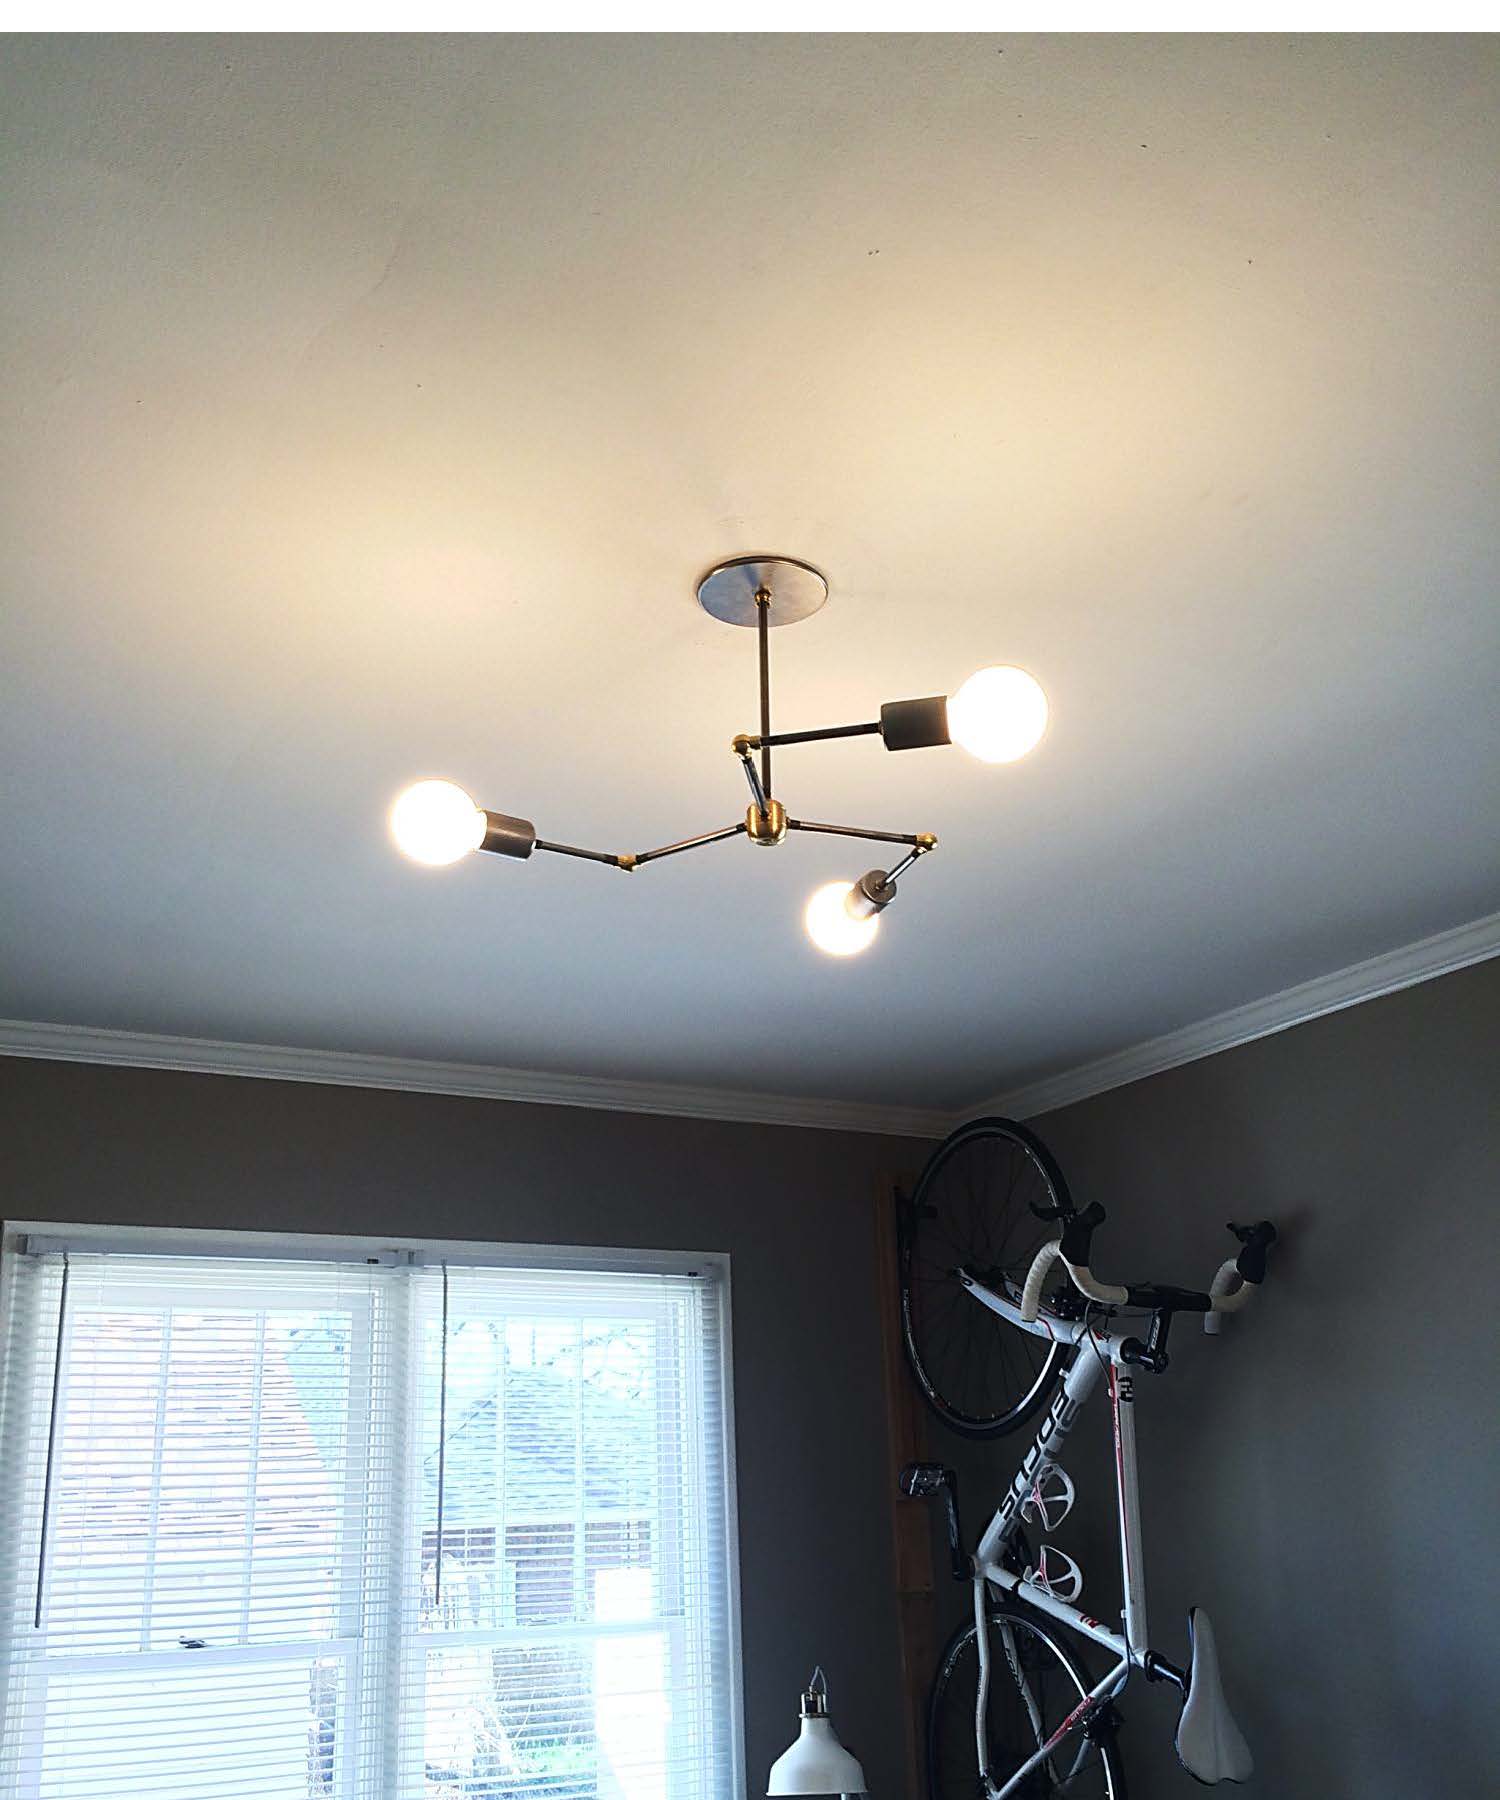
Now you're ready to attach your last pipe (ours is 10"), secure with remaining brass nut at the cluster body, and screw it all into your ceiling canopy and secure with the brass slip ring. Once installed, screw in your light bulbs, turn on the power, and admire your handy work! Easy peasy. :)
**PLEASE be careful when working with electricity. MAKE SURE ALL POWER IS OFF before assembling anything. If you are not comfortable, please hire a professional.
We're thrilled with the end result and are already thinking of other light fixtures we can replace around the house. :)